Currency
Toggle Nav

Arduino Sunflower - an Electronic Sundancer
March 29, 2019
The last time we did the first version of Sundancer and received many good feedback, so this time we will make a new ones which is more elegant and cool Sundancer.
This time we will use acrylic materials to build this project. Below is a butterfly-shaped box that can be used to hide the main control board and other things to make it look simpler and more beautiful. Of course, if you have a small charger, you can put it inside, so that the Sundancer is dancinf like a magic! Its head is in the shape of a sunflower, which symbolizes that it can chase the sun freely like a sunflower.
We will use four light sensors distributed in different positions on the Sundancer head to detect which direction of the luminosity is higher, and then adjust the Sundancer's horizontal and vertical movement by two Servos on the Pan-Tile to adjust Sundancer is pointing in the direction. In addition, we can control the speed of the Sundancer's rotation and the sensitivity to light response through two Potentiometers.
Step 1 Preparation

Here are the materials we use:
2 x Crowtail - Linear Potentiometer 2.0
4 x Crowtail - Light Sensor 2.0
1 x Crowduino With ATMega 328 V1.1
1 x Crowtail - Base Shield for Arduino 2.0
Step 2 Install light sensor
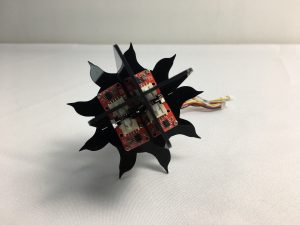
There are four light sensor we need to install. We need to number the sensor to correspond to the sensor pin number we defined in the program.
The Sundancer's head is black to prevent light from passing through adjacent sensors. And the spacing between the sensors is high enough to prevent side light from passing from the top to the other sensors.
Step 3 Install Pan-Tile
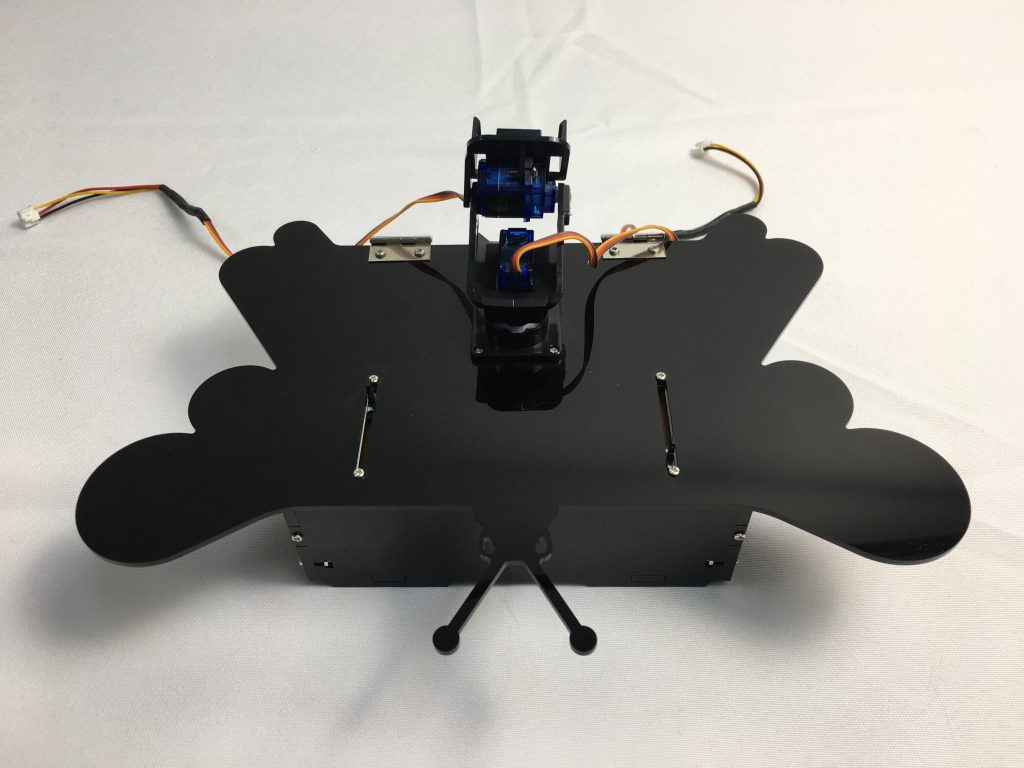
The Pan-Tile is an assembled device with 9G servos. It can control the vertical and horizontal rotation with 180 degrees.
Installing Pan-Tile is very important. You have to make sure that Pan-Tile can turn 90 degrees to the left or right when you are facing me. Otherwise, your Sundancer may be awkward.
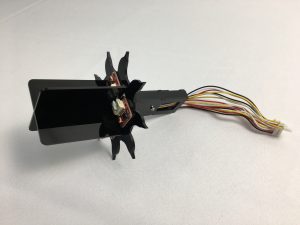
Step 4 Fix the stick to the Pan-Tile

Fix the stick to the Pan-Tile, the seat of sensor should keep consistent with the picture, sensor "1" and sensor "2" located below site.
Step 5 Upload the code
Before we start to connect the base shield and cables, we need to upload the program code into Crowduino, because you will not want to upload the program when the Crowduino drags a bunch of sensors. A micro usb cable is needed when uploading. Connect the Crowduino to our computer, and open the Arduino IDE, download the code and open it with Arduino IDE, then upload.
Step 6 Connect shield and 4 light sensors

After uploading the program, we need to stacking Crowduino and base shield. Then connect the cable of sensors to the shield, with the numbers one - one correspondondence as above picture shows.
Cable "1" to A0; cable "2" to A1; cable "3" to A3; cable "4" to A2.
Step 7 Connect the Potentiometer and servo to the shield
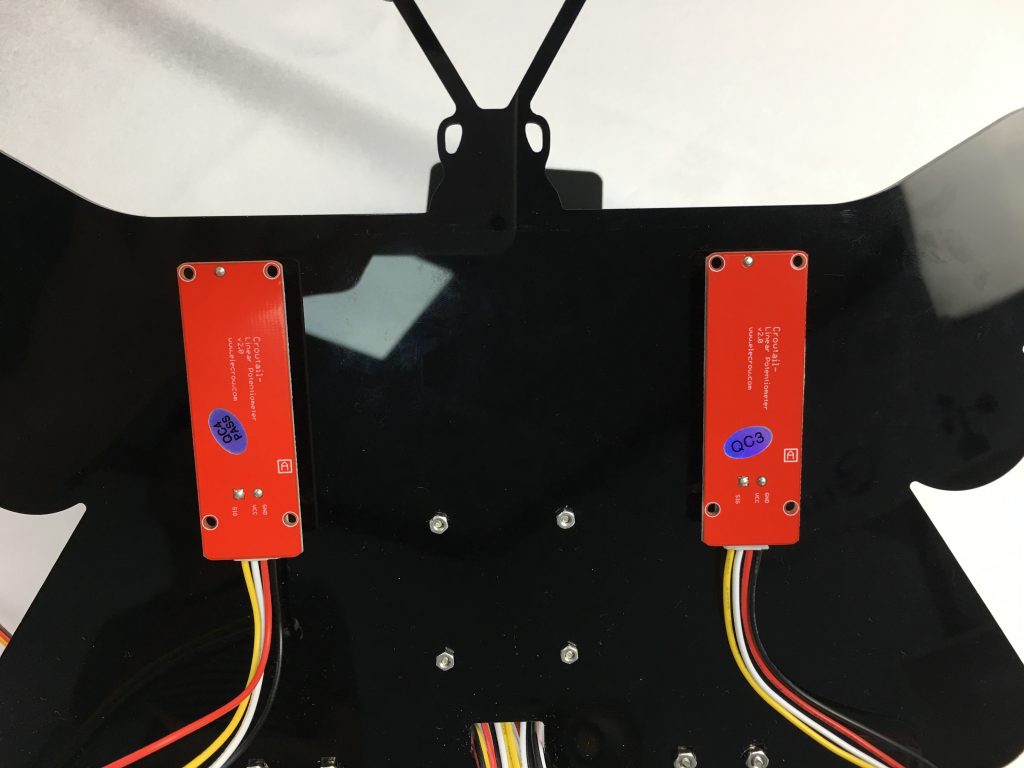
Connect two potentiometers to A4 and A5 interface of the shield. The two potentiometers are same, and what you need to know is that which one connect with the A4 port is to controling the delay of reaction time to control the servo speed, and A5 is to control sensitivity to light.
Step 8 How to power it
The Crowduino is the main controller board of this project. We can power the board with an USB power bank or a DC adapter, if you have a small charging treasure, put it in the box and hide to power the board will be prefect!
Step 9 Playing it
All finished now, it looks so cool right? Ok, let's try it!
Take it to a dark room, then power it up and use your phone flashlight to illuminate it, it will dance with the light! If you want to change the speed and sensitivity of it, you just need to slide the corresponding Potentiometer.

See the video to know how to do it!