Lesson14: Microphone Recording and Speaker Playback
1. Objectives
In this lesson, you will combine the speaker from Lesson12 with the microphone from Lesson13: first record 5 seconds of audio, then process the audio data in OPI PSRAM, and finally play the recording through the speaker.
2. Prerequisites
- Complete the ESP32-S3 environment setup from Lesson01. In particular,
OPI PSRAMmust be enabled. - This lesson uses the
ESP_I2Slibrary included with Arduino-ESP32. - This lesson uses
ps_malloc()from the ESP32 3.3.3 board package. - No additional third-party libraries are required.
How to add the library files:
- No additional third-party libraries are required. This lesson uses the ESP_I2S and PSRAM APIs included with the ESP32 3.3.3 board package.
3. Arduino IDE Steps
-
Open
Lesson14_Audio_Loopback.inoin the Arduino IDE.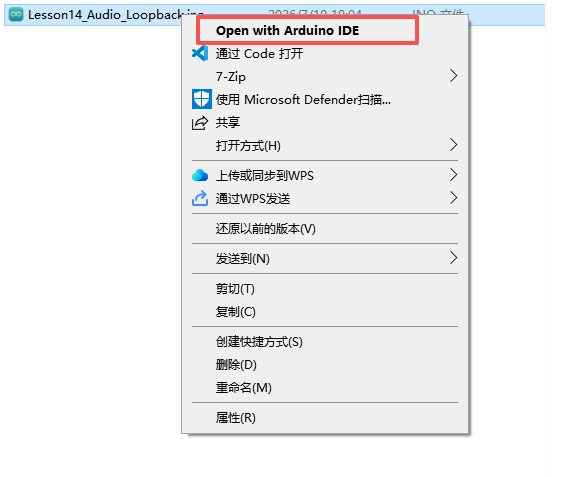
-
Confirm that the board settings are Flash 16MB, PSRAM OPI, and Huge APP.
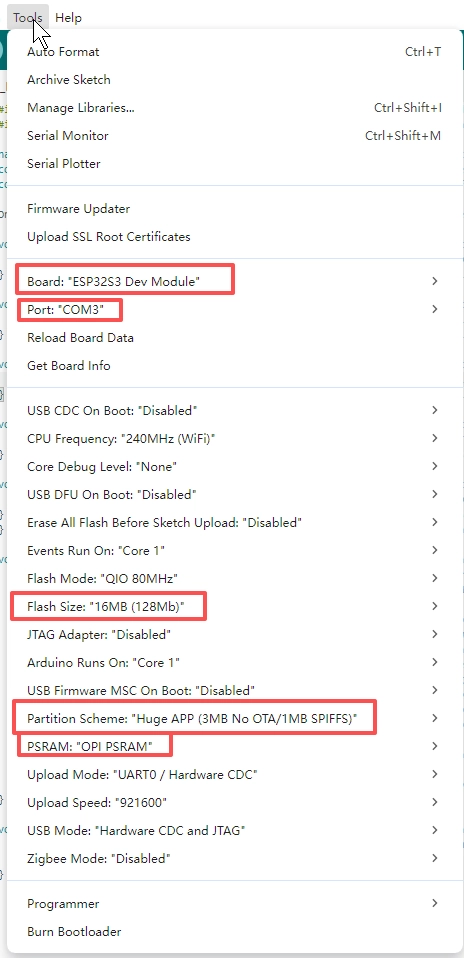
-
Click Verify to compile the sketch.
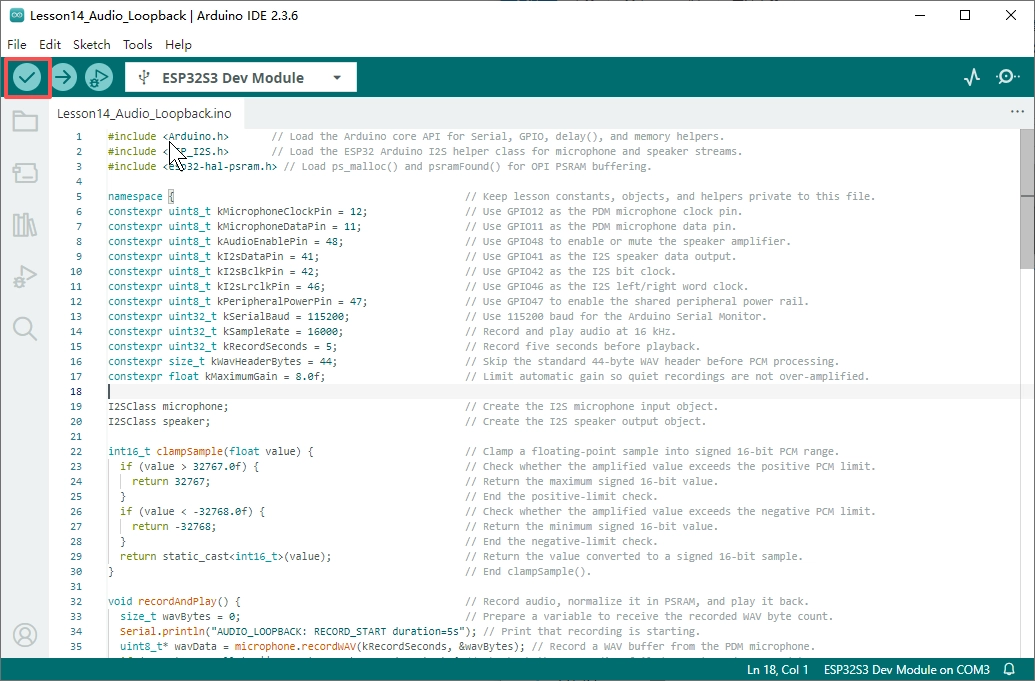
-
Click Upload to flash the board, then open the Serial Monitor and set the baud rate to
115200.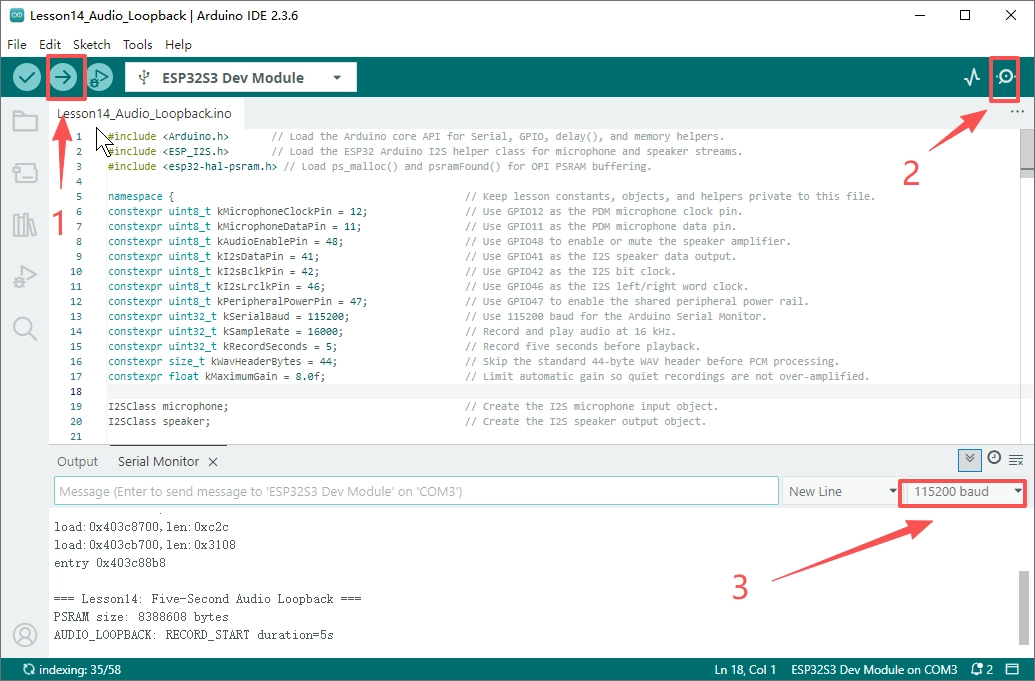
4. Hardware Operation Steps
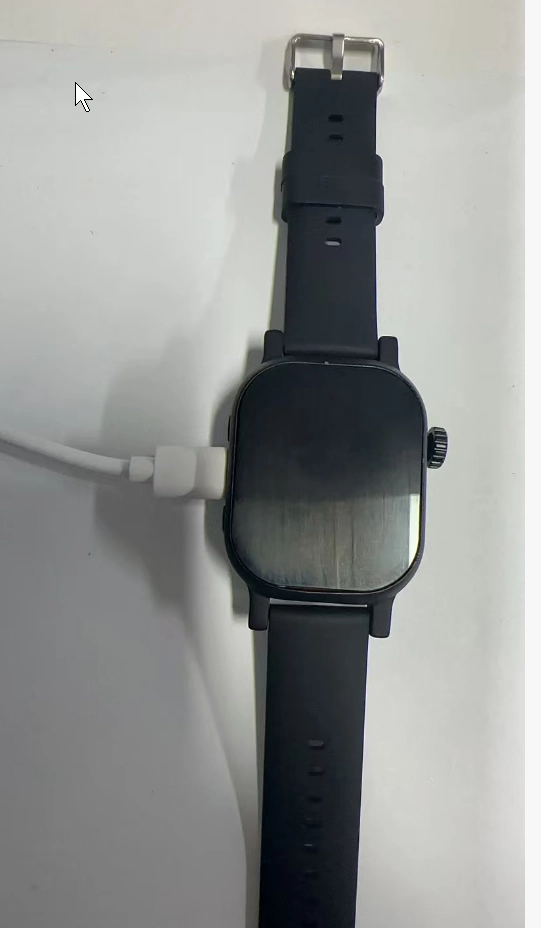
- Connect the development board to the computer using a USB data cable.
-
After flashing, speak into the microphone and wait for the 5-second recording to finish.
-
When the recording is complete, move closer to the speaker and listen to determine whether the device plays back the audio you just recorded.
-
Observe the recorded byte count, peak value, gain, and playback byte count in the Serial Monitor.
-
If the playback volume is too low, move closer to the microphone and record again. If there is no sound, return to Lesson12 and Lesson13 to check the speaker and microphone separately.
5. Key Code Explanation
if (!psramFound()) {
  Serial.println("ERROR: OPI PSRAM was not detected");
  while (true) {
    delay(1000);
  }
}
Five seconds of audio data is relatively large and is not suitable for storage entirely in internal RAM. This lesson first checks whether OPI PSRAM is available. If it is not detected, the PSRAM option in the Arduino IDE was not selected correctly. The program stops here instead of continuing until it runs out of memory.
uint8_t* wavData = microphone.recordWAV(kRecordSeconds, &wavBytes);
const size_t pcmBytes = wavBytes - kWavHeaderBytes;
const int16_t* inputSamples = reinterpret_cast<const int16_t*>(wavData + kWavHeaderBytes);
int16_t* outputSamples = static_cast<int16_t*>(ps_malloc(pcmBytes));
recordWAV() captures data that includes a WAV header. The program calculates the size of the PCM portion, moves the input pointer past the WAV header, and then uses ps_malloc() to allocate an output buffer of the same size in PSRAM. This prevents the processed audio from consuming valuable internal RAM.
float gain = 1.0f;
if (peak > 0) {
  gain = 30000.0f / peak;
  if (gain > kMaximumGain) {
    gain = kMaximumGain;
  }
}
The recording may be very quiet, so the program automatically calculates the gain based on the peak value, bringing the largest sample close to 30000. To prevent excessive amplification of ambient noise, the gain is limited to a maximum of 8x. This is a simple automatic volume-boosting algorithm.
speaker.write(reinterpret_cast<uint8_t*>(outputSamples), pcmBytes);
free(outputSamples);
free(wavData);
During playback, the processed PCM buffer is written to the I2S speaker. After playback is complete, the PSRAM output buffer is released first, followed by the recorded WAV buffer. Audio programs rely heavily on proper memory management. Failing to release memory will make subsequent loops increasingly unstable.