


Story
This is the English translation of the Italian version you can see on my blog: Come installare MicroPython sulla Raspberry Pi Pico
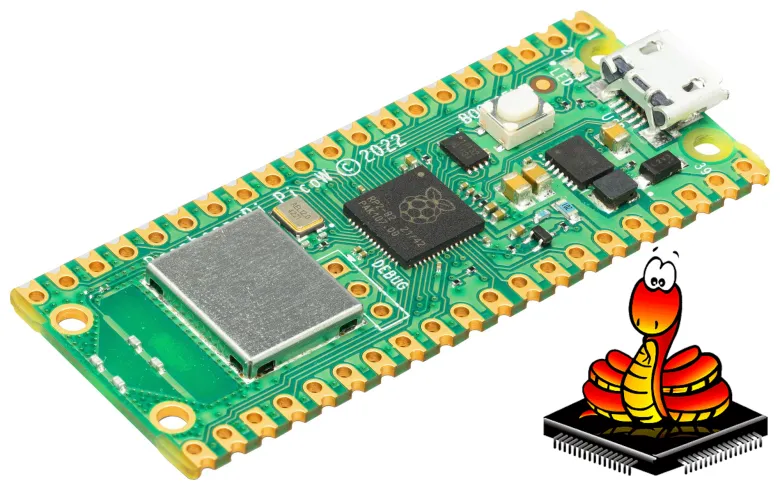
Key Features of the Raspberry Pi Pico W
The Raspberry Pi Pico W (datasheet) is built around the RP2040 microcontroller designed by Raspberry Pi. Its specifications include:
-
RP2040 microcontroller (datasheet) (dual-core ARM Cortex-M0+ @ 133 MHz)
-
264 KB of SRAM
-
2 MB of QSPI flash memory
-
802.11n Wi-Fi connectivity (2.4 GHz) via Infineon CYW43439 chip (datasheet)
-
26 multifunction GPIO pins
-
Support for 2× I2C, 2× SPI, 2× UART
-
PWM output on 16 pins
-
Three 12-bit analog input pins
-
On-chip clock and timer with year, month, day, weekday, hours, seconds, and automatic leap year calculation
-
On-chip temperature sensor connected to a 12-bit ADC
-
Micro-USB port for power and programming
-
Operating voltage: 1.8 V – 5.5 V
-
Form factor: 21 mm × 51 mm
-
Operating temperature range: –20 °C to +85 °C
Thanks to its compact size, it's perfectly suited for breadboards, prototyping, and DIY projects.
NOTE :The installation is similar for the Pico, Pico W, Pico 2 version
✅ Summary
-
Download the latest firmware from the official MicroPython site.
-
Boot the Pico W in bootloader mode (hold BOOTSEL while connecting).
-
Copy the
.uf2file to the Pico drive to flash it. -
Use Thonny or a serial terminal to code and interact with MicroPython.
-
Test with a simple LED blink script.
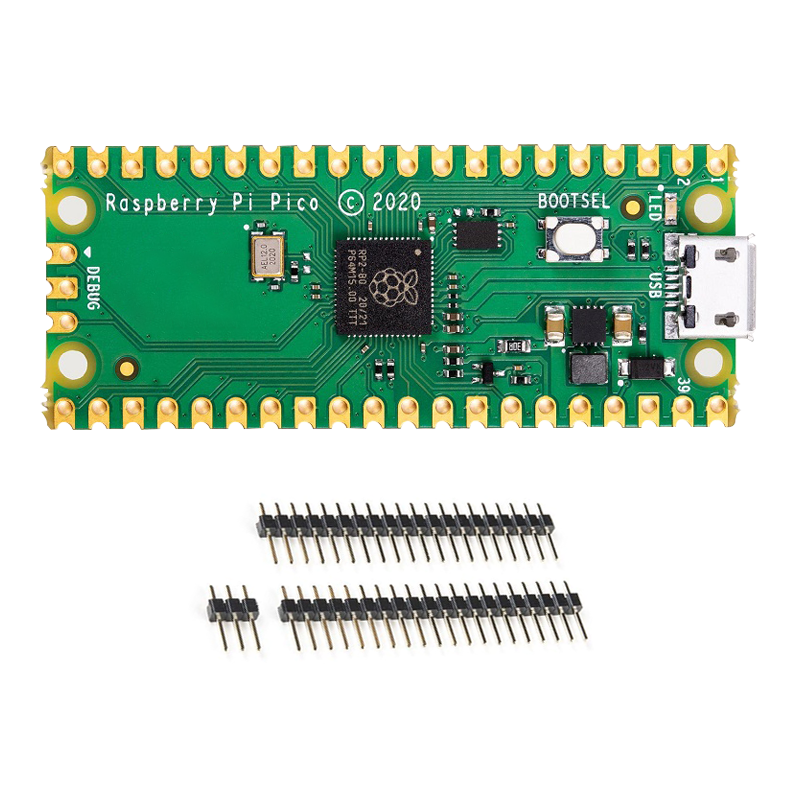
📌What You’ll Need
-
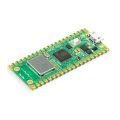
Raspberry Pi Pico
-
Micro-USB cable (for data, not just charging)
-
Computer running Windows, macOS, or Linux (instructions based on Windows 10)
-
Internet connection

🔧 Additional Tips
-
If you bought a Pico or Pico W (not Pico H or WH), it won't come with header pins soldered—you'll need to solder them yourself.
-
You can use a small fine-tip soldering iron (~25–30 W) and lead-free solder (97% tin, 3% copper, 1 mm diameter).
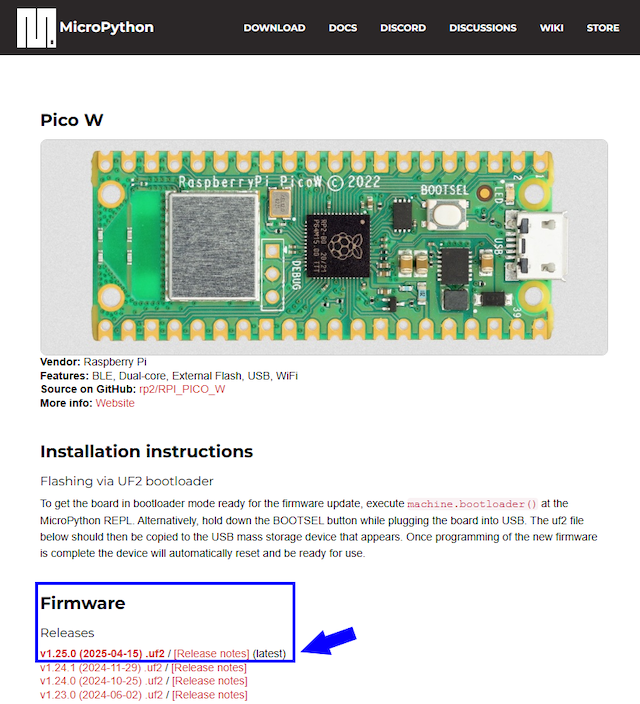
Step 1: Download the MicroPython Firmware
-
Go to the official MicroPython website and navigate to the Pico W firmware page: https://micropython.org/download/rp2-pico-w/
-
Download the latest
.uf2firmware file (e.g., version v1.25.0 dated 2025-04-15). -
Save the
.uf2file to your computer.
Step 2: Put the Pico W into Bootloader Mode
-
Hold down the BOOTSEL button on the Pico.
-
Connect the Pico W to your computer using the micro-USB cable.
-
Release the BOOTSEL button after about 1–2 seconds.
-
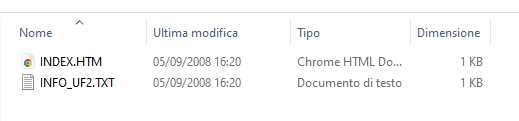
The computer should detect a new USB drive labeled RPI‑RP2.
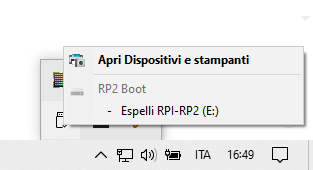
You’ll see two files: INDEX.HTM and INFO_UF2.TXT.
Step 3: Install MicroPython
-
Drag and drop the downloaded
.uf2file onto the RPI‑RP2 USB drive. -
The Pico will automatically reboot after a few seconds.
-
MicroPython is now installed!
Step 4: Interact with MicroPython
You can use either a serial-terminal or an integrated development environment (IDE). A beginner-friendly method is to use Thonny:
-
Thonny is a free, open-source Python IDE ideal for beginners.

How to Install and Configure Thonny:
-
Download Thonny from https://thonny.org
-
Install and launch the application.
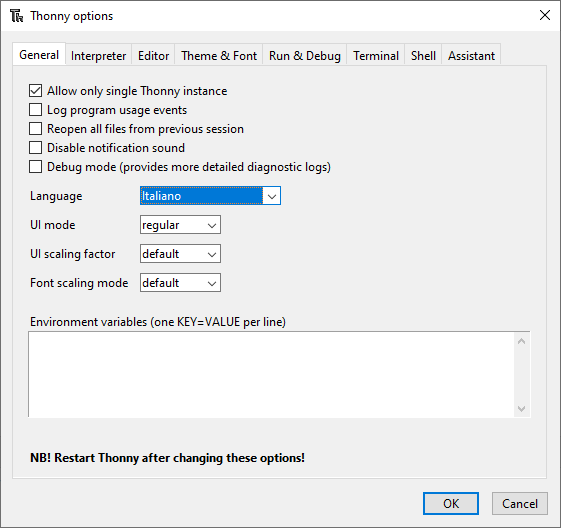
-
Go to Tools → Options → Language, select your preferred language, and restart Thonny.
-
Then go to Tools → Options → Interpreter, and choose the Pico W as the interpreter.
-
Select:
Interpreter: MicroPython (Raspberry Pi Pico)
Port: It should be detected automatically (e.g., COMx or ttyACM0)
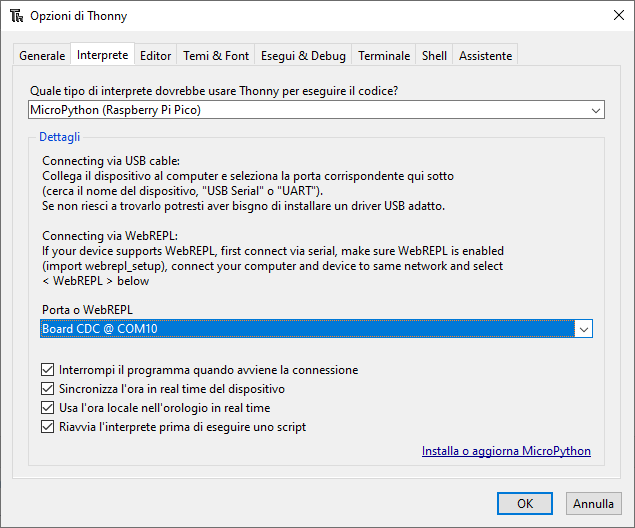
Click OK
🎺You can now write MicroPython code and upload it directly to the Pico.
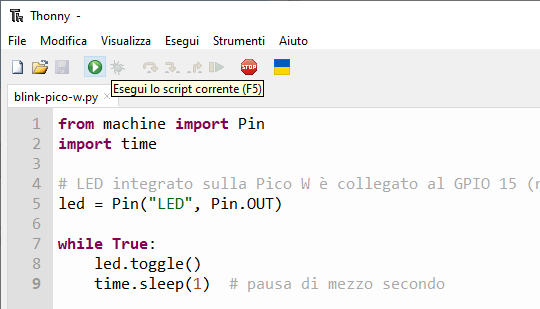
Step 5: Run a Test Program (Blinking LED)
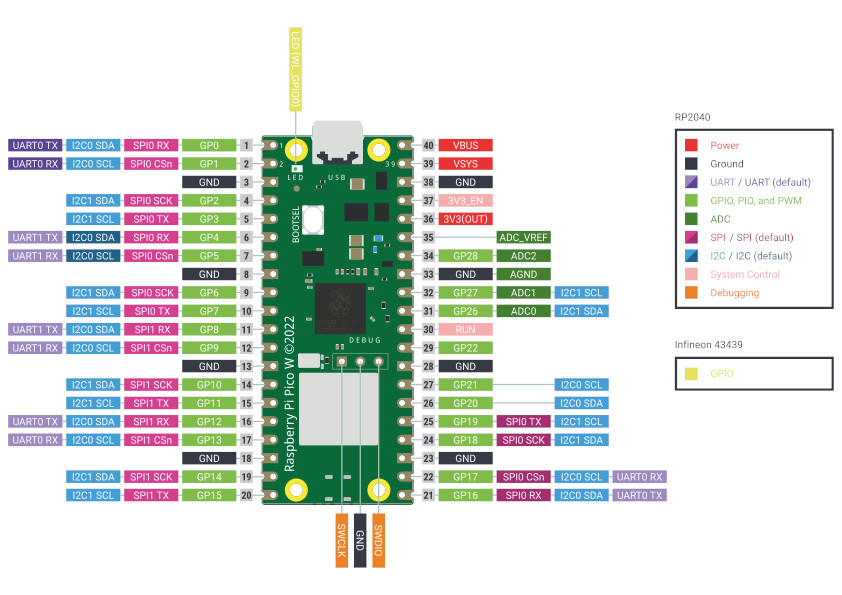
The Pico W has a built‑in LED connected on GPIO 15 (note: GPIO 25 is used on original Pico). Type this example in Thonny:
from machine import Pin
import time

led = Pin("LED", Pin.OUT)  # Built-in LED on GPIO 15

while True:
    led.toggle()
    time.sleep(1)  # 1 second pause
Running this will make the LED blink at 1 second intervals. To start the program click on the Run button