Play ESP DIY Kit
- Buy 2 for $14.00 each and save 7%
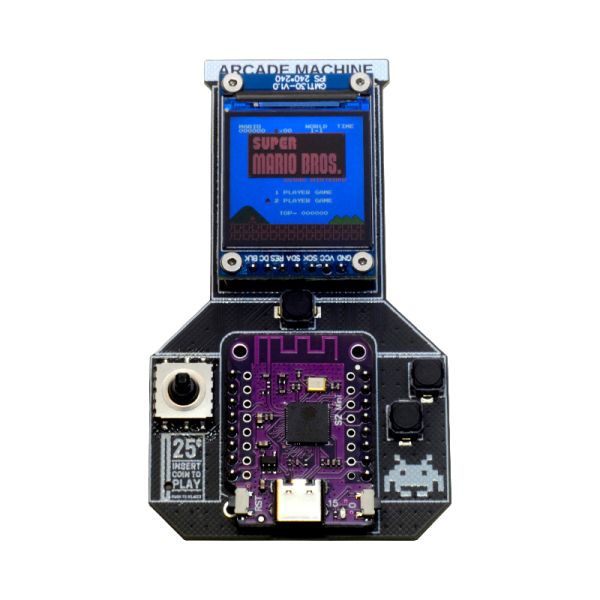
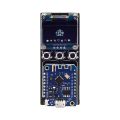
Play ESP DIY Kit is an electronic DIY NES emulator. It aims to be a fun evening activity with an appealing end result that you'd be happy to use once in a while.
What is it
Play ESP DIY Kit is an electronic DIY NES emulator. It aims to be a fun evening activity with an appealing end result that you'd be happy to use once in a while.
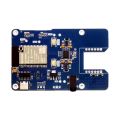
It connects off-the-shelf components together on the custom-built motherboard. Therefore it would be within the reach of complete beginners.
It uses a Wemos module in its heart, so you can pick to use ESP8266, ESP32-C3, ESP32-S2, or ESP32-S3 based on your preference.
The display part of the kit is a ubiquitous ST7789 240x240px TFT screen, which I think is the best screen I ever used on one of these projects in terms of pixel density and color quality. It is just a few lines narrower than the original NES resolution, so you have the comfort of displaying an unscaled image.
You can power it from two AAA batteries and take it with you.
I designed it to assemble it together with my 7-year-old son. End result is a nostalgia-filled handheld toy.
Main features
- Wemos C3 or S2 module
- ST7789 240x240px screen
- 4 push buttons
- 4-way joystick
- Dual AAA Battery holder
- Buzzer
How to use it
Soldering
The kit includes all the headers and connectors you need to make it work. However, you’d need to have a soldering iron and a small piece of soldering wire.
Soldering job will take 5 to 30 minutes depending on your skills.
Please check on the project page for details assembly instructions
Mechanical
You will need to assemble together 4 M2 brass standoffs with corresponding bolts.
Kit will happily accept power from any mini-USB charger or power bank. The battery holder on the back side allows power from two AAA batteries (please use rechargeable)
Firmware
Kits ships with a sample Platformio project, so please follow the official Platformio installation guide first.
Code is based on nofrendo emulator, which was ported to the ESP platform by Espressif Team, originally written by Matthew Conte.
Open the included firmware source code and build the project using Platformio: Build task. Flash firmware to target using Platformio: Upload task. Platformio will handle all the framework and library dependencies automatically. You need to put the .nes file to the data folder and run the Upload Filesystem Image task to put ROM into the filesystem.
Open Source Documentation
Both software and hardware documentation can be found on the project’s Github. You can follow project progress at Hackaday

