Currency
Toggle Nav

Getting Started with Raspberry Pi Pico 2 on All-in-one Starter Kit
July 16, 2025
How to setup Raspberry Pi Pico 2 with Starter Kit
Welcome to the world of the Raspberry Pi Pico 2! With its powerful new RP2350 chip, this tiny board opens up a universe of possibilities for students, makers, and developers alike. If you're new to microcontrollers, getting started might seem a bit daunting. Don't worry—this guide will walk you through every necessary step to easily set up your Pico 2 and show you how to go from a single line of code to truly exciting, creative projects.
Starting Your Pico 2 Journey: The Core Setup
The entire setup process is very straightforward. You can follow the step-by-step guide below, or watch our complete video tutorial to see the entire process from start to finish.
Official Raspberry Pi Pico 2 Setup Beginner's Guide
Let's begin.
Step 1: Download the MicroPython UF2 File
- Visit the official Raspberry Pi firmware download page.
- Find and download the
.uf2file specifically for the Raspberry Pi Pico 2 (RP2350). Save it somewhere you can easily find it on your computer.
Step 2: Enter Bootloader Mode
- Locate the BOOTSEL button on your Pico 2 board and press and hold it down.
- While holding the button, connect the data cable from the Pico 2 to your computer.
- A removable drive named "RP2350" should appear on your computer. Once you see it, you can release the BOOTSEL button.
Step 3: Flash the MicroPython Firmware
- Find the
.uf2file you just downloaded. - Drag and drop this UF2 file onto the "RP2350" drive, just like copying a regular file.
- After the file finishes copying, the Pico 2 will automatically reboot. The "RP2350" drive will disappear, which indicates that MicroPython has been successfully installed and is now running!
Step 4: Install and Configure Thonny IDE
- Visit the official Thonny website to download and install the latest version.
- Open Thonny and navigate to Tools > Options > Interpreter.
- From the interpreter dropdown menu, select "MicroPython (Raspberry Pi Pico)" and then click "OK."
The "Shell" window at the bottom of Thonny should now display the MicroPython version information and a >>> prompt, confirming that your computer is successfully connected to the Pico 2.
Step 5: Run Your First Programs
Let's verify the setup. The classic first step is to print a message. In the main editor window of Thonny, type the following code:
print("Hello, Pico 2! I'm ready to create.")Click the green "Run" button. You will see the sentence printed in the Shell window below. Congratulations!
But to see the real power of the Pico, let's make something happen in the physical world! Here's how you can blink the onboard LED. This simple test confirms your board is truly working.
# Import necessary libraries
import machine
import utime

# Set up the onboard LED pin
led_onboard = machine.Pin("LED", machine.Pin.OUT)

# Loop forever
while True:
    led_onboard.toggle()  # Turn the LED on if it's off, and off if it's on
    utime.sleep(0.5)    # Wait for half a second
Run this code, and you'll see the small LED on your Pico 2 board blinking on and off. You're now controlling hardware with code!
From "Hello, World!" to "Hello, Real World!"
At this point, you might be asking, "What's next?" The traditional path involves buying breadboards, jumper wires, and various sensors, then carefully connecting everything according to complex diagrams. This process is not only time-consuming but can also be incredibly frustrating to troubleshoot.
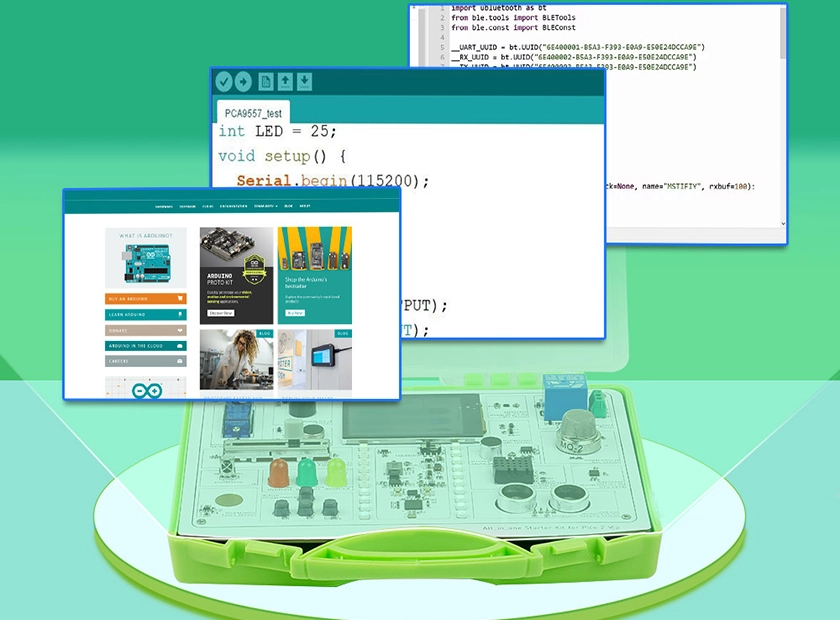
This is where the Elecrow All-in-one raspberry pi pico 2 starter kit shines, offering a complete solution based on the Pico 2's RP2350 chip. It's designed specifically to eliminate these frustrations. Here’s a look at its key features:
- Ready to Use Out of the Box: The common sensor board design integrates 17 sensors on a single board, so there is no need to solder wires. You can get started immediately.
- Rich Interactive Display: It includes a 2.4-inch TFT full-color touch screen and 20 full-color atmosphere lights that are programmable, providing instant and exciting visual feedback for your code.
- Complete Learning System: The kit comes with more than 20 creative tutorials to guide you from simple concepts to advanced projects.
- Seamless Learning and Fun: With built-in mini-games that can be played right after booting, you can easily switch between learning and entertainment.
- Portable and Organized: Everything is housed in a well-designed portable suitcase, making it small, exquisite, and easy to carry for learning anywhere.
A comprehensive raspberry pi pico 2 starter kit like Elecrow's clears the common hurdles for beginners. It transforms the steep learning curve into a gentle and enjoyable journey of discovery. If you want to skip the frustration and dive straight into exciting projects, this kit is undoubtedly the best companion to start your creative journey.
Ready to turn your ideas into reality? Come and check our Raspberry Pi Pico 2 Starter Kit!
If you'd like to see what others think, check out this community share on Elecrow: Review of Elecrow All-in-one Starter Kit for Pico 2 (RP2350).
This in-depth review from a real user might just give you some extra inspiration.