Currency
Toggle Nav

Unlocking Breakout Boards: Exploring Their Functions and Benefits
September 01, 2023
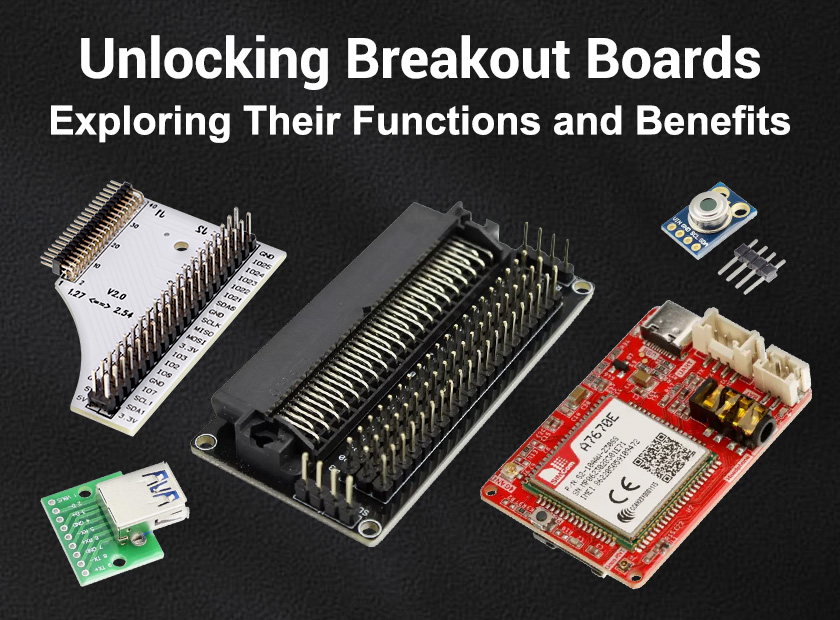
Unlocking Breakout Boards: Exploring Their Functions and Benefits
Prologue
If you're a maker who's been immersing yourself in the world of Arduino for some time, you've probably come across the term "breakout board" quite often. These nifty devices are incredibly common, but their purpose may not be immediately apparent from their name alone. To help you better understand the term, in this blog we will delve into the realm of breakout boards, uncovering their true nature, exploring the reasons why they are so awesome, and what to consider when using them. Get ready to unlock the secrets of breakout boards and improve your tinkering experience!
The basics about breakout boards
Integrated circuits, also known as ICs, play a critical role in electronic devices. With pins serving various functions such as power supply, grounding, input reception, and output transmission, using these components can sometimes be challenging. This is where breakout boards come in, simplifying the use of individual electrical components, sensors, or chips.
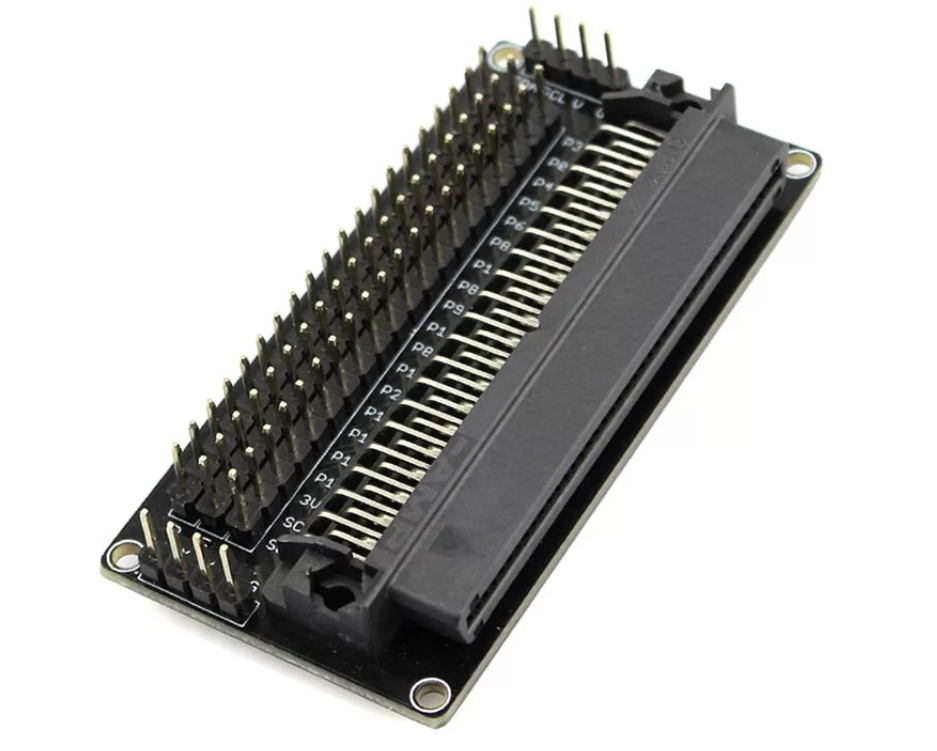
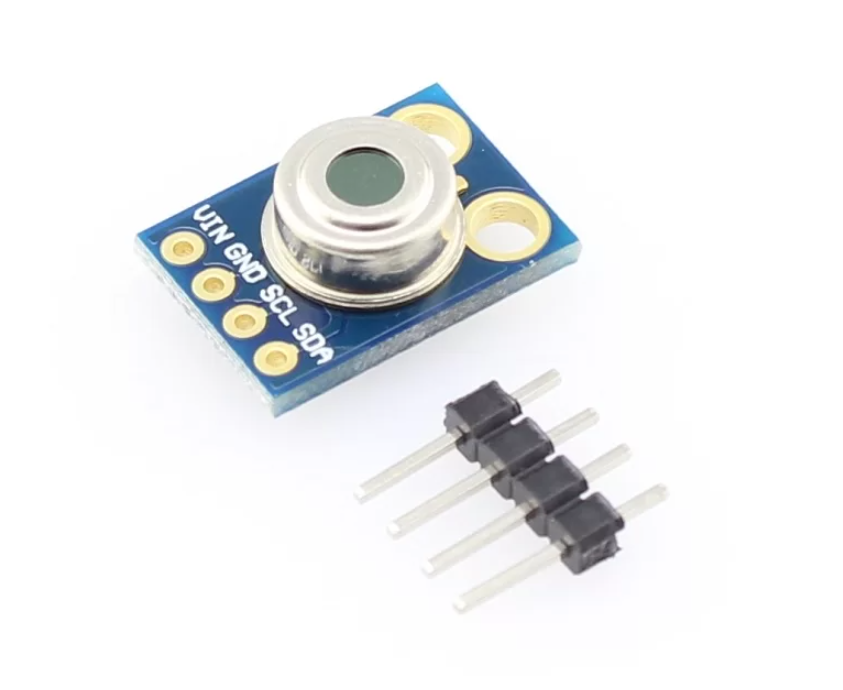
By "breaking out" the pins onto a separate circuit board, hence the name, breakout boards make the process effortless. These specialized boards are often compact and designed with perfectly spaced pins to fit on a solderless breadboard for seamless integration.
The versatility of breakout boards is remarkable and covers a wide range of applications. Whether you need to measure temperature, pressure, acceleration, or any other parameter, there is likely a breakout board available. Best of all, these boards can be used with popular platforms such as Arduino, Raspberry Pi, Feather, or your preferred development platform, providing flexibility and compatibility.
Breakout boards make everything easier
While it is a valid consideration to directly place the few components of a breakout board onto a breadboard, one might wonder about the advantage of using a separate circuit board. After all, the individual components are typically less expensive than a dedicated breakout board. So, is there a compelling reason to opt for a breakout board instead of a direct connection on a breadboard?
It's worth noting that there is nothing inherently wrong with connecting the components directly to a breadboard, and many people choose this approach, especially if they already have the components readily available. However, breakout boards offer several advantages that make them a popular choice:
Convenience: Breakout boards are specifically designed to simplify the use and integration of components. They feature pins or connectors that are precisely spaced and aligned, ensuring easy and secure attachment without the need for complex wiring or soldering. This convenience saves time and effort during prototyping or development stages.
Space Efficiency: Breakout boards are typically more compact than the individual components they host. By condensing the necessary circuitry into a smaller form factor, they optimize space utilization on breadboards or within projects where size constraints are a consideration.
Enhanced Durability: Breakout boards provide mechanical support and protection to the delicate components they house. By providing a stable platform and shielding against physical stress or accidental damage, they help to extend the lifespan and reliability of the components.
Simplified Interfacing: Breakout boards often incorporate additional circuitry or features that facilitate easy interfacing with common development platforms like Arduino or Raspberry Pi. This integration streamlines the connection process and eliminates the need for complex wiring configurations.
Documentation and Resources: Breakout boards typically come with detailed documentation, including pinout diagrams, example codes, and application notes. This wealth of information assists users in understanding and utilizing the specific features and functionalities of the components, thus aiding in the development process.
Reusability: If you are using DIPs (dual in-line packages), their pins may be larger, but they are generally not very robust. It's wise to reconsider using them repeatedly on a breadboard because the pins can wear out quickly.
Conversely, breakout boards have sturdy pins that are intentionally designed for reusability. They allow you to insert and remove components with ease and confidence. This makes breakout boards an ideal choice for prototyping.
DIP components not available: Over time, electronics have been shrinking in size, resulting in reduced demand for larger components. Manufacturers are gradually phasing out DIPs, leading to their decreased availability. Consequently, breakout boards have emerged as a highly suitable alternative, offering ample functionality to meet the evolving needs of electronic prototyping and development.
Overall, breakout boards offer convenience, space efficiency, durability, simplified interfacing, and valuable resources that make them an attractive option. While connecting components directly to a breadboard is a viable alternative, utilizing breakout boards can significantly enhance the overall user experience, particularly during prototyping, testing, and project development phases.
Things you need to know about breakout boards
When considering breakout boards, despite their many advantages, it's important to keep a few things in mind.
Non-interchangeability of breakout boards:
While searching for a breakout board, you may come across a cheaper alternative to the one you originally intended to purchase. While this may seem appealing at first, exercise caution before making a decision.
If you are planning to use pre-written code for a specific breakout board, and you come across a cheaper alternative for that board, check to see if the alternative uses the same integrated circuit (IC) as the board for which the code was written. Also, check if the IC family is the same.
Why is this important? Even if two breakout boards are of the same type, different ICs may have different pin configurations. As a result, code written for one circuit will not work properly with the other. If the breakout boards do not use the same IC, and you are unfamiliar with code customization, the cheaper board could end up costing you more time and effort to get it to work properly.
Soldering may be necessary
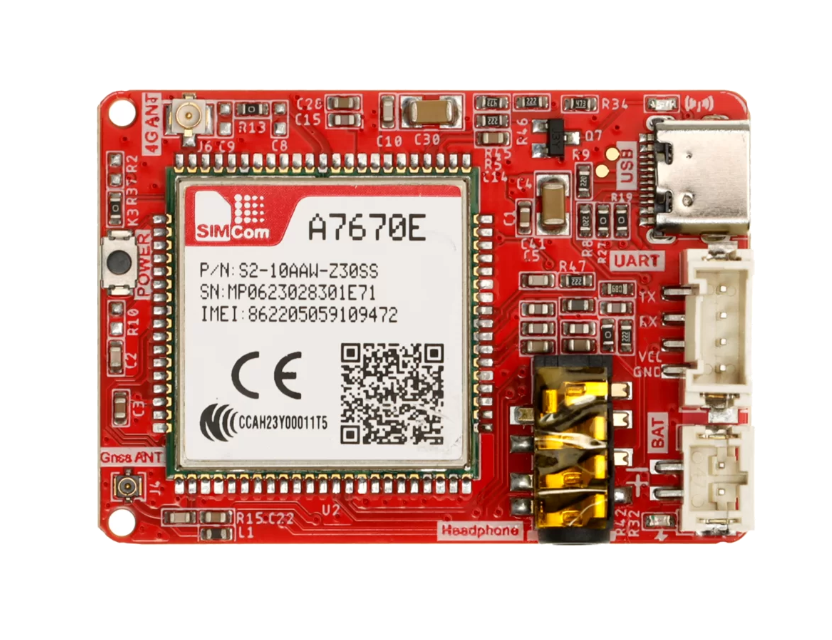
Many breakout boards are available for purchase with pre-soldered components. However, there are also a significant number of boards that require you to solder the header pins yourself. Additionally, you may come across breakout boards that only include the SMD (Surface Mount Device) components, requiring you to separately purchase the pins.
When obtaining a new breakout board, it is crucial to carefully read the package contents to avoid any unpleasant surprises.
Ensure correct supply voltage
Arduino boards typically have two voltage pins: one operating at 3.3 volts and the other at 5 volts. It is important to examine your breakout board to determine which voltage pin you should connect it to. The supply voltage information is often printed on the PCB (printed circuit board). Sometimes, it may be labeled as Vcc(Voltage Common Collector), so it is advisable to refer to the breakout board specifications.
Emphasize good documentation
In the realm of development and programming, many concepts are not inherently intuitive. Having access to well-structured tutorials and instructions is essential for comprehending new technologies. Good documentation can save considerable time and prevent unnecessary complications, irrespective of whether you are a beginner or experienced.
When working with new components or refreshing our knowledge of familiar ones, we rely on various sources of documentation. Recognizing its importance, we ensure that every product from our workshop is accompanied by comprehensive and well-written documentation.
Before acquiring a breakout board, it is wise to seek out documentation. If none is available, it might be worth considering an alternative to save time. Alternatively, you could take it as a challenge and attempt to make it work without documentation!
Breakout boards vs. Arduino shields
If you're familiar with Arduino shields, you may wonder about the difference between shields and breakout boards. The most noticeable difference is size. Breakout boards use less space and pins than shields.
Breakout boards can be used with any microcontroller development board, not just Arduino. However, Arduino shields are incompatible with Raspberry Pi.
Breakout boards typically have fewer components than shields, leading to a lower price point. Additionally, many breakout boards offer similar functionality to Arduino shields.
Final Words
Breakout boards are essential tools for electronics enthusiasts and professionals, simplifying the process of prototyping and experimentation. When it comes to high-quality breakout boards, Elecrow stands out as a leading provider of electronic components and development tools. Their carefully designed and reliable boards cover a wide range of applications and are backed by a responsive customer support team. Experience the convenience and innovation of multiple breakout boards and unlock new possibilities for your projects.
If you are a maker interested in turning your ideas into realistic products and profiting from them, you can even join Elecrow's Partner Seller Program to fulfill it, join our Partner Seller Program to mass produce your ideas into solid projects, sell them online with our professional help and earn your profits here!