Currency
Toggle Nav

How To DIY Your Own Mechanical Keyboard?
November 21, 2022
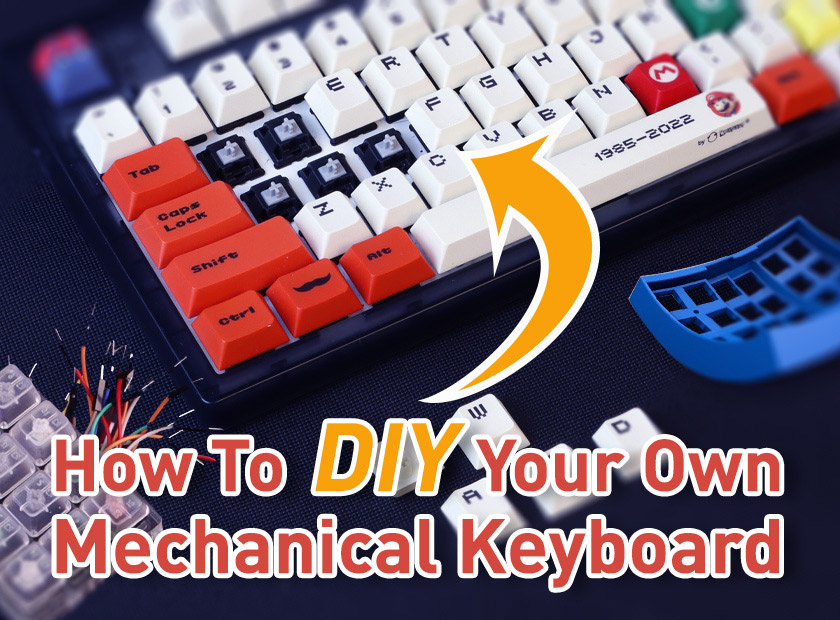
The internet is filled with 3D printing mechanical keyboard tutorials. But what if you don't own a 3D printer? Or what if you want to learn about the process of making a keyboard from start to finish?
This blog post is for you! We'll cover the basics of 3D printing and mechanical keyboard design and then walk you through the steps of making your keyboard. By the end, you'll have all the knowledge you need to start designing and 3D printing your custom mechanical keyboard!
History of Mechanical Keyboards
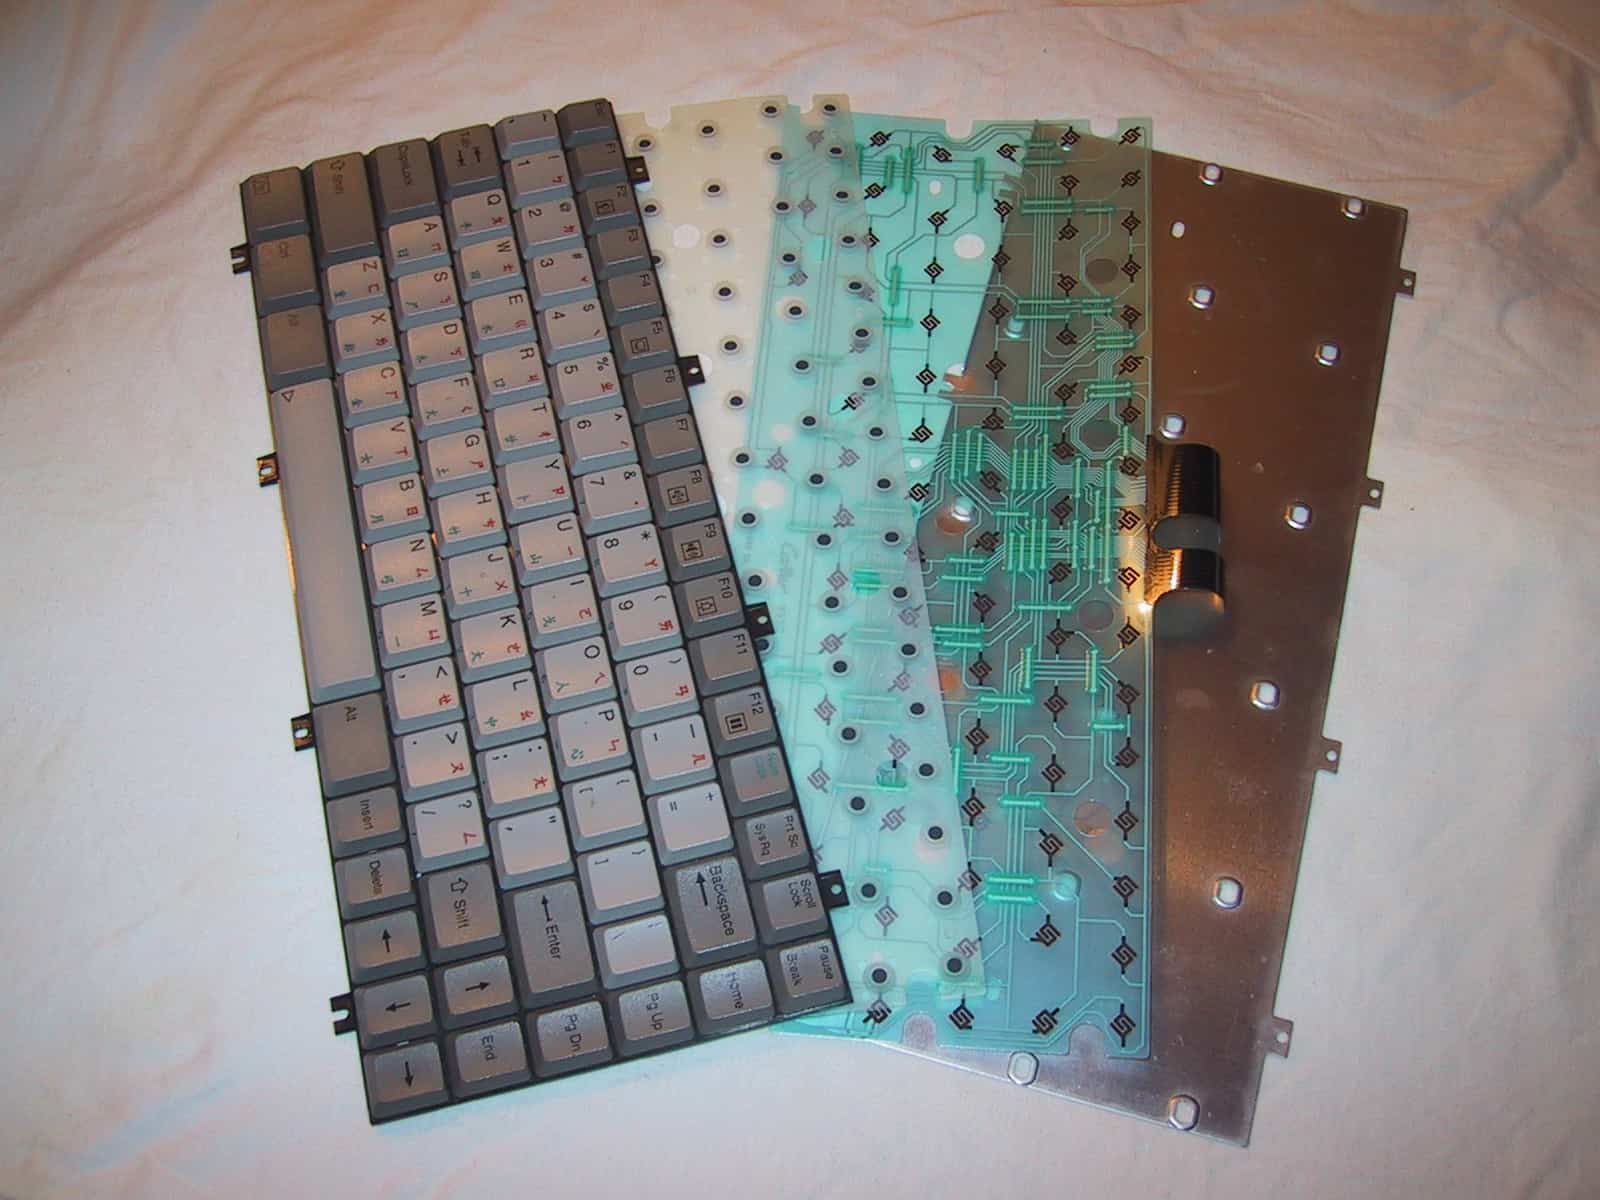
The history of mechanical keyboards traces back to the early days of personal computing. One of the earliest examples is the IBM Model M, which was introduced in 1980. The Model M was notable for its high-quality construction and its use of buckling spring key switches.
In the early 2000s, there was a revival of interest in mechanical keyboards. This was partly due to the gaming industry's popularity and the growing trend of modding and customizing personal computers. Several companies started to produce mechanical keyboards targeted at the enthusiast market.
Today, mechanical keyboards are more prevalent than ever. They are widely used by gamers, as well as by people who appreciate the superior typing experience that they offer.
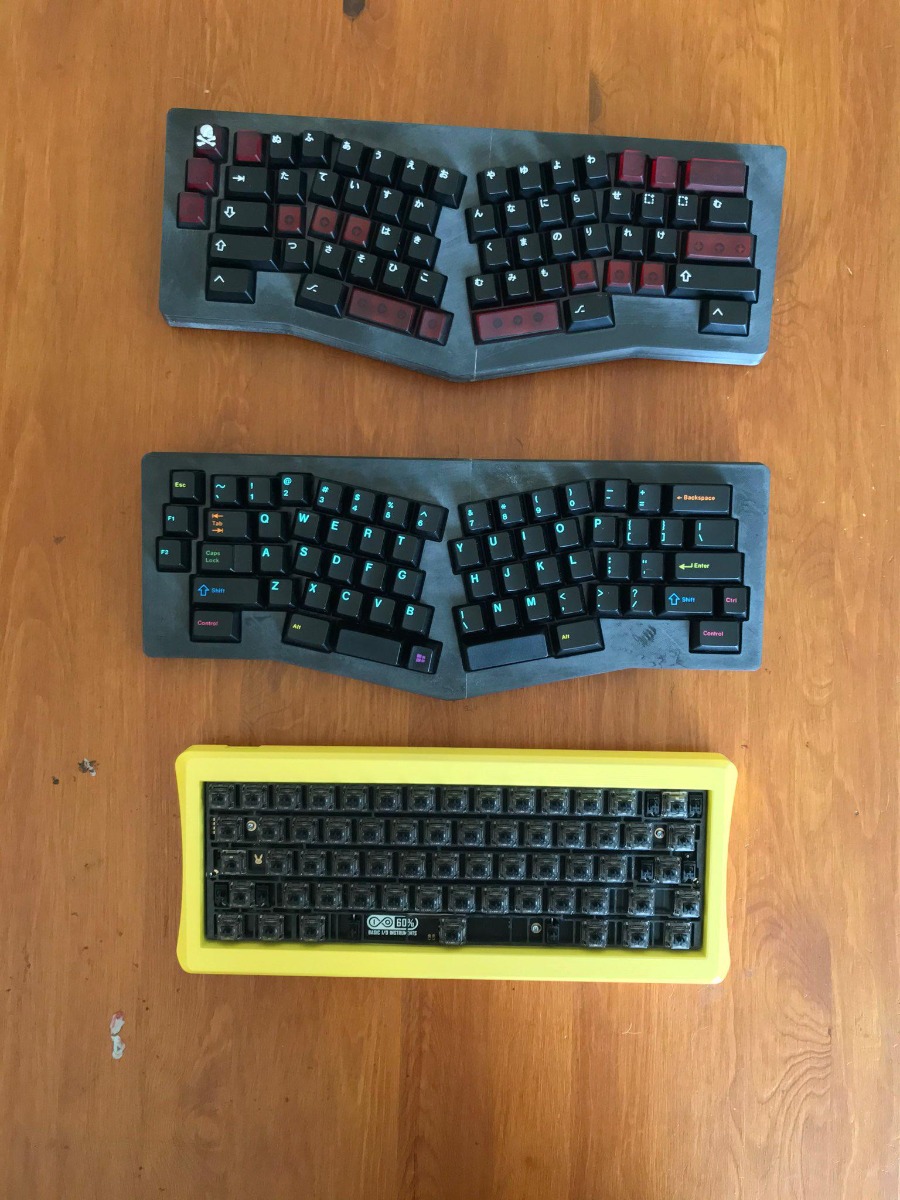
Advantages of Build Your Own Custom Keyboard
A custom keyboard can be a great advantage for several reasons.
First, you can tailor the keyboard to your specific needs and preferences. For instance, you can choose the layout, size, and type of keys that best suit your needs, whether you are a programmer who needs extra keys for shortcuts or someone who wants a smaller keyboard to save space on your desk.
Second, a custom keyboard can be a best way to boast your personality, DIYing skills, and style. You can choose to have a sleek and professional-looking keyboard, or you can go for a more fun and funky design.
You can also choose the materials, switches, and keycaps you want, which allows you to create a perfect keyboard. And because you are building it yourself, you can be sure that it will be made to last.
How To 3D Print a Mechanical Keyboard
3D printing a mechanical keyboard can be easy and breezy if you correctly follow the steps:
Step 1: Brainstorming and Planning:
First, you need to brainstorm and write down different ideas on what type of mechanical keyboards you can make that will fulfill your requirements. You should consider its size, color, material, and features, along with various other aspects, including the genre of mechanical keyboards.
Step 2: Choose the suitable size:
The advantage of DIY keyboards is the liberty to choose any size you want! Generally, they are available in Full-size, 1800-compact size, Tenkeyless, 75%, 65%, 60%, 40%, and Macropads.
You can also go for custom sizes, but the availability of the parts and the comfort of using them should be considered.
Step 3: Choose the features:
It can take time to pick the right features for your mechanical keyboard. These features can enhance functionality and aesthetic appeal. Some of the notable features that you can pick include:
- RGB lighting:It can be under each key, on the sides, to give an under-glow.
- USB port: You can add one or multiple USB ports. It would be best if it’s USB Type-C, as it is reversible.
- OMK Firmware: You can add this feature if you want the keyword to be programmable and easily remapped.
Step 4: Order Your Parts and Gather the material:
Once you have finalized your DIY mechanical keyboard's design, features, and size, it is time to order the required parts. If you own a 3D printer, you can print the parts yourself. Else you will need to order them too.
Some of the general components required are:
- Costar-style keyboard stabilizer (1 set)
- Rubber feet (4 pieces)
- Mini USB cable (1 piece)
- Single-core wire (1 roll)
- Stranded rainbow wire (1 roll)
- 1N4148 diodes (68 pieces)
- Switches (2 sets)
- Solder
- 3D printer filament
- 32 by ½ inches Phillips machine screws (6 pieces)
- Teensy USB Microcontroller Development Board (1 piece)
- Electrical Tape
- Keycaps (If you don’t want to 3D print the components)
- Keyboard plate and case (If you don’t want to 3D print the components)
You will also be needing tools like a Soldering iron, wire cutter, and Phillips screwdriver.
Step 5: Assemble the components:
Once you have collected all your components, it is time to assemble it. But before that, you need to 3D print your keyboard case, plat, and keycaps. You can design them from scratch or consider premade designs available online.
3D printing the case and other components is more difficult than it appears, you must ponder upon various factors.
Once you have your case, install the switches. Start to assemble them from the top by pushing them onto the plate until you hear a clicking sound. Also, ensure they are facing in the same direction.
Next, you need to connect the diodes to the pins of your switches by solding. Then, connect each row and column of switches with a wire. This process is a bit complicated, and you should watch a video tutorial to do it properly.
Once you have connected the switches using the web of wires, it is time to connect the other end to a Teensy USB microcontroller. After the connection, you must program the controller by attaching it to the computer. Once the programming is done, you can test the keyboard to see if every key is working properly.
After the testing, you can slot in the stabilizers and keycaps, tuck in the wires and components neatly, and close the case. Install the rubber feet on all four corners of the bottom of your keyboard for grip. Alas! Your 3D-printed DIY mechanical keyboard is ready to serve!
Elecrow 3D Printing Service Introduction
We know DIYing your mechanical keyboard can be fun, but you will need a 3D printer and adequate printing skills to print out the major components of the keyboard. And we know not everyone can afford to buy a 3D printer to print one or a few DIY keyboards.
On the other hand, ready-made mechanical keyboard cases and other 3D printable components available on the marketplace may not serve all your personalized needs.
So should you kill your wish to have a keyboard just the way you want if you don’t have a 3D printer?
Absolutely No!
Elecrow 3D printing company can print your DIY keyboard’s design into reality in just a few steps. All you need is to upload 3d design files, choose your materials, then enjoy our online 3D printing service.
Elecrow PCB Assembly Service
Elecrow also provides you PCB manufacturing service and PCB Assembly service for your mechanical Keyboard projects, it’s Elecrow Mechanical Keyboard Special Promotion Month 2022 between November.17 - December.17 2022, you can enjoy Free Assembly Cost for Mechanical keyboards PCBA orders ≤50 pcs, 50% off discount for order quantity>50 pcs, If you have producing requirement for mechanical keyboards, take this chance to get free PCB Assembly service, and enjoy 3d printing service & Acrylic laser cutting service starting 1$!
