


Story
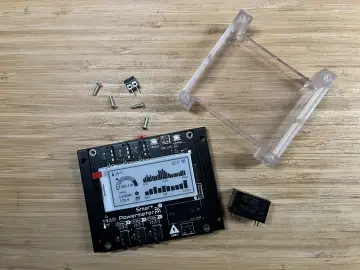
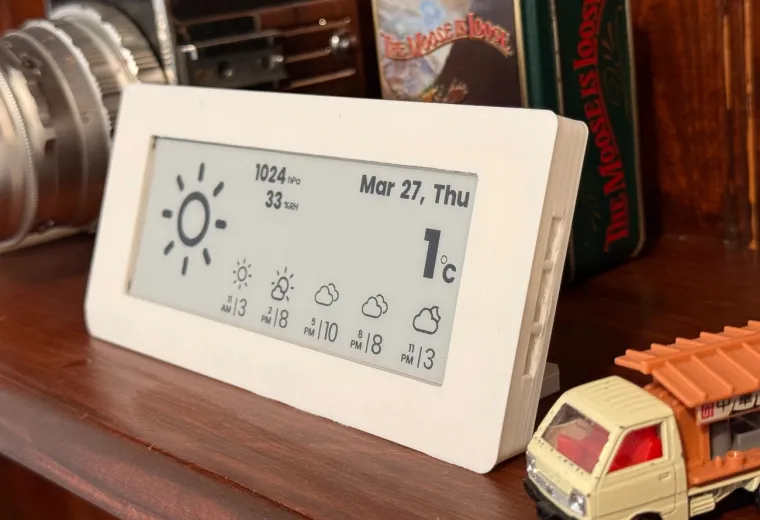
This weather station displays real-time weather data, forecasts, and temperature trends on a 5.79-inch e-paper display. It features adaptive highlighting of key weather metrics, power-efficient deep sleep mode, and user-configurable parameters. The project requires an OpenWeatherMap API key, WiFi credentials, and location coordinates.
Key Features
- Real-time Weather Data: Displays current temperature, humidity, pressure, and weather conditions
- Weather Forecast: Shows upcoming weather forecast with icons and temperatures
- Temperature Graph: Visual representation of temperature trends over the next 24 hours
- Adaptive Display: Automatically highlights significant weather metrics (UVI when high, precipitation when present, wind speed when significant)
- Pixel perfection: Carefully rendering a font creates a beautiful appearance.
- Power Efficient: Utilizes deep sleep functionality to maximize battery life
- Configurable Refresh: Weather data updates at user-defined intervals
- Error Recovery: Automatic retry mechanism if API calls or connectivity fail
Requirements
- WiFi network credentials
- OpenWeatherMap API key (free tier compatible)
- Geographical coordinates for your location
- Easy set up through https://kotamorishi.github.io/weather-crow5.7
How to install
- Connect your ESP32-S3 device via USB
- Click the Install Weather Crow button above
- Select the serial port for your device(e.g. USB Serial)
- Wait for the installation to complete (about 2 minutes)
- Your device will restart and start the WiFi setup