Currency
Toggle Nav

How to Turn Your Raspberry Pi into a Portable Laptop with CrowView Note
April 15, 2026
Transform your Raspberry Pi 5 into a fully portable workstation in minutes - no tools required.
Introduction
The Raspberry Pi is a powerful little computer. But using it often means gathering a monitor, keyboard, mouse, and a tangle of cables every time you want to work. That's fine at a desk, but what if you want to take your Pi on the go?
The CrowView Note solves this. It combines a 15.6-inch raspberry pi display, full keyboard, touchpad, speakers, and battery into a single laptop-shaped device. Connect your Raspberry Pi 5, and you have a truly portable raspberry pi laptop you can use anywhere.
In this guide, we'll show you exactly how to set up the CrowView Note with a Raspberry Pi 5 - though the same process works with Raspberry Pi 4, Jetson Nano, and other single-board computers.
What is CrowView Note?
The CrowView Note looks like a laptop, but there's no computer inside. It's a portable lapdock - a raspberry pi touchscreen display with integrated peripherals that you power with your own device.
Key Specifications:
- Display: 15.6" IPS panel, 1920x1080 resolution, 100% sRGB color coverage
- Refresh Rate: 60Hz
- Brightness: 300 nits
- Keyboard: Full-size with function keys
- Touchpad: Multi-touch capable
- Speakers: Built-in stereo speakers with microphone
- Battery: 6000mAh (approximately 2-3 hours of portable use)
- Ports: USB-C (full-featured with 5V/5A power delivery), Mini HDMI, USB-A
- Weight: Approximately 1.5kg
What makes it different from a standard raspberry pi monitor? The integrated keyboard and touchpad eliminate the need for separate peripherals. The built-in battery means your entire setup - including your Raspberry Pi - can run without mains power. And the 180-degree hinge lets you fold it completely flat for easy transport.
Price: $169 / approximately €155
Compatible Devices
The CrowView Note works with virtually any device that has HDMI or USB-C video output:
Single-Board Computers:
- Raspberry Pi 4 and Pi 5 (dedicated bridge board available)
- Nvidia Jetson Nano (dedicated bridge board available)
- Orange Pi, Rock Pi, LattePanda, Beaglebone, and more
Smartphones (desktop mode):
- Samsung Galaxy (DeX)
- Huawei (EMUI Desktop)
- Motorola (Ready For)
Gaming Devices:
- Steam Deck
- Nintendo Switch
- PlayStation and Xbox (for portable gaming display)
Other:
- Mini PCs, laptops (as secondary display), cameras, streaming devices
Step-by-Step Setup: Raspberry Pi 5

What You'll Need
- CrowView Note 15.6"
- Raspberry Pi 5 Bridge Board (sold separately, approximately €7)
- Raspberry Pi 5 with heatsink or active cooler
- microSD card with Raspberry Pi OS installed
- CrowView Note power adapter (included in box)
Step 1: Charge the CrowView Note
Before first use, connect the included power adapter and charge the internal battery fully. The charging indicator will show when complete. A full charge provides 2-3 hours of portable use.
Step 2: Prepare the Bridge Board
The Raspberry Pi 5 bridge board is a small adapter that connects your Pi directly to the CrowView Note's ports. It eliminates the need for separate HDMI and USB cables.
Locate the ports on the left side of the CrowView Note - you'll see the mini hdmi monitor input and USB-C port that the bridge board connects to.
Step 3: Attach Your Raspberry Pi 5
Mount your Raspberry Pi 5 onto the bridge board. The board is designed to hold the Pi securely while keeping GPIO pins accessible for projects that need them.
Once mounted, slide the bridge board assembly into the ports on the left side of the CrowView Note. It should click into place firmly.
Step 4: Power On
Press the power button on the CrowView Note. The internal battery will power both the raspberry pi touch display and your Raspberry Pi through the bridge board's 5V/5A output - no separate power supply needed for the Pi. Your Raspberry Pi will boot into Raspberry Pi OS. The display should automatically detect at 1920x1080 resolution.
Step 5: Configure Settings (If Needed)
Most users won't need to change anything. If you do want to adjust:
Screen brightness: Use the function keys (Fn + brightness keys)
Volume: Function keys or Raspberry Pi OS audio settings
Display resolution: Raspberry Pi OS automatically selects 1080p, but you can change this in Display Settings if needed
That's it - you now have a portable Raspberry Pi laptop!
Alternative Setup: Without Bridge Board
If you don't have the bridge board, you can still use the CrowView Note with any Raspberry Pi:
1. Connect a mini HDMI cable from your Pi to the CrowView Note
2. Connect a USB-A cable from the CrowView Note to your Pi (for keyboard/touchpad functionality)
3. Power your Pi with its standard power supply
This method requires more cables but works with any Raspberry Pi model.
Practical Applications
Once your portable Pi is assembled, here are some ways to put it to work:
Portable Coding Environment The full keyboard makes the CrowView Note ideal for programming on the go. Write Python scripts, work on web projects, or learn to code anywhere.
Home Automation Dashboard Run Home Assistant on your Pi and use the CrowView Note as a portable control panel. Check on your smart home devices from any room.
Media Center Install Kodi or set up a Plex client. The 15.6" IPS display provides good picture quality for watching movies or TV shows while traveling.
Educational Projects Great for teaching programming to students. Each student can have their own portable workstation without needing a full computer lab setup.
Maker Workbench Companion Keep documentation, pinout diagrams, and test scripts open on the CrowView Note while you work on electronics projects.
Field Data Collection Connect sensors to your Pi's GPIO pins and use the portable setup for outdoor research, environmental monitoring, or data logging in locations without power outlets.
Tips for the Best Experience
Keep the battery topped up. The CrowView Note can charge while in use, but for maximum portability, start your session with a full charge.
Use a quality microSD card. A fast card (Class 10 or better) makes a noticeable difference in boot times and overall responsiveness.
Consider a carrying case. The CrowView Note is durable, but a padded sleeve protects the screen during transport.
Try a small Bluetooth mouse. The touchpad works well, but a mouse can be more comfortable for extended sessions.
Learn the function keys. Quick access to brightness, volume, and other settings makes daily use much smoother.
Active cooling recommended for Pi 5. The Raspberry Pi 5 can run warm under load. The official active cooler or a heatsink with fan keeps temperatures in check.
Where to Buy
Direct from Elecrow:
European Customers:
BerryBase Deutschland stocks Elecrow products with local shipping: berrybase.de
What's in the Box:
- CrowView Note 15.6"
- Power adapter (12V)
- USB-C cable
- Mini HDMI to HDMI cable
- User guide
Sold Separately:
Conclusion
The CrowView Note transforms your Raspberry Pi from a desktop-bound computer into a truly portable raspberry pi laptop. No soldering, no complex assembly - just connect your Pi and go.
At €155, it's more affordable than many standalone portable monitors, and you get a complete input solution included.
Resources:
- Setup code and documentation on GitHub
- CrowView Note Product Page
- Raspberry Pi Official Documentation
Have questions or want to share your build? Join the Elecrow community forums or reach out on social media.
________________________________________________________________________________________
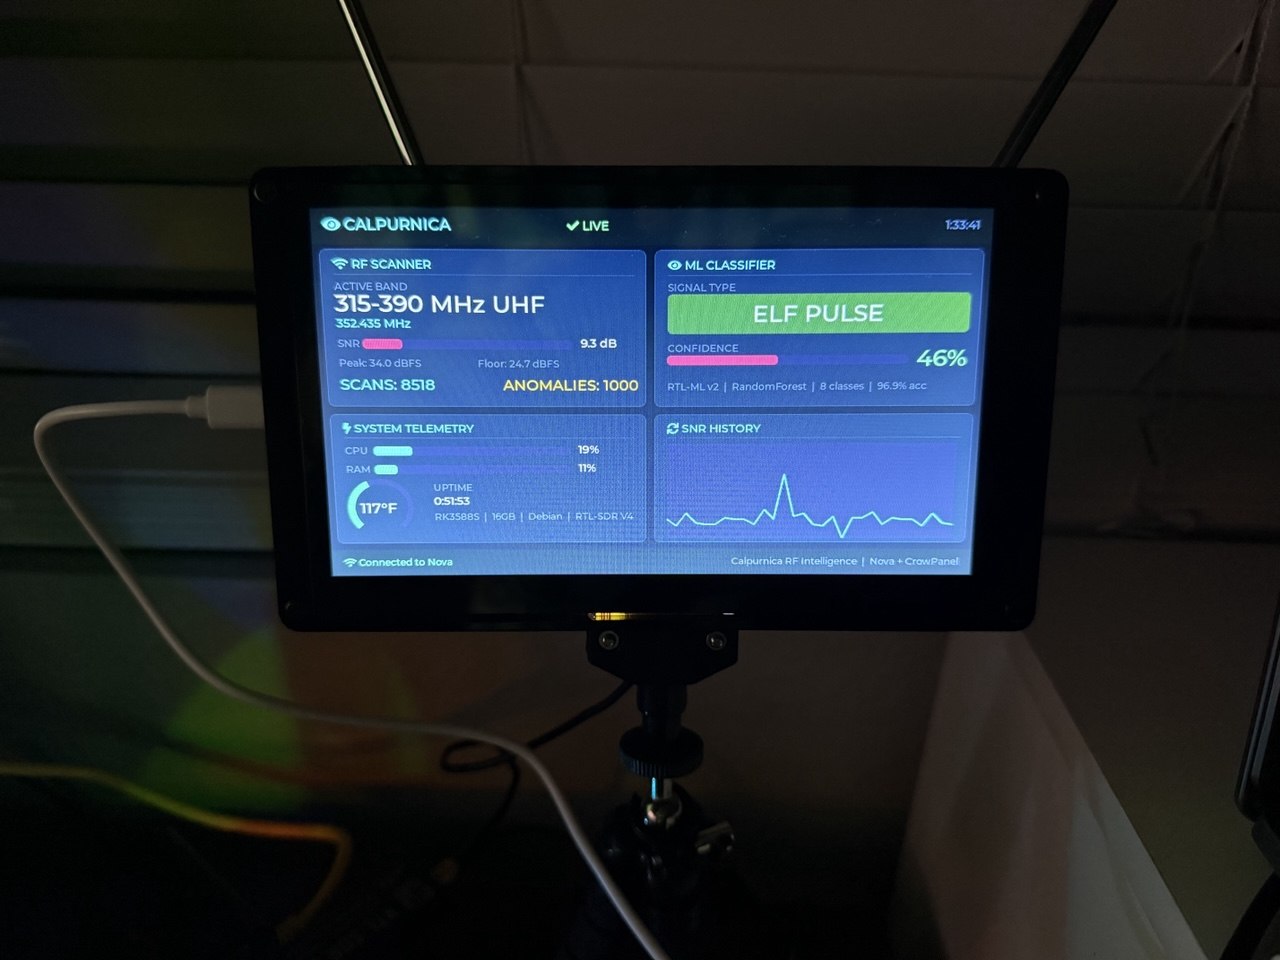
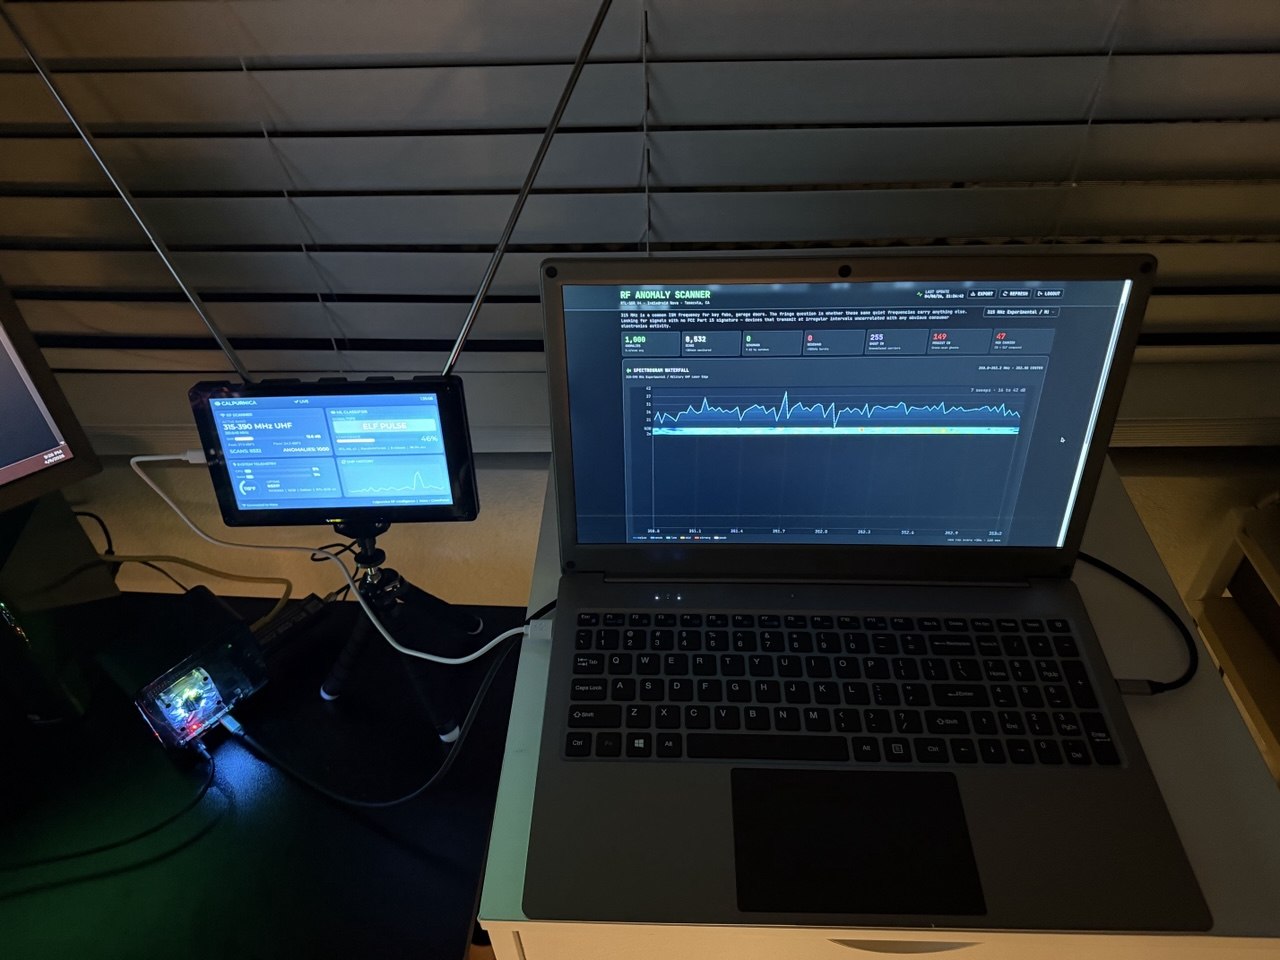
This article was written in collaboration with Trevor Unland, a security researcher and maker who uses the CrowView Note for portable RF monitoring projects. Learn more at unland.dev.