

Story
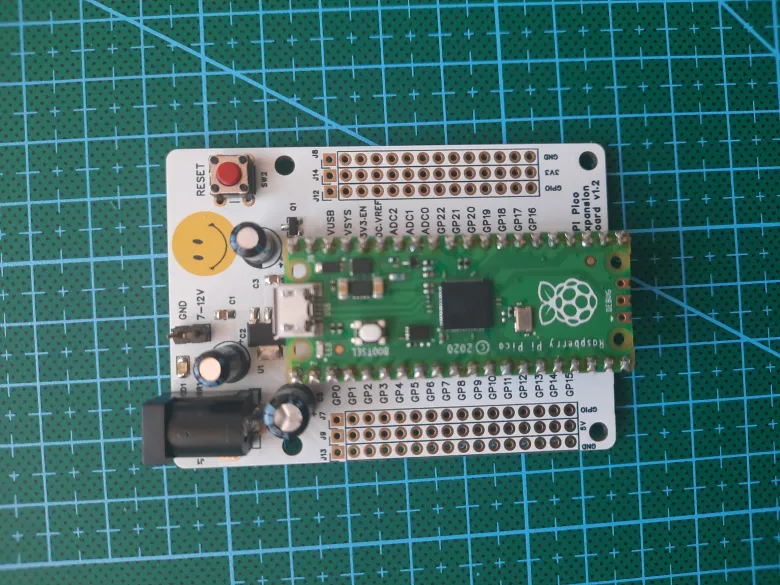
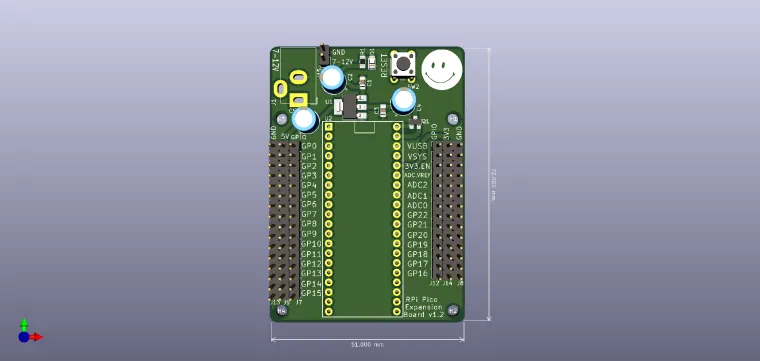
Raspberry Pi Pico Expansion Board
UPDATE!!!
I made some changes, routing in particular, and freed up the board of a few more parts.
Hello everyone!
This is my new PCB design. I wanted to share it with you on this platform.
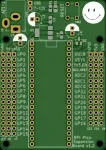
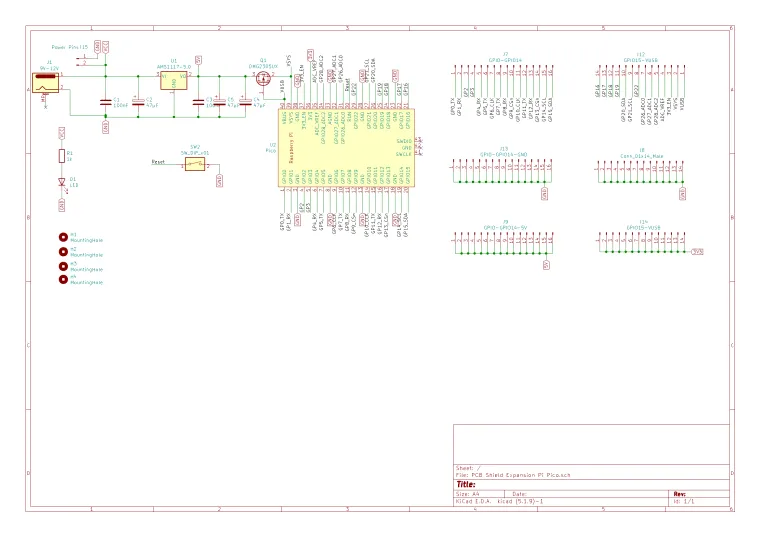
This is an expansion board compatible with Raspberry Pi Pico, practically with this board you get access to the pins on the Pico more easily, they are also multiplied, they are also labeled so you don't have to turn the board over to see what each pin means.
Through the pin strips you can access the GPIOs, the communication lines such as I2C, SPI, UART, or the 5V and 3V3 power supply lines. Follow the inscriptions on the plate, or check the diagram beforehand, it should be easy to understand.
You have the choice of mounting male headers pins or female, both variants are accepted as long as the pitch is 2.54mm.
You can connect more sensors and modules more easily, but also take into account the main power supply, 7-9V. We also have an indicator LED for the supply voltage. I have male pins between the barrel jack and the rest of the circuit, so you need a jumper for them, or you simply solder a wire between the marked pins.
You have two rails available, one 5V that comes from a voltage regulator, and the other is 3V3 that comes from the Pico itself. Do not exaggerate with these power supplies, the regulators are SMD, without heatsinks.
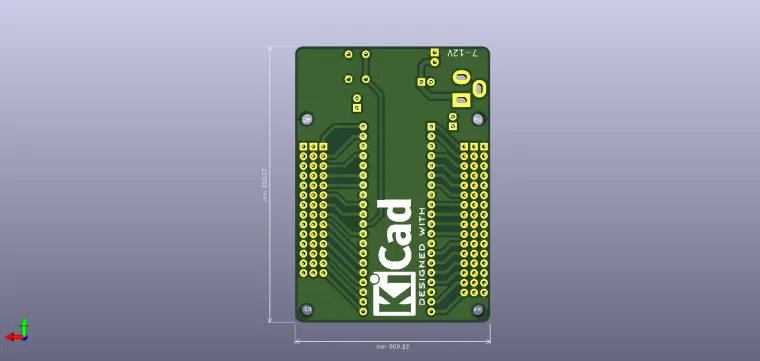
The board also has 3mm mounting holes, so if you want to put it in a case, I don't think you will have any big problems.
Attention!
Locate the power supply pins properly and remember that the voltage regulators of 5V and 3.3V (Pico onboard) are SMD, they are not of high power and cannot supply a whole mass of circuits.
Check the electronic diagram before anything else.
I can use Raspberry Pi Pico with Thonny, I check COM port in Options, for a program that runs "LIVE" i.e. I can run Blink but it does not remain in memory on Pico when I disconnect it from the power supply.
To solve this I proceed as follows:
• hold down the BOOT SEL button on Pico and connect it to the laptop (possibly also check COM port in Thonny→Options);
• in This PC a device with a few MB of memory should appear;
• on this device I copy RPI_PICO-20250415-v1.25.0.uf2 .
To save a program on Pico, which will always run, I proceed as follows:
• connect the board to the laptop;
• in Thonny I check COM port in Options;
• press the red STOP button and my RPi Pico should appear in Files on the left with the files in memory;
• after I pressed STOP the program no longer runs, the board enters programming mode;
• this board always looks for a main.py file, so the program is saved in it;
• after saving the program I press STOP again to exit programming mode;
• if I use the expansion board I have to press the RESET button on the board to run the program.
It would be nice if you could share photos when you buy and assemble this expansion board.
Have a nice day!
Thank you!
Have fun with it!