Currency
Toggle Nav

How to Assemble a Cool Mini PC Case?
August 21, 2025

Let's see how we assemble a cool mini PC case
Building your own computer is a rewarding experience, and with the rise of powerful single-board computers (SBCs) like the Raspberry Pi 5 and Jetson Orin Nano, you no longer need a giant tower to have a capable machine. A compact, stylish, and functional case can turn your SBC project into a sleek mini PC.
One such option is the Elecrow Mini PC Case, a DIY-friendly enclosure designed specifically for the Raspberry Pi 5 and Jetson Orin Nano. It’s more than just a box; it's a complete solution with integrated cooling, a status display screen, and expansion capabilities. Since this case is shipped unassembled, this guide will walk you through the general steps to put it all together.

What’s in the Box?
Before you start, lay out all the components to ensure you have everything. Your package should include:
- 1x Mini PC Case: This includes the main aluminum alloy and acrylic parts that form the enclosure.
- 1x PCBA Board: This is the custom circuit board that connects the fans, screen, and power button to your SBC.
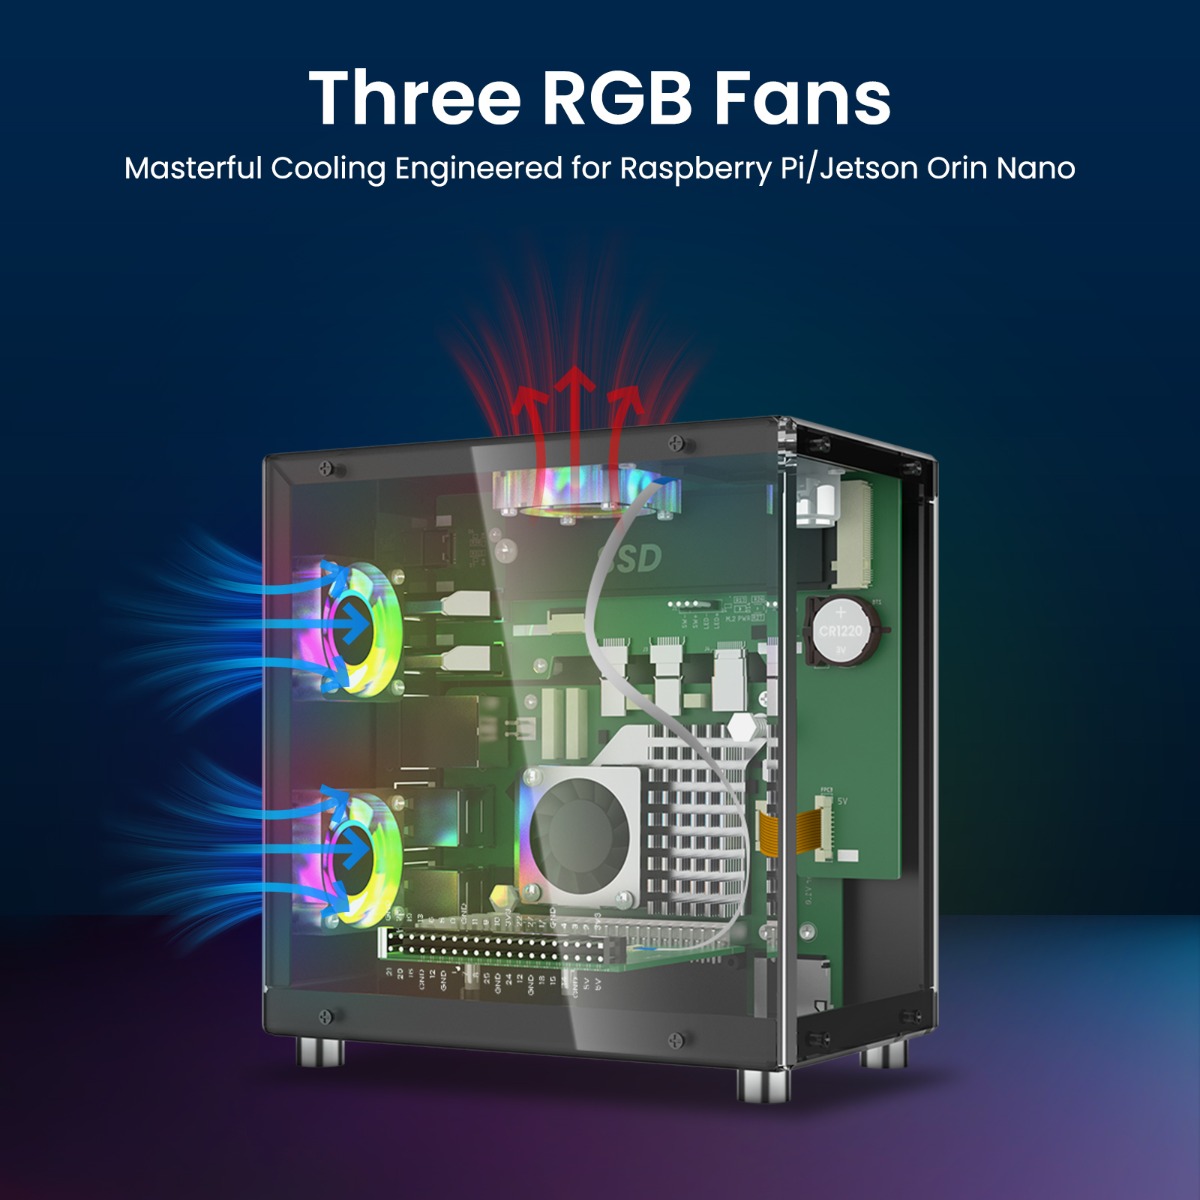
- 3x Cooling Fans: These RGB fans provide masterful cooling to keep your device running smoothly.
- 1x Heat Sink: This is specifically for the Raspberry Pi 5 to help dissipate heat from the processor.
- 1x User Manual: Your most important tool! Always refer to the official manual for detailed, model-specific instructions.
You will also need your single-board computer: either a Raspberry Pi 5 or a Jetson Orin Nano.
Step-by-Step Assembly Guide
Important Note: This is a general guide based on the product's features. For precise instructions, screw types, and connection diagrams, please follow the User Manual included with your product.
Step 1: Prepare Your Single-Board Computer (SBC)
- For Raspberry Pi 5 Users: The first step is to manage heat. Carefully attach the included Heat Sink to the main processor of your Raspberry Pi 5. This is crucial for maintaining performance under load.
- For All Users: Place your Raspberry Pi 5 or Jetson Orin Nano into the bottom part of the case. Align it with the mounting holes and the cutouts for ports like USB, HDMI, and Ethernet. Secure it in place with the provided screws.
Step 2: Install the Cooling System
The case is designed with three RGB fans for excellent cooling.
- Identify the mounting points for the three cooling fans on the case frame.
- Secure each fan in its place, ensuring the cables can reach the PCBA board without being pinched.
Step 3: Connect the Main PCBA Board
The PCBA is the brain of the case's features. It manages the power button, OLED screen, and fans.
- Mount the PCBA board inside the case according to the manual.
- Connect the PCBA to your SBC's GPIO pins using the appropriate connector. This allows the case and the SBC to communicate.
- Connect the cables from the three cooling fans to the designated headers on the PCBA board.
Step 4: Mount the OLED Screen
One of the coolest features is the built-in 1.3-inch OLED screen, which can display system status in real-time.
- Carefully fit the OLED screen into its slot on the front panel of the case.
- Connect its ribbon cable to the corresponding port on the PCBA board.

Step 5 (Optional): Install an M.2 SSD (For Raspberry Pi 5)
If you are using a Raspberry Pi 5 and want to add high-speed storage, this case has you covered. The PCBA includes a PCIe M.2 socket. You can install an NVMe SSD (sizes 2230, 2242, 2260, and 2280 are supported). Simply insert the SSD into the slot and secure it with the mounting screw.
Step 6: Final Assembly
With all the internal components installed and connected, it's time to close up the case. Carefully assemble the remaining acrylic and aluminum alloy panels. Ensure all ports (USB, HDMI, Power) are properly aligned with the cutouts, and use the final set of screws to secure the entire chassis.
Powering On and Enjoying Your Mini PC
Once assembled, connect your monitor, keyboard, mouse, and power supply. Press the power button, and your mini PC should come to life! You'll see the RGB fans light up and the OLED screen display key system information, like temperature or CPU usage.
You've successfully built a compact, powerful, and cool-looking mini PC that’s perfect for everything from a home media center to a development environment for your next great project.
Ready to build your own? You can find this versatile Mini PC Case at Elecrow:
View Product at Elecrow