
Story
Have you ever found it frustrating to manually type Wi-Fi passwords or long API keys into your devices?
If not, try entering your OpenAI API key — all 51 characters of it — by hand. Now imagine doing that on a touchscreen, without a physical keyboard.
This project aims to free users from that hassle. Instead of making them type credentials, they can simply connect the device to a PC, copy the needed data (Wi-Fi, tokens, keys), and send it over USB in seconds.
This project allows you to send arbitrary device settings (e.g., Wi-Fi credentials, API keys, authentication data) from a Python GUI application to an ESP32-S3 microcontroller over UART. To ensure data integrity, a CRC32 checksum is used for validation.
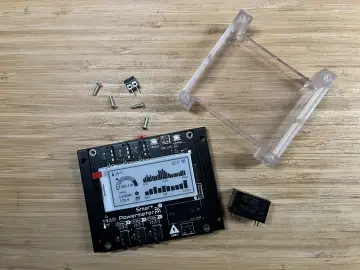
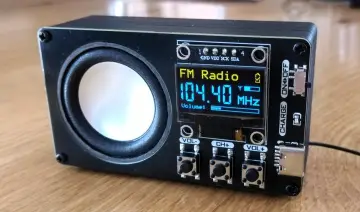
The project is ideal for provisioning IoT devices like CrowPanel without hardcoding parameters. The provided ESP-IDF example shows how to receive and parse the transmitted data. In this demo, we send Wi-Fi settings — but you can adapt the format for any kind of data.
Installation
Follow these steps to install and run the application:
1. Install Python
Download Python from: https://www.python.org/downloads/
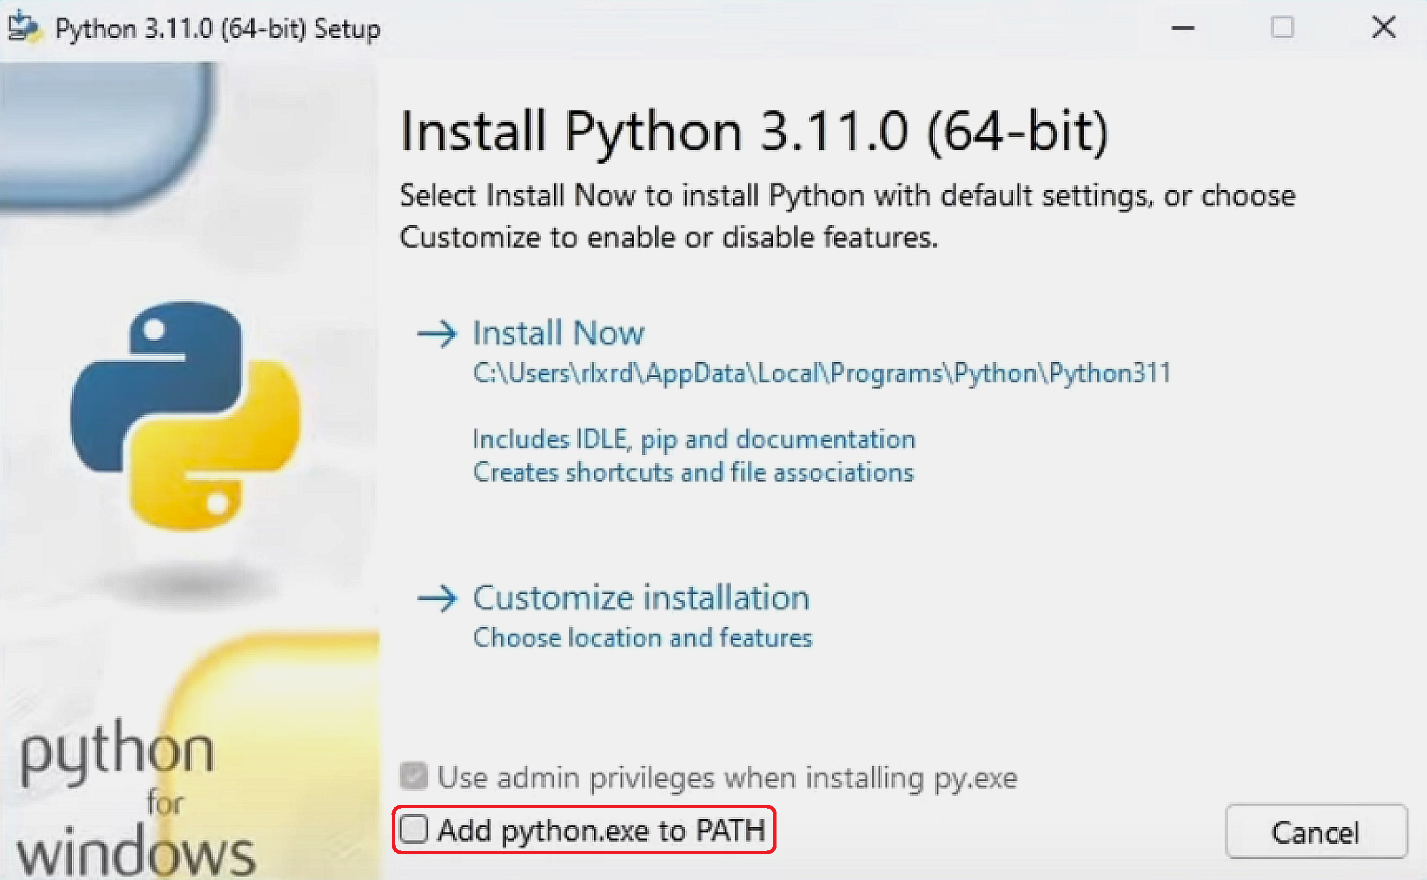
✔ Be sure to check "Add python.exe to PATH" before installing.
2. Install required package
Open Command Prompt (CMD) and run:
3. Download the application
Clone or download from GitHub:
👉 https://github.com/Grovety/crowpanel_settings
4. Launch the app
Run app.py from the application folder.
🚀 How to Use
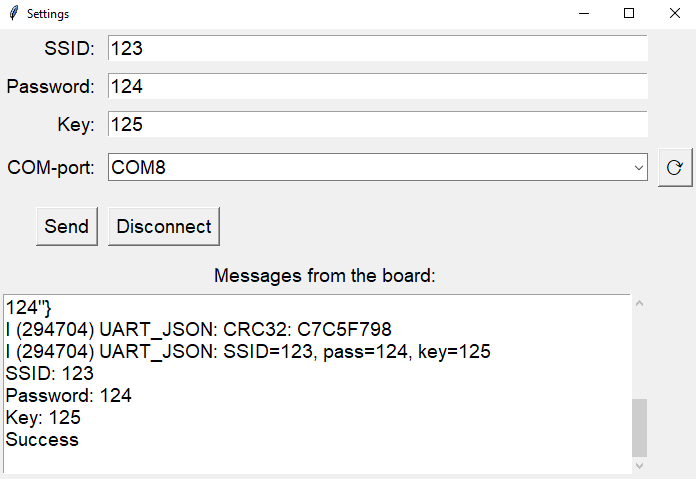
Once you launch the application, you will see the settings window.
To send data to the ESP32-S3:
-
Fill in the input fields:
-
SSID
-
Password
-
KEY (can be any secret, token, or config field)
-
-
Select your device’s COM port (⟳ button refreshes the list)
-
Click Send — all values will be saved in
settings.json -
In the lower window, you’ll see messages from the ESP32-S3 if reception is successful.
💡 You can use this mechanism to transmit any JSON-structured configuration to the microcontroller, not just Wi-Fi credentials.
🔄 Updating the Firmware
Before flashing new firmware to the board, press Disconnect in the GUI — this releases the COM port for use by other tools.
🧩 Example Usage with ESP-IDF
To test the settings transmission, an example ESP-IDF project is provided.
Step 1. Install Visual Studio Code
Download it from the Microsoft Store
Step 2. Install the ESP-IDF Extension
👉 ESP-IDF Extension on Marketplace
Step 3. Select Target
Click the Target Selection button and choose ESP32-S3 (via built-in USB_JTAG)
![]()

Step 4. Select Flashing Method
Click the Flashing Method button and choose UART

Step 5. Connect the board
Use a USB cable to connect the ESP32-S3 device to your PC.
Step 6. Flash the firmware
Click the Build and Flash button.
![]()
Wait for upload to complete.
Step 7. Return to the Python app
Reopen the GUI and send the settings. You should see messages from the board like:
🔗 Integrating Into Your Own ESP-IDF Projects
You can reuse the included files to support UART settings parsing in your own embedded apps.
1. Copy the files
Add uart.c and uart.h into your project folder.
2. Register the component
In CMakeLists.txt, add:
3. Initialize the parser
In your code:
You must define a callback like:
Settings will be available as:
-
wifi_data.ssid -
wifi_data.password -
wifi_data.key
⚠ Note
Make sure the ESP-IDF Monitor or any serial terminal is closed before launching the Python app — the COM port must be free.
💡 Applications
-
Remote provisioning of devices
-
Secure delivery of tokens, keys, and login credentials
-
Dynamic configuration of IoT systems
-
User-friendly end-device setup interfaces
🔗 Repository