


Story
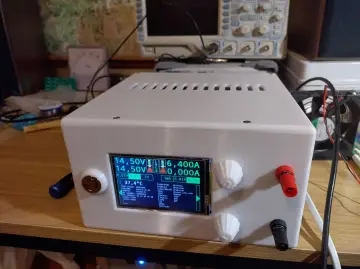
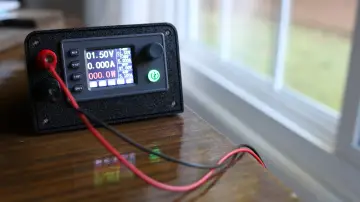
I had a benchtop DC power supply that recently died on me. I had two paths I could take: buy a new one or build one.
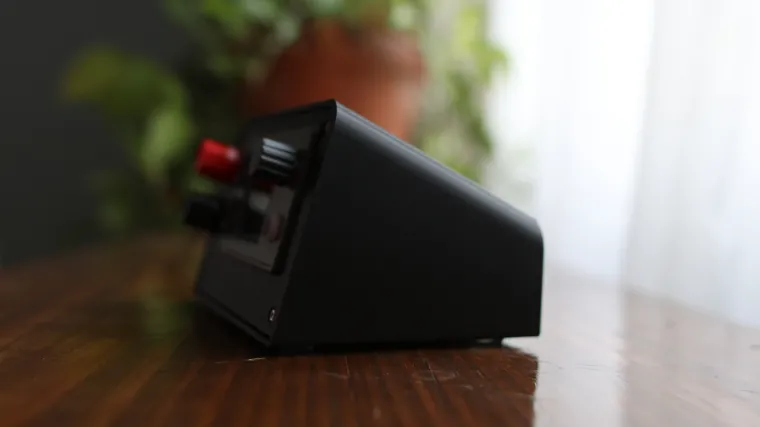
I decided to build something that was smaller and more portable - as I wanted something I could quickly transfer from my garage shop to my office.
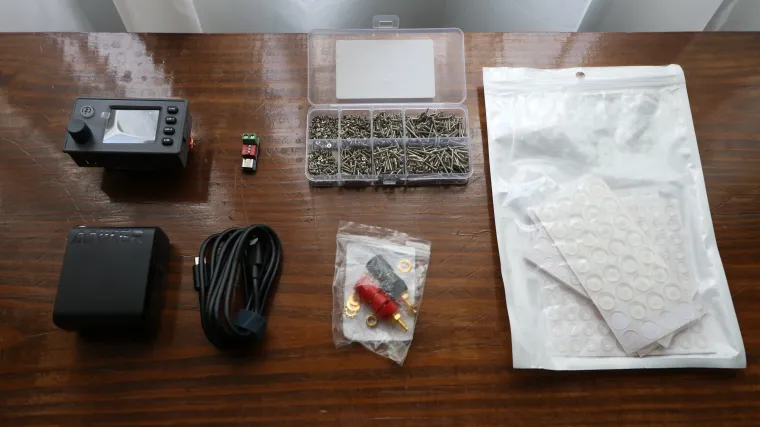
Here are all the parts you’ll need:
- Variable power supply: https://amzn.to/3K4xblM
- Banana plugs: https://amzn.to/47Mar3N
- 16ga Cable: https://amzn.to/4n6bcJL
- Ring terminal connectors: https://amzn.to/4pQWSH4
- USB-C PD Adapter: https://amzn.to/465vuNA
- USB-C 100w Plug: https://amzn.to/4n7b4dd
- Screws: https://amzn.to/3IpvheV
- Foot pads: https://amzn.to/42zZEWS
Here are the tools you’ll need:
- 3d printer: https://amzn.to/4mjKX1q
- Filament - https://amzn.to/3d3kRBN
- Tool kit: https://amzn.to/4mfbBZ7
- Wire stripper: https://amzn.to/4nDx3IC
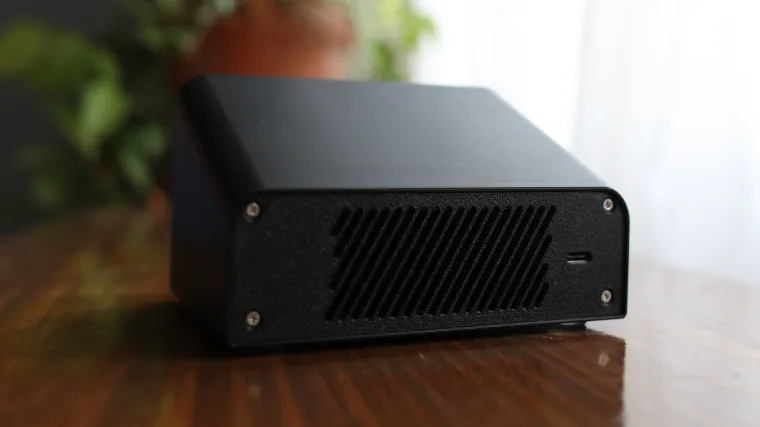
Step 2: Install the USB PD Board Into the Rear Panel
- Set the switches as shown in the image - this will allow 20vdc to be sent
- 1 - On
- 2 - Off
- 3 - On
- Bolt the USB-C Clamp down to hold the PD board in place.
- Use M2 x 8mm screw
Step 3: Create Your Cable Harness
- Approx 4” length (2x) of two conductor 16ga cable
- Wire 1: Attach ring terminals to one side. The opposite end goes to PS output
- Wire 2: Attach one side to the USB-C adapter. The opposite end goes to PS input.
- This is what the completed harness will look like
- Check the underside of the USB-C board for polarity - match these with the polarity of the power supply screw terminal (green).
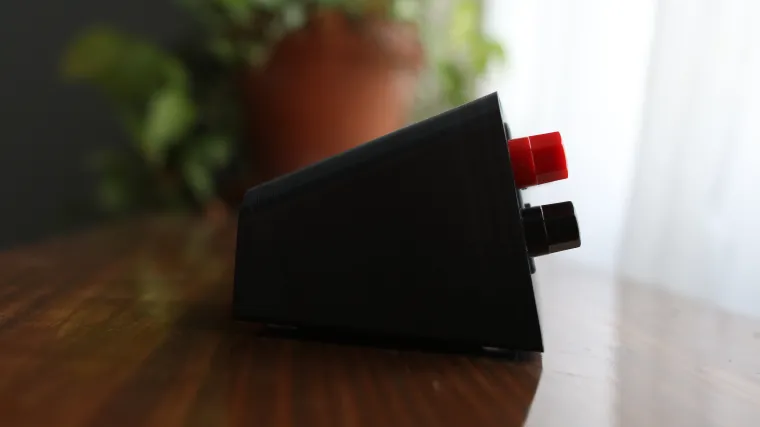
Step 4: Install the Banana Plugs
Insert the banana plugs into the housing, then install the clamping piece, washer and nut.
Put ring terminals onto banana plugs, tighten nuts.
Step 5: Bolt Rear Panel in Place
Use M2 x 8mm screws
Step 6: Install Power Supply Into Front Cover
Snap the power supply into the front cover.
After it's installed, plug the green screw terminal into back of power supply
Step 7: Bolt Front Cover Into Place
Use M2 x 8mm screws
Step 8: Attach Foot Pads to Underside of Main Housing
Put foot pads into the recesses in the base.
The pads I used from the kit are about 1/2" in diameter.
Step 10: Bonus - Portable Case
I built a semi-customized case to hold everything. I didn't like the dividers that came with the case, so I designed a divider insert (see the 3d print).
Organizer case: https://amzn.to/46a1NLe