

Story
What is This Project About?
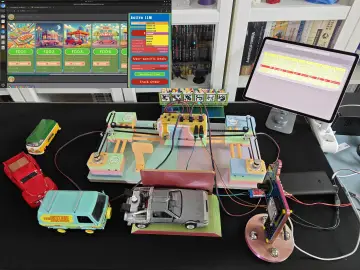
This project is an automated system that uses Artificial Intelligence and the Internet of Things (IoT) to sort fruits based on their type and quality. At its core, it solves a common, labor-intensive problem: the manual sorting of produce. Manual sorting is not only slow but also subjective, leading to inconsistencies in quality control.
The AI-Powered IoT Fruit Grader provides an elegant, accessible, and affordable solution. It demonstrates how we can combine everyday components like a camera and a simple microcontroller with powerful machine learning algorithms to build a "smart" device.
The mission of this project is twofold:
-
To Automate: To create a functional device that reduces manual labor, increases efficiency, and ensures consistent quality control for produce.
-
To Educate: To provide a clear, replicable guide for students, hobbyists, and innovators, showing that advanced concepts like AI and IoT are within reach for everyone.
How Does It Work? The System Architecture
The project operates through a seamless flow of information between its "eyes," "brain," and "hands."
-
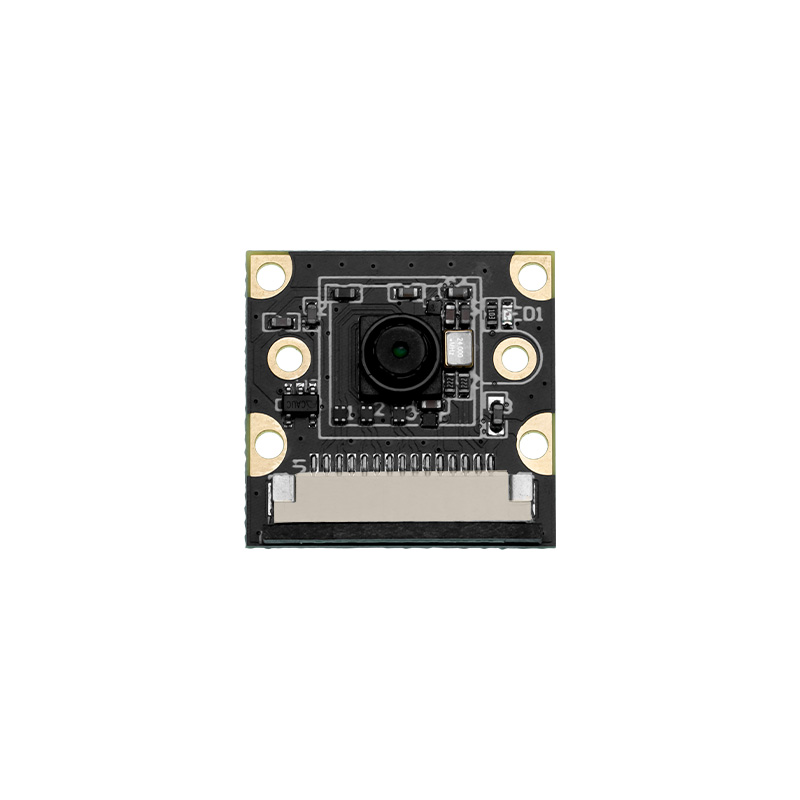
The Eye (Vision System): A camera (like a USB webcam or a dedicated camera module) is positioned to get a clear, consistent view of each fruit. It acts as the primary sensor, capturing visual data.
-
The Brain (Processing Hub): Your laptop runs the core software. It executes a Python script that orchestrates the entire process. Its key responsibilities are:
-
Receiving the video feed from the camera.
-
Running the Machine Learning (ML) model to analyze the image of the fruit.
-
Making a decision based on the model's output (e.g., "This is a ripe apple").
-
Sending a command to the control unit.
-
-
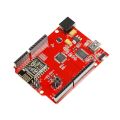
The Hands (Control & Actuation): An Arduino microcontroller serves as the control unit. It's the bridge between the digital command from the laptop and the physical action. When it receives a command (e.g., '1'), it activates a motor to operate the sorting mechanism.
-
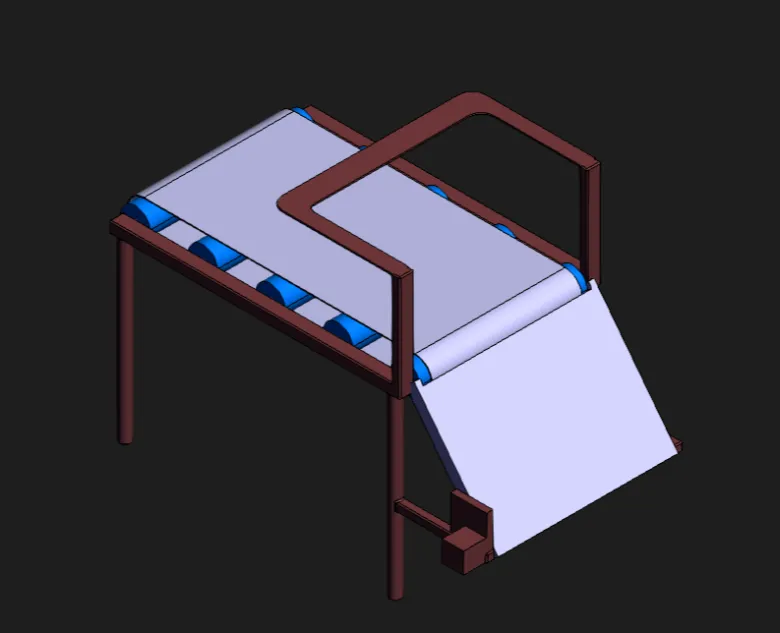
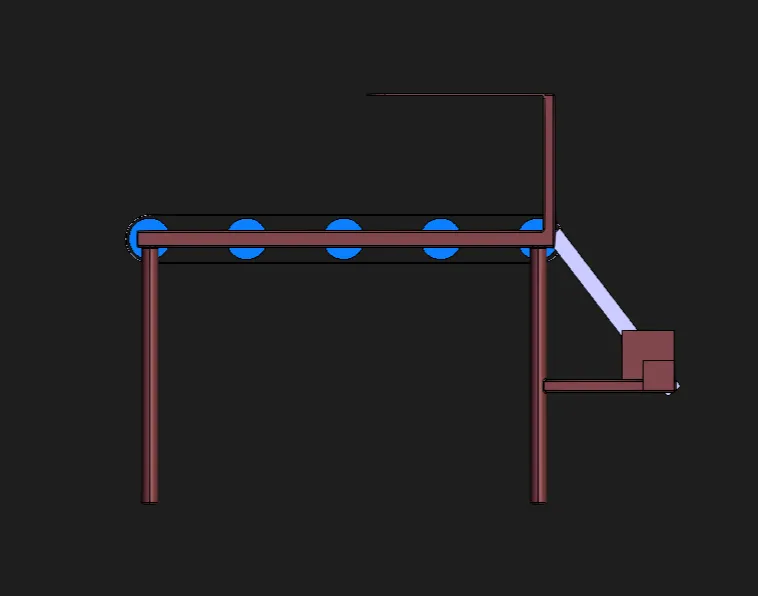
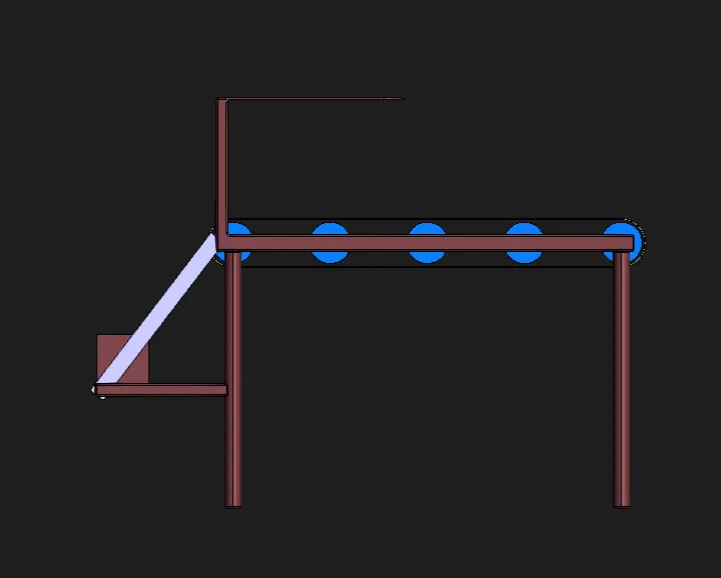
The Sorting Mechanism: A physical rig, likely a ramp with a motor-operated gate or "bay." The motor (e.g., a servo motor) moves the gate to direct the classified fruit into the correct collection bin.
Workflow in Action:
-
A fruit is placed on the ramp.
-
The camera captures an image and streams it to the laptop.
-
The Python script on the laptop preprocesses the image and feeds it to the trained ML model.
-
The model predicts the fruit's class (e.g.,
ripe_apple,unripe_banana,orange). -
Based on this prediction, the script sends a corresponding signal (like 'A' or 'B') to the Arduino via a USB serial connection.
-
The Arduino receives the signal and rotates the servo motor to a pre-defined angle.
-
The servo's movement opens the correct bay, and the fruit rolls down into its designated bin.
-
The servo returns to its neutral position, ready for the next fruit.
Step-by-Step Tutorial to Build This Project
This guide will help others recreate your success and avoid common pitfalls.
Phase 1: Training the AI Model (The Intelligence)
Goal: To create a neural network that can accurately identify fruit types and ripeness.
Materials:
-
A computer with Python installed.
-
A dataset of fruit images.
Steps:
-
Gather Your Data: This is the most critical step.
-
Action: Collect hundreds of images for each category you want to identify (e.g.,
apple,orange,banana_ripe,banana_unripe). -
How: You can download datasets from sites like Kaggle or create your own by taking pictures with your camera in various lighting conditions and angles.
-
Pro-Tip: A diverse dataset is essential. Include images with different backgrounds, lighting, and fruit orientations to make your model robust.
-
Common Pitfall: Using too few or too similar images will result in an AI model that performs poorly in real-world conditions.
-
-
Choose a Framework and Model:
-
Action: We will use TensorFlow with Keras in Python. For efficiency, we'll use a pre-trained model like MobileNetV2 (a technique called Transfer Learning). This allows us to leverage a powerful existing model and fine-tune it for our specific task.
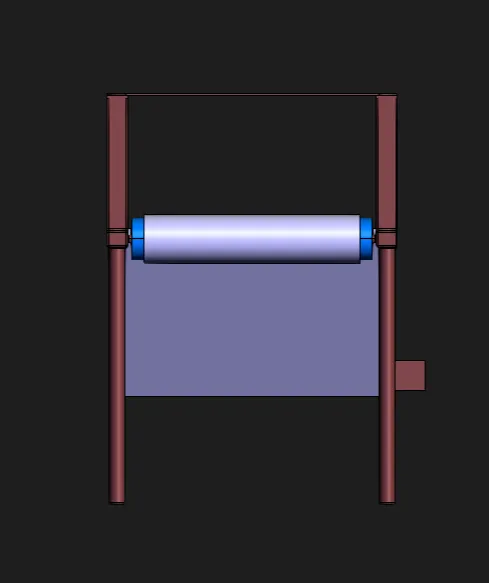
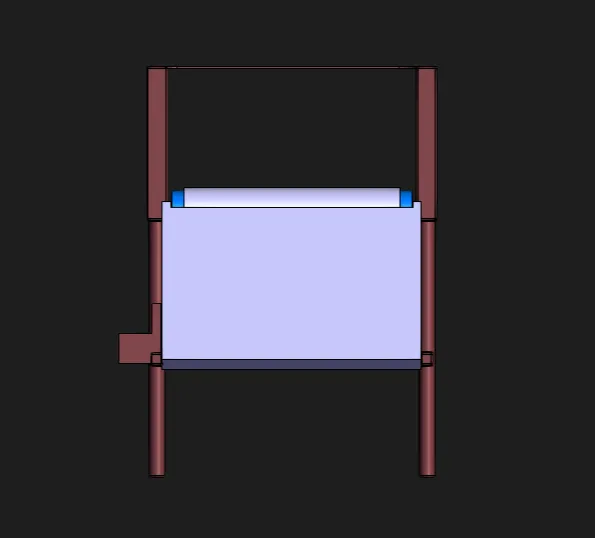
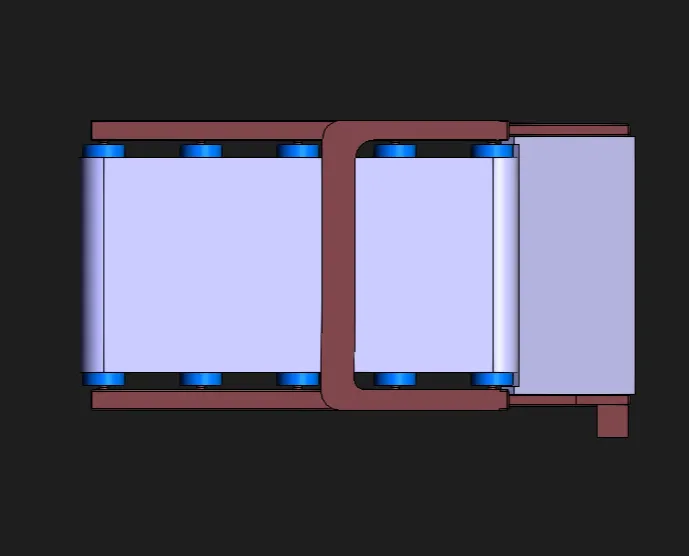
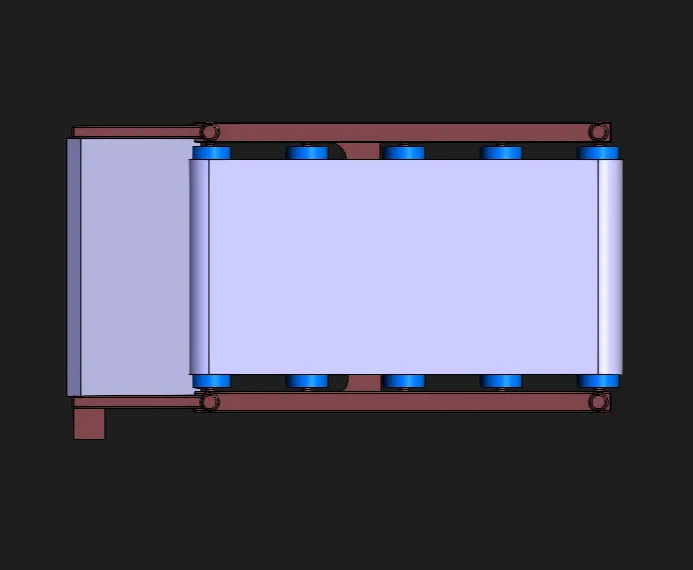
Phase 2: Building the Physical Structure
Goal: To construct the frame that will hold the fruit, camera, and sorting mechanism.
Materials:
-
Cardboard, plywood, or 3D printed parts for the frame.
-
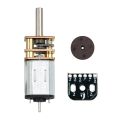
A Servo Motor (a small SG90 is perfect for this).
-
Hot glue, screws, or other fasteners.
Steps:
-
Construct the Ramp: Build a gentle slope where the fruit can be placed and will roll down predictably when the gate opens.
-
Create the Sorting Gate: At the end of the ramp, cut a trapdoor or design a rotating arm. This will be your sorting bay.
-
Mount the Servo: Attach the servo motor to the frame in a way that its arm can operate the gate. A simple circular arm can push a gate open and closed.
-
Mount the Camera: Position the camera directly above the area where the fruit will be stationary before sorting. Ensure the lighting is consistent and there are no strong shadows.
-
Common Pitfall: An unstable camera mount will lead to blurry or inconsistent images, confusing the AI model.
-
Phase 3: Wiring the Electronics
Goal: To connect the servo motor to the Arduino.
Materials:
-
Arduino Uno (or similar).
-
Servo Motor (SG90).
-
Jumper Wires.
Wiring:
-
Servo RED wire -> 5V pin on Arduino.
-
Servo BROWN/BLACK wire -> GND pin on Arduino.
-
Servo ORANGE/YELLOW wire -> Digital PWM Pin ~9 on Arduino
Phase 4: The Master Python Script (Integration)
Goal: To write the main Python script that ties everything together.
Libraries to Install:
pip install opencv-python tensorflow pyserial numpySignificance to Our Community
Your experiences in building this are incredibly valuable. This project proves that with determination and accessible knowledge, complex problems can be tackled. It serves as a starting point for countless other innovations:
-
For Farmers: This design could be scaled up to help small-scale farmers sort their harvest, improving their product value and saving time.
-
For Students: It is a perfect capstone project, combining computer vision, machine learning, and embedded systems in a tangible way.
-
For Hobbyists: It is a challenging yet rewarding project that hones skills in both software and hardware.
By sharing this, you empower others to start their own journey, learn from your challenges, and perhaps even improve upon this design, pushing our collective knowledge forward. -
-
-