
Story
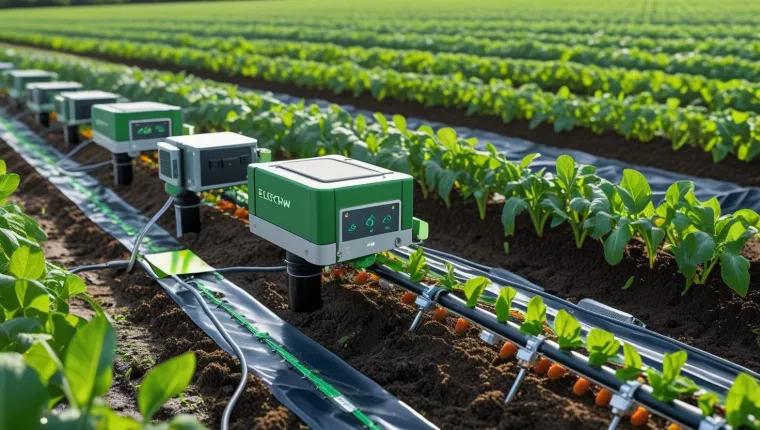
This project develops a LoRa-based Smart Agriculture Monitoring and Irrigation System to optimize water usage and improve crop health. It uses a LoRa module to transmit soil moisture, temperature, and humidity data from remote fields to a central gateway, enabling farmers to monitor conditions and automate irrigation. The project addresses the growing demand for precision agriculture, with the global smart agriculture market projected to reach USD 36.24 billion by 2030 [Grand View Research, 2024]. It’s ideal for the contest due to its scalability, real-world impact, and potential for visibility in the booming IoT agriculture sector.
Project Components
- LoRa Module: Provided free (e.g., SX1276/78 or Ai-Thinker Ra-02, operating at 433 MHz, 868 MHz, or 915 MHz based on regional regulations).
- Microcontroller: Arduino Uno or ESP32 (e.g., NodeMCU) for processing sensor data and LoRa communication.
- Sensors:
- Soil Moisture Sensor (e.g., capacitive sensor for durability, ~$5).
- Temperature and Humidity Sensor (e.g., DHT11 or DHT22, ~$3–$5).
- Optional: Light Sensor (e.g., BH1750, ~$3) for daylight detection.
- Actuator: 5V Relay Module (~$2) to control a water pump or solenoid valve for irrigation.
- Power Supply: 3.7V Li-ion battery with a solar panel (~$10) for sustainable operation.
- Gateway: Optional LoRaWAN gateway (e.g., RAK7243 or Dragino LG01) or a second LoRa module with ESP32 for peer-to-peer communication.
- Software: Arduino IDE for programming, Blynk IoT app for real-time monitoring, and The Things Network (TTN) for LoRaWAN integration.
- Miscellaneous: Breadboard, jumper wires, and a waterproof enclosure (~$5–$10).
Estimated Additional Cost: ~$25–$30 (excluding the free LoRa module and optional gateway).
How It Works
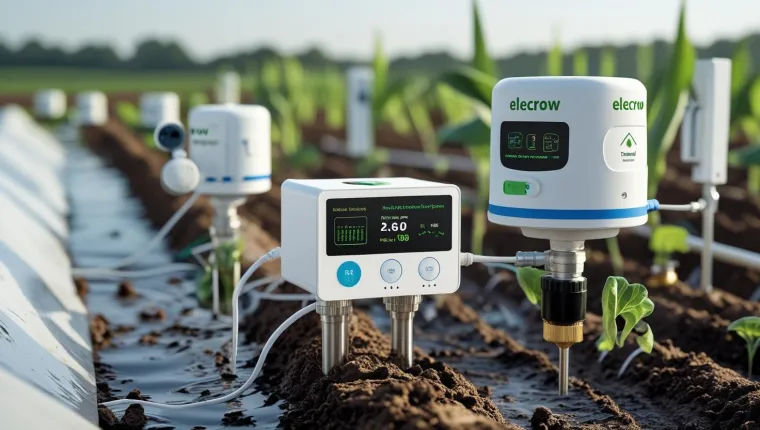
- Sensor Node (Transmitter):
- The Arduino/ESP32 interfaces with the soil moisture sensor, DHT11 (temperature/humidity), and optional light sensor.
- The LoRa module transmits sensor data (e.g., moisture level, temperature) every 15–30 minutes to minimize power consumption.
- If soil moisture falls below a threshold (e.g., 30%), the relay activates a water pump or valve for irrigation.
- Powered by a Li-ion battery with solar charging for long-term, off-grid operation.
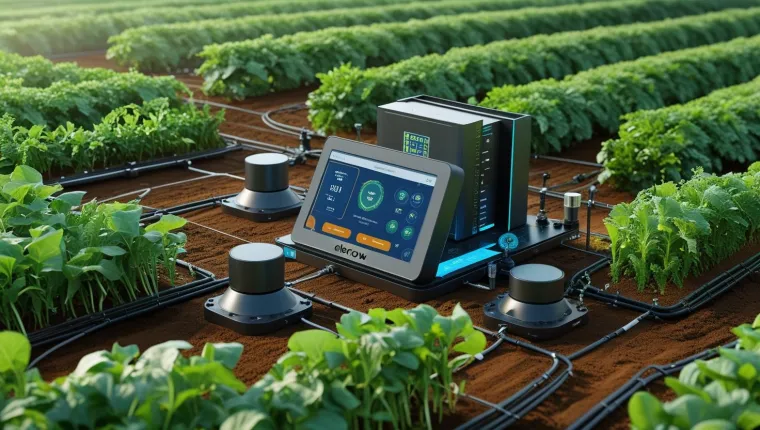
- Receiver/Gateway:
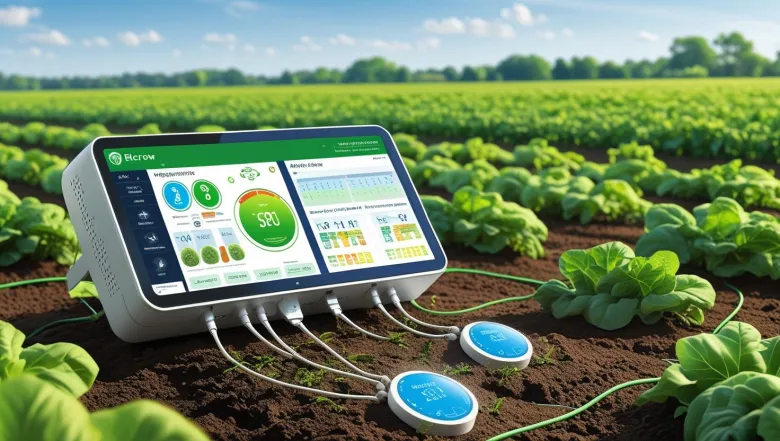
- A second LoRa module (or LoRaWAN gateway) receives data and forwards it to a cloud platform (e.g., Blynk or TTN).
- Farmers access real-time data via a smartphone app or web dashboard, with alerts for low moisture or extreme temperatures.
- Optional: The gateway triggers automated irrigation commands back to the node.
- LoRa Communication:
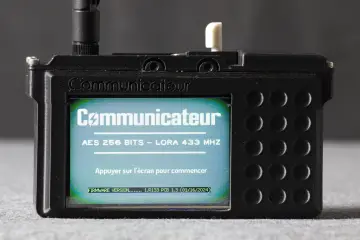
- Uses LoRa’s chirp spread spectrum (CSS) modulation for long-range (up to 7.5 km in urban areas, 15 km in rural) and low-power transmission [ResearchGate, 2022].
- Configured for regional frequency bands (e.g., 915 MHz in the US, 868 MHz in Europe) to comply with regulations.
Implementation Steps
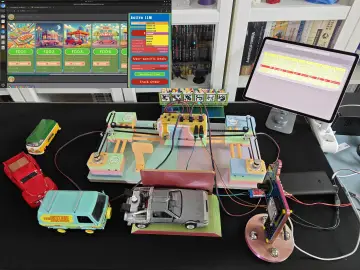
- Hardware Setup:
- Connect the LoRa module to the Arduino/ESP32 (e.g., RX to D7, TX to D8 on ESP32) [Instructables, 2022].
- Wire the soil moisture sensor to an analog pin (e.g., A0), DHT11 to a digital pin (e.g., D4), and the relay to another digital pin (e.g., D5).
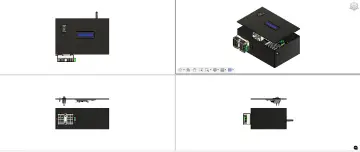
- Enclose the setup in a waterproof case for outdoor use, with the solar panel mounted externally.
- Software Development:
- Use Arduino IDE to program the microcontroller with the LoRa library (e.g., RadioHead or LoRa.h).
- Write code to:
- Read sensor data every 15 minutes.
- Send data packets via LoRa (e.g., JSON format: {"moisture": 45, "temp": 25, "humidity": 60}).
- Activate the relay if moisture < 30%.
- Enter deep sleep mode to conserve battery.
- Example code available from [How2Electronics, 2023].
- For the receiver, configure a Blynk template or TTN integration for data visualization.
- LoRa Configuration:
- Set the LoRa frequency band for your region (e.g., 915 MHz for North America).
- Use AT commands or library functions to configure spreading factor (SF7–SF12) for range vs. data rate trade-off [Semtech, 2021].
- Ensure compliance with local regulations (e.g., duty cycle limits in Europe).
- Testing and Deployment:
- Test the system in a garden or small farm plot, verifying LoRa range and sensor accuracy.
- Deploy the node in a field and the gateway within 5–15 km (line-of-sight).