Currency
Toggle Nav

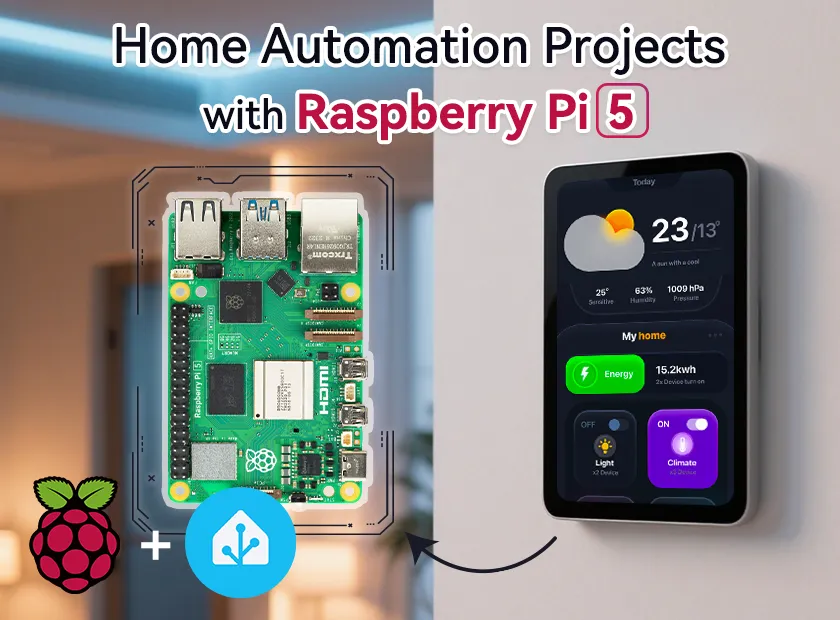
Home Automation Projects with Raspberry Pi 5
April 30, 2025
Home Automation Projects with Raspberry Pi 5
Ever dreamed of a home that anticipates your needs? Where the lights turn on as you walk in, your security camera notifies you when someone approaches, and your thermostat adjusts based on your schedule? With the Raspberry Pi 5, building a smart home is now not only possible but also affordable and DIY-friendly.
Equipped with a quad-core Arm Cortex-A76 processor, faster clock speeds, PCIe support, and better I/O, the Raspberry Pi 5 brings more power to your home automation projects than ever before. This means you can easily integrate more devices, run more complex automations, and create faster, more responsive user interfaces. Whether you're a beginner or a seasoned maker, the Pi 5 offers endless possibilities for making your home smarter and more efficient.
Below are some exciting projects you can build using the Raspberry Pi 5. Each project is paired with detailed tutorials to guide you step-by-step.
1. Smart Home Hub with Home Assistant
Home Assistant is one of the most popular and feature-rich platforms for building a smart home hub. It lets you control everything from lights and thermostats to smart locks and motion sensors, all from a single interface. The Raspberry Pi 5’s powerful hardware makes it the perfect choice to run Home Assistant faster and handle more integrations smoothly. Once set up, you can start adding integrations for popular smart devices like Philips Hue, Nest, Sonos, and more. With its clean UI and easy-to-use automations, Home Assistant offers a seamless way to get started with smart home control.
Tutorial: http://home-assistant.io/installation/raspberrypi
What You Will Need:
Raspberry Pi 5 or Raspberry Pi 4 with power supply
MicroSD card (32GB or more)
Ethernet cable (recommended for a reliable connection)
SD card reader
2. DIY Smart Home Control Panel
If you’re tired of pulling out your phone to toggle lights or check security cameras, building a dedicated smart home control panel is a perfect choice. Using the Raspberry Pi 5 and a touchscreen, you can build a wall-mounted or tabletop interface that centralizes control over your entire smart home system. Real-time status updates, device toggles, and even camera feeds are just a tap away. You can design the dashboard to match your home’s aesthetic, whether you prefer a minimalist look or a fully-featured display with detailed graphs and camera views.
Tutorial: https://www.youtube.com/watch?v=vWaehUV9B5k
What You Will Need:
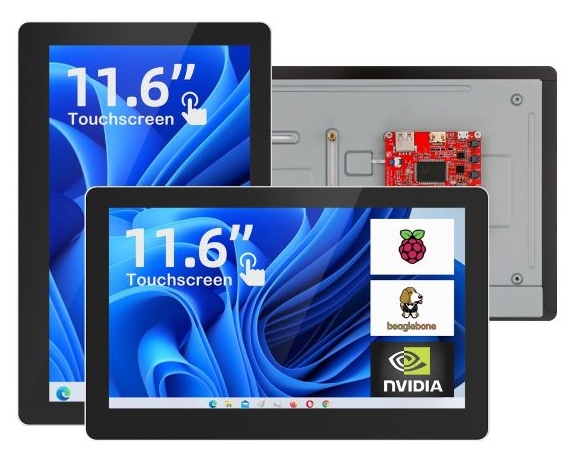
CrowVision Capacitive TouchScreen
Raspberry Pi
USB OTG Adapter & HDMI cable
Speakers
3. Smart Home Dashboard
Building a stylish and functional smart home dashboard is an exciting project for anyone who loves design. With a Raspberry Pi 5 and a browser-based interface, you can display essential data such as weather, energy usage, device status, and live video from security cameras. Using tools like Lovelace UI or OpenHAB, you can create a dashboard that not only looks great but also enhances your smart home experience. The Pi 5’s GPU improvements ensure smooth transitions and animations, even on larger or high-resolution screens.
Tutorial: https://www.reddit.com/r/homeassistant/comments/1iwb17o/smart_home_dashboard_with_raspberry_pi/
What You Will Need:
Small HDMI monitor or touchscreen display
Power supplies for Pi and monitor
MicroSD card (at least 16GB)
Dashboard tool like Lovelace U
4. Raspberry Pi Home Automation Server
Turn your Pi 5 into a full-fledged home automation server that controls and monitors your home in real-time. This is ideal if you want to scale up your system with advanced use cases like hosting databases, APIs, and dashboards. The Raspberry Pi 5’s increased processing power means it can run multiple services at once, making it a powerful tool for managing home automation data and sensors.
Tutorial: https://www.instructables.com/Raspberry-Pi-Home-Automation-Server/
What You Will Need:
Raspberry Pi 5 or Raspberry Pi Model B
Server image (e.g., Paulware)
Sensors (temperature, water, etc.)
4GB SD card
Free Gmail account for notifications
5. Home Automation with Home Assistant on Raspberry Pi 5
This visual step-by-step tutorial walks you through setting up Home Assistant on your Raspberry Pi 5. From configuring sensors to automating tasks like turning lights on at sunset, this project is perfect for those who prefer a guided, hands-on learning experience. The Raspberry Pi 5’s improved responsiveness ensures that your automation routines run instantly, enhancing daily usability.
Tutorial: https://www.youtube.com/watch?v=SRT7qUN-W-o
What You Will Need:
Raspberry Pi 5
Power supply
Micro HDMI to HDMI Adapter
Basics USB Keyboard and Mouse
Great Displays Enhance Your Home Automation Projects
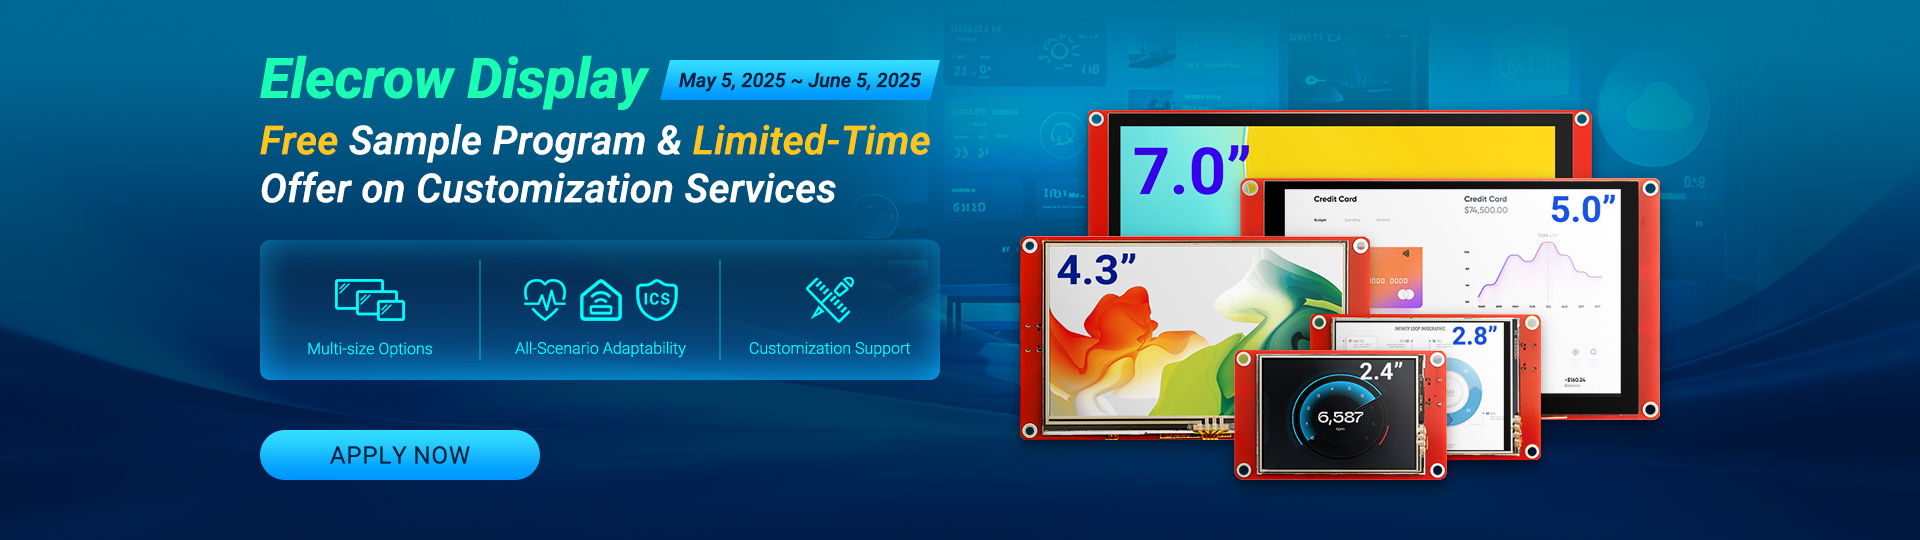
The Elecrow CrowPanel series is the perfect choice for makers and developers creating home automation projects. Powered by the versatile ESP32 platform, these HMI touch screens provide an intuitive interface with high-quality displays and responsive touch functionality. Whether you’re building smart lighting, climate control, or security systems, CrowPanel makes it easy to control and monitor your devices with a sleek, user-friendly interface. With various sizes and resolutions available, you can tailor your project to meet your specific needs and elevate your smart home experience.
If you’re working on a personal project, we want to make it easier for you to get started: Elecrow HMI Display Free Sample Program & Custom Services is ongoing. Know the details of the activity here.
We also provide detailed Home Assistant tutorials on the Elecrow wikis.
Let Your Home Work for You
The Raspberry Pi 5 is a powerhouse for home automation. Whether you’re creating a basic smart home hub or building a complex server to manage a variety of devices, the Pi 5 provides the power and flexibility you need. These tutorials offer a perfect starting point, whether you’re just beginning or ready to push the boundaries of home automation.
So, which project will you start with? Dive in, explore the possibilities, and build a home that works smarter for you.