
Story
Project Overview
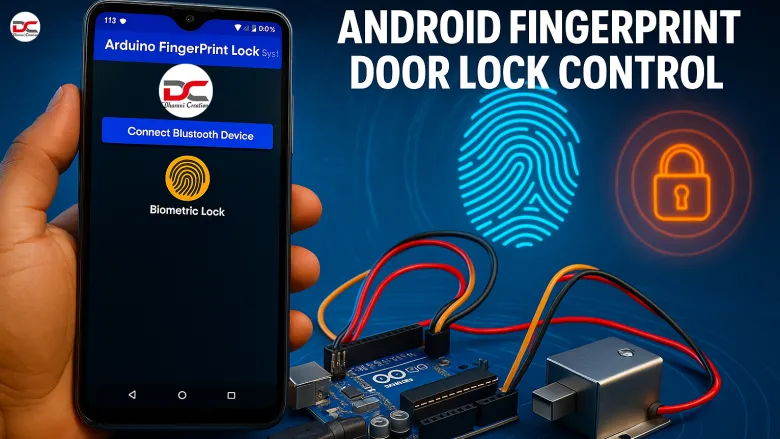
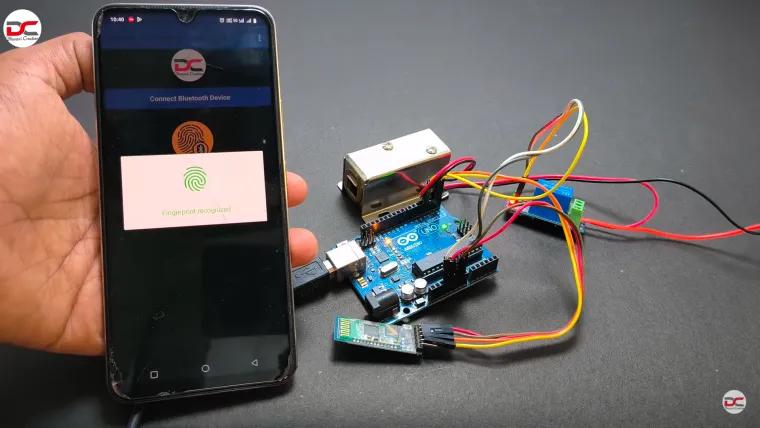
A keyless, biometric door-lock that opens via:
-
Android phone's fingerprint sensor
-
Bluetooth connection (HC-05) to an Arduino
-
Solenoid door lock mechanism
No traditional fingerprint module on the lock itself—everything rides on your phone’s fingerprint scanner.
Hardware Components
-
Arduino Nano / Uno – central control unit
-
HC-05 Bluetooth module – wireless link between phone and Arduino
-
Relay module – toggles power to the solenoid lock
-
12 V solenoid lock – actual locking mechanism
-
5 V regulator (e.g. 7805) – to power Arduino & Bluetooth
-
Buzzer / LED indicators – optional status alerts
Typical wiring:
-
Relay input → Arduino digital pin (e.g. D13)
-
HC-05 TX/RX ↔ Arduino RX/TX (or software serial pins D2/D3)
-
12 V rail powers both solenoid + 7805 (which steps down to 5 V)
-
5 V line feeds Arduino & HC-05 module
Software & Android App
-
Custom Android APK/App built with tools like MIT App Inventor or Kodular
-
App flow:
-
Connect via Bluetooth to HC-05
-
Prompt for fingerprint authentication
-
Send a specific command (e.g. integer “1”) to Arduino if authorized
-
-
Arduino sketch listens over serial:
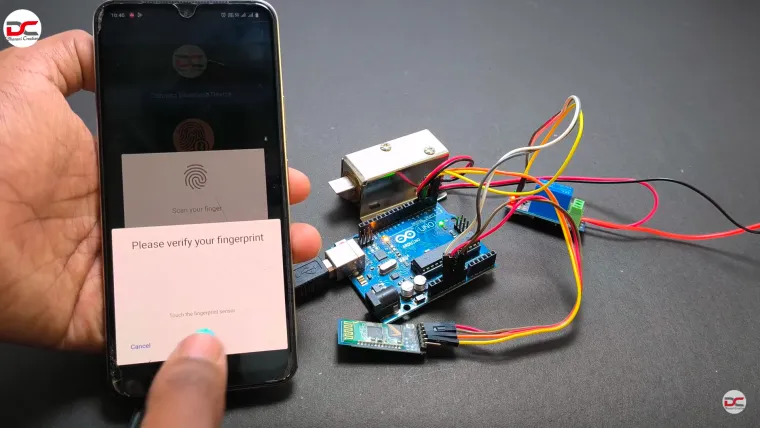
Operational Flow
-
Phone connects to HC-05 via app
-
User scans fingerprint on phone
-
If verified, app sends unlock code (e.g. "1")
-
Arduino receives code and energizes relay
-
Relay powers solenoid, unlocking door for defined time
-
After delay, Arduino opens circuit to relock
Design Decisions & Advantages
-
No dedicated fingerprint sensor hardware—uses the AD phone's biometric scanner
-
Reduces cost, complexity, wiring, and programming effort
-
Solenoid lock delivers 12 V latch movement
-
Relay module interfaces between Arduino and solenoid
-
Custom app ensures only authorized users can unlock
-
Wiring is kept straightforward with minimal components
Performance
Though this exact build doesn’t include timings, similar research shows:
-
Fingerprint recognition on embedded modules ≈1.2 s beep respons
Expect a total delay of ~2–3 seconds from fingerprint scan to lock activation.
Wiring Block Diagram (Simplified)
(Plus optional LED/Buzzer connected to Arduino for feedback)
Step-by-Step Summary
-
Assemble hardware
-
Connect Arduino, HC-05, relay, and solenoid per diagram
-
Add power relations: 12 V supply → solenoid + 7805 regulator → Arduino/HC-05
-
-
Program Arduino
-
Write serial listening code
-
Test unlocking relay logic
-
-
Build Android app
-
Use BiometricPrompt API or MIT App Inventor fingerprint blocks
-
Send fixed code upon successful scan
-
-
Test entire chain
-
Pair app with HC-05
-
Authenticate, receive unlock signal, observe lock action
-
-
Enclose in casing (optional 3D printed for a clean look)
Pros & Cons
| Pros | Cons |
|---|---|
| Low-cost, minimal external hardware | Dependency on specific smartphone |
| Leverages phone's secure biometric | Phone must be nearby & paired |
| Simple and modular design | Not Internet-connected (local only) |
Variations & Enhancements
-
Add Wi-Fi or GSM modules for remote unlocking
-
Integrate time-based or multi-user fingerprint access
-
Include logging or notifications via smartphone or cloud
-
Deploy solenoid and relay in a secure, tamper-resistant casing
More References
-
ResearchGate project (Arduino UNO, solenoid, fingerprint, HC-05)
-
ElectronicClinic article (Arduino Nano + relay + Android Biometric app)
-
IoTDesignPro stepwise walkthrough (components, code, wiring)
In Summary
This project connects an Android phone’s fingerprint sensor to a simple Arduino-relay-solenoid setup, all via Bluetooth. You only need a smartphone for biometric authentication—cutting down on hardware needs. It’s a modular, educational entry into smart-lock systems.