Meet CrowPanel for Home Assistant: a dedicated smart home control panel
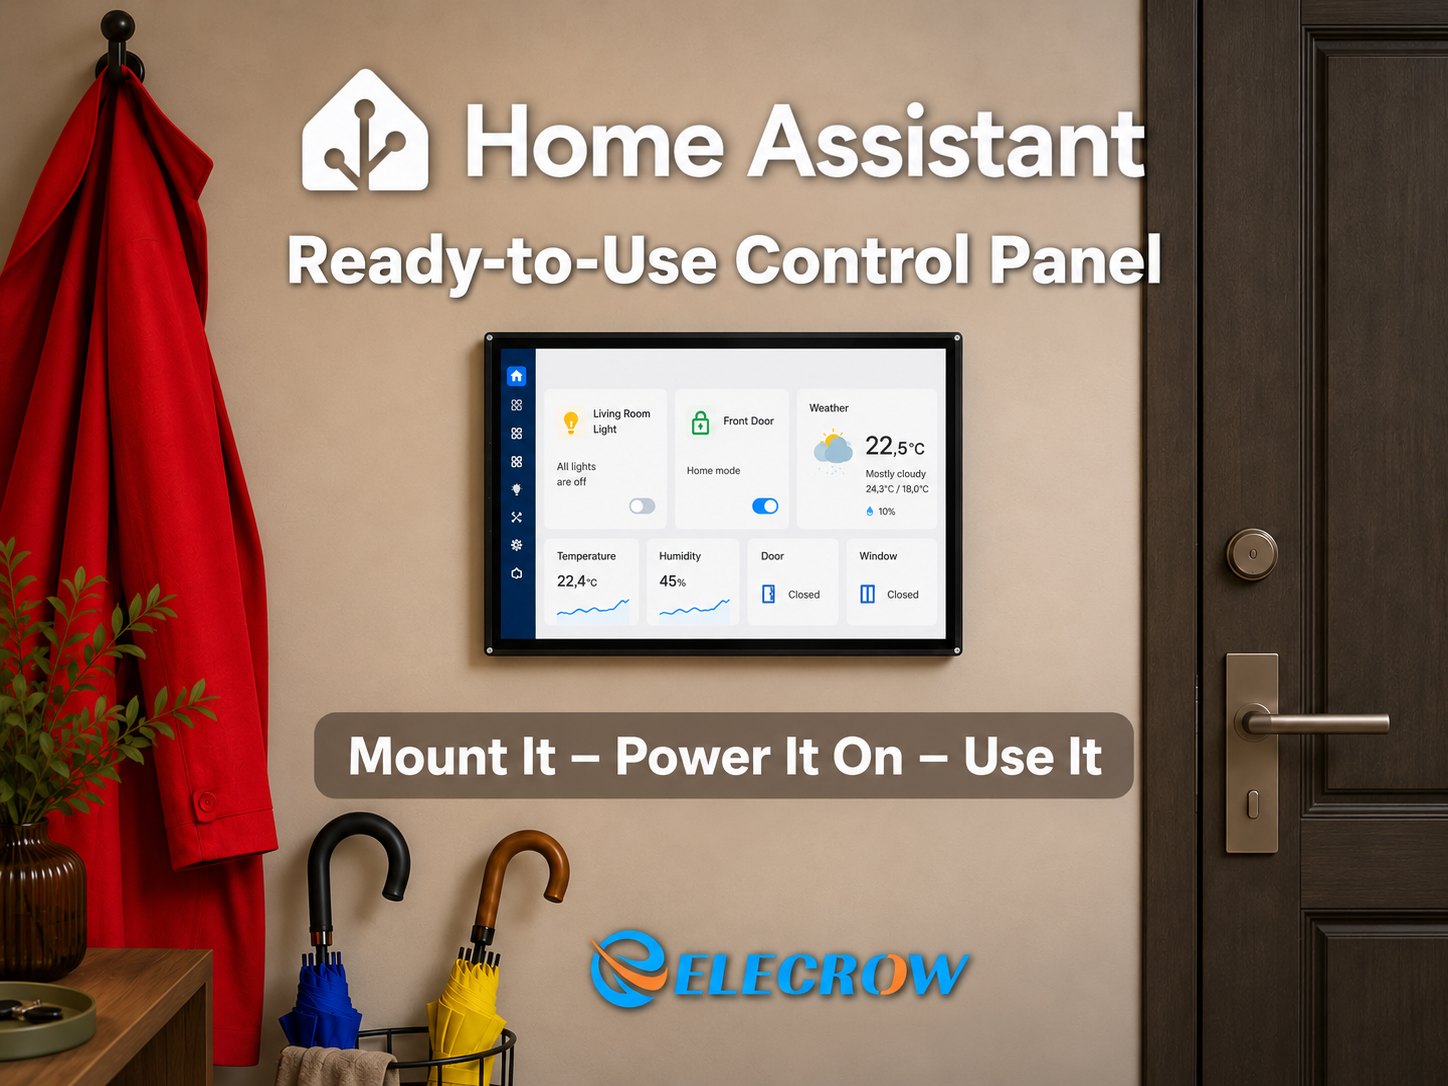
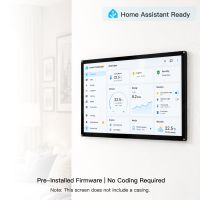
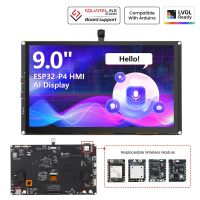
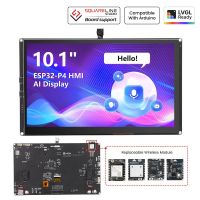
Home Assistant is incredibly flexible, but in everyday use you still need a convenient place to control it. CrowPanel for Home Assistant turns the CrowPanel Advance ESP32-P4 into a dedicated touchscreen that stays where you need it and gives you instant access to dashboards, devices, scenes, and camera views.
What is CrowPanel for Home Assistant?
The idea is simple: instead of reaching for a phone or keeping a general-purpose tablet permanently on the wall, you use a dedicated panel designed specifically as a Home Assistant interface. The panel connects to your Home Assistant server and displays the dashboards you already use.
That means you do not have to rebuild your smart home around a new ecosystem. Your automations, entities, rooms, scenes, and dashboards remain in Home Assistant; CrowPanel simply gives them a permanent physical interface.
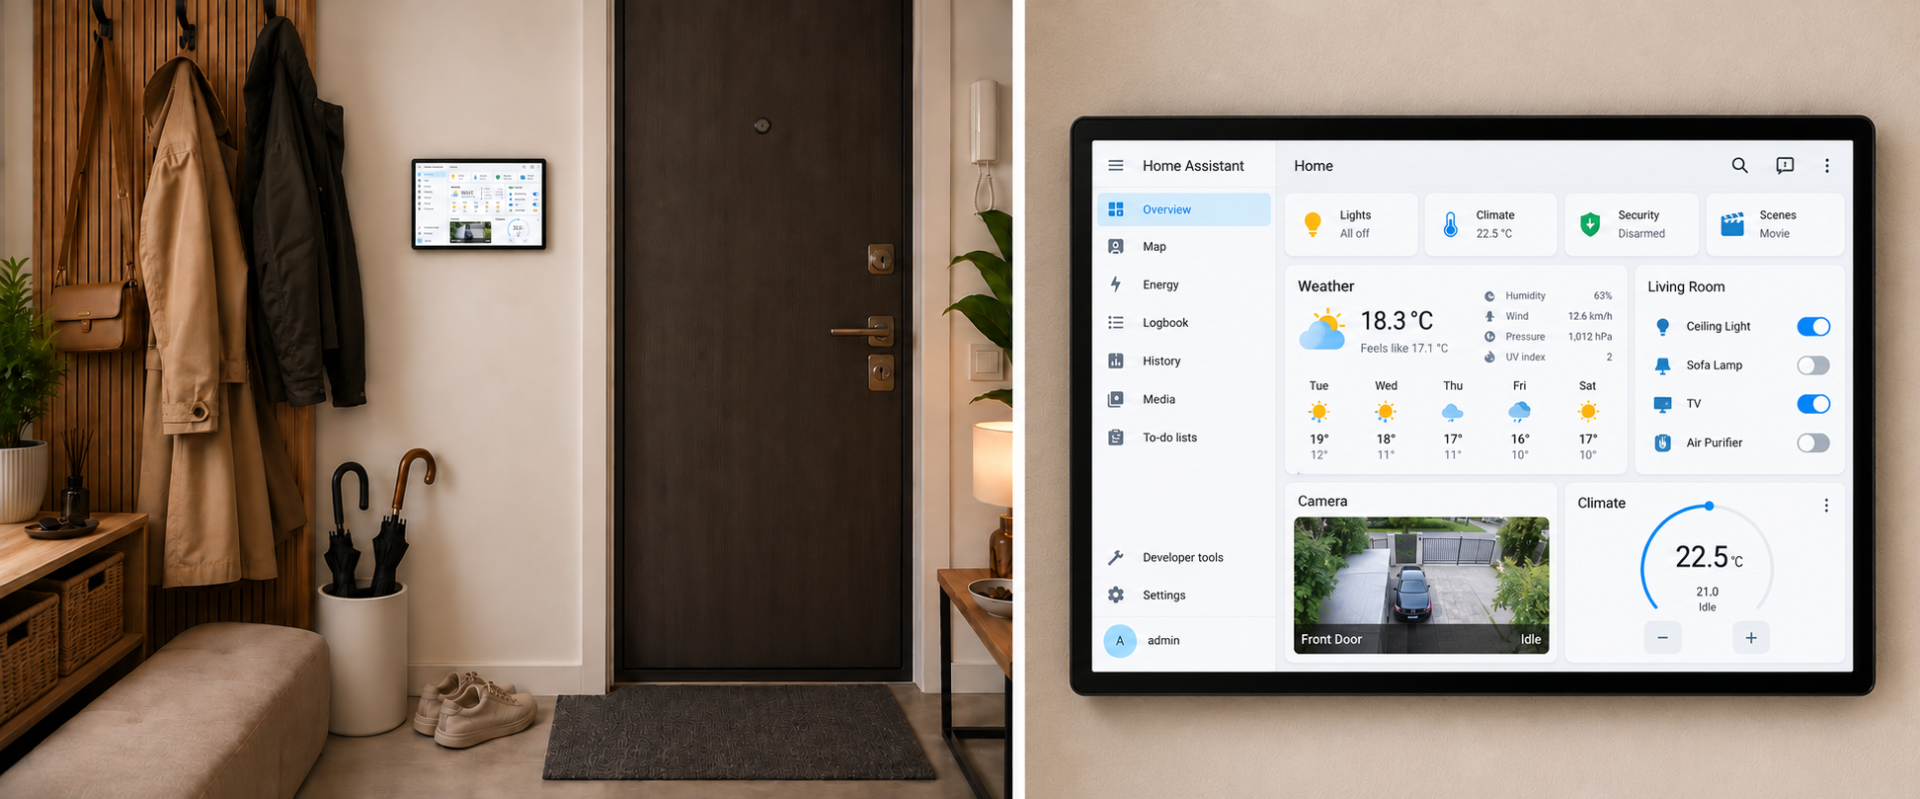
Why people like it
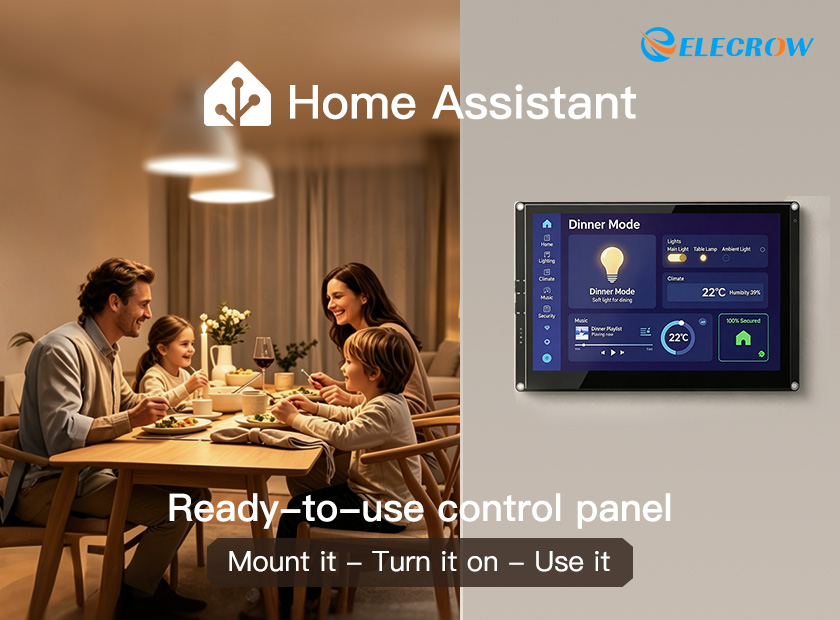
A dedicated panel changes how Home Assistant feels in daily life. Instead of being something hidden inside an app, it becomes part of the room and is always available to everyone in the house.
What does this look like in real life?
The value of a fixed panel is easiest to understand through everyday situations. The exact devices and actions depend on your Home Assistant setup, but here are two simple examples.
Leaving home
You are already at the front door. Instead of checking several rooms one by one, you tap your “Away” scene on the hallway CrowPanel. Home Assistant can switch off the lights, adjust climate settings, and trigger any other actions you included in that scene. Before leaving, you can also glance at the status dashboard to make sure everything is as expected.
Movie night
From the living-room panel, you open your Home Assistant scene and switch the room into movie mode: lights dim, selected devices change state, and the dashboard stays available if you want to adjust something later. The control point is always in the same place, so anyone can use it without reaching for your phone.
How it works
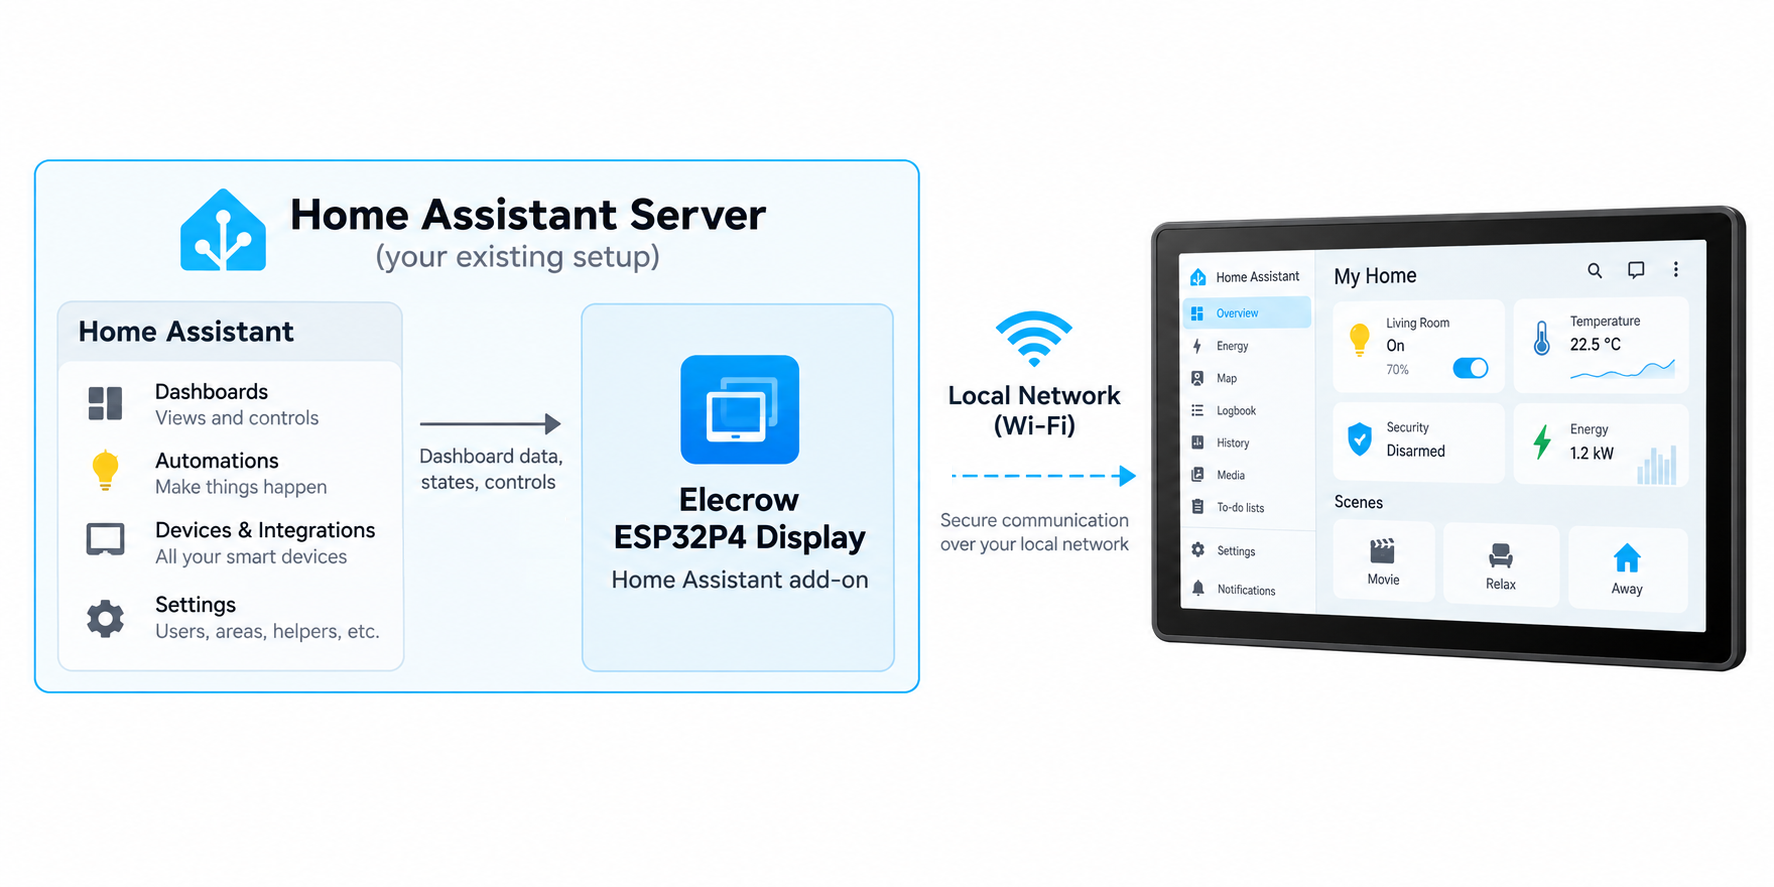
From the user’s point of view, the setup is simple: Home Assistant keeps running on your usual server, and CrowPanel becomes a dedicated screen for it. A small Elecrow application on the server handles the connection, while the panel only needs access to your local network and your Home Assistant account.
How the server side works
Home Assistant continues to run normally on your server. To let CrowPanel communicate with it, you install the Elecrow ESP32P4 Display application in Home Assistant. Think of it as the small bridge between your server and the panel.
You only need to add the Elecrow repository, install the application, and start it. Once it is running, the server side is ready for the panel.
On the Home Assistant side
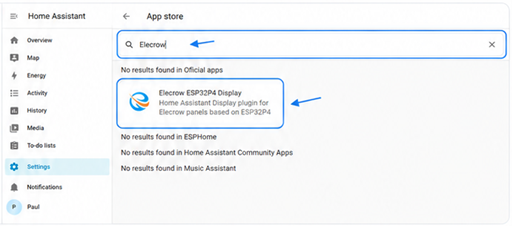
- Open Home Assistant and go to Settings → Apps → Install app.
- Add the Elecrow repository: https://github.com/fintros/crow-ha.
- Find Elecrow ESP32P4 Display, install it, and start the application.
- When its status shows Running, the Home Assistant side is ready.
The Home Assistant settings page on CrowPanel: Server URL, account credentials, WebSocket port, and the alternative QR setup option.
That is the server side in a nutshell. For a complete click-by-click walkthrough, use the dedicated CrowPanel for Home Assistant setup guide.
What happens on the panel
On the panel side, there are only two things to tell CrowPanel: how to join your Wi-Fi network and which Home Assistant server to open. The panel is already prepared for this workflow, so there is no need to install a separate app on the display itself.
First, connect the panel to Wi-Fi from Settings → Wi-Fi. Then open Settings → Home Assistant and enter the address and account details of the Home Assistant server you already use.
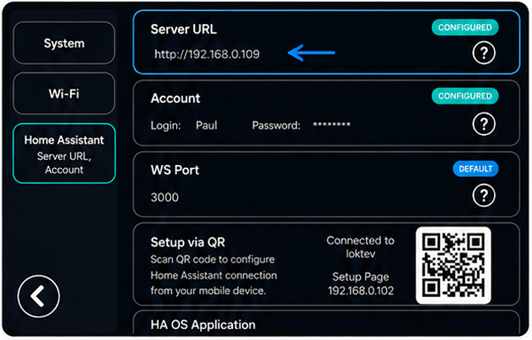
The Home Assistant settings page on CrowPanel: Server URL, account credentials, WebSocket port, and the alternative QR setup option.
That is essentially all the panel needs. The complete setup guide contains the exact fields, screenshots, and default values for users who want to follow the process step by step.
Other ways to configure the panel
Typing everything directly on the touchscreen is the easiest path for many users, but it is not the only one. CrowPanel also supports two alternative setup methods, which are especially useful for long passwords, repeated installations, or professional deployments.
Directly on the panel
The simplest option for a single installation. Choose the Wi-Fi network on the panel, enter the password, then enter the Home Assistant server address and account details.
QR codes and web setup
For Wi-Fi, the panel can create a temporary setup network. Scan the QR code, connect your phone to ESP32-P4-Config, and submit the home Wi-Fi credentials from a browser. Once the panel is online, the Home Assistant settings can also be entered through a local web page opened from the QR code shown on the panel.
CrowPanel-Config on Windows
Connect the panel to a Windows PC through UART0 and use CrowPanel-Config.exe. The utility provides separate Wi-Fi and Home Assistant setup tabs and is convenient when preparing several panels.
Which one should you use?
- Panel touchscreen: best for a normal one-time installation.
- QR/web portal: useful when you prefer typing on a phone or computer.
- CrowPanel-Config.exe: useful for installers, integrators, and repeat deployments.
CrowPanel for Home Assistant brings a simple idea to life in a very practical way: give your smart home a dedicated screen that stays where it is needed and is always ready to use. If you already rely on Home Assistant, this is one of the most straightforward ways to make your dashboards easier to access and more natural to use every day.
Whether you want a hallway control point, a kitchen dashboard, a living-room panel, or a compact interface for another shared space, CrowPanel gives you a clean touchscreen front end for the system you already run.
If you need help during setup, contact Elecrow technical support: