

Story
Introduction
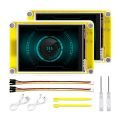
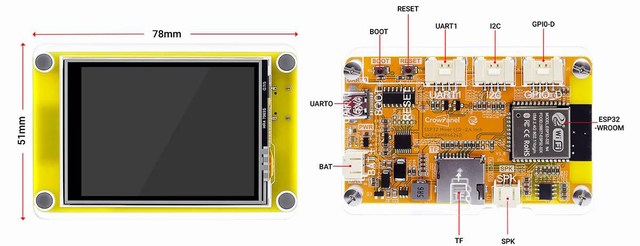
The ESP32 Miner Display 2.8” by Elecrow is an interesting development board that combines a powerful ESP32 microcontroller with a TFT touchscreen in a compact module. Thanks to its integrated Wi-Fi and Bluetooth connectivity, the device can be used in a wide range of embedded and IoT applications such as monitoring dashboards, home automation panels, industrial control interfaces, and experimental cryptocurrency mining devices.
The board integrates the ESP32-WROOM-32 module running up to 240 MHz and a 320×240 TFT LCD display driven by the ILI9341 controller, offering a responsive and colorful graphical interface suitable for embedded user interfaces.
In this project we review the hardware and show how to start developing applications using the Arduino environment.
Features and Design
Main hardware features include:
-
2.8-inch TFT LCD touchscreen with 320×240 resolution
-
ESP32-WROOM-32 dual-core microcontroller up to 240 MHz
-
Integrated Wi-Fi 2.4 GHz and Bluetooth/BLE connectivity
-
Resistive touch interface for user interaction
-
MicroSD (TF) card slot for data storage
-
Multiple interfaces including GPIO, I²C and UART
-
USB-C interface for programming and power supply
-
Support for development platforms such as Arduino IDE, ESP-IDF, PlatformIO, and MicroPython
-
Compatibility with the LVGL graphics library for creating advanced GUIs
The board can be powered via USB-C or by connecting a Li-ion/LiPo battery, making it suitable for both stationary and portable projects.
Its integrated design greatly simplifies the creation of Human-Machine Interfaces (HMI) and IoT control panels.
Program and Code
To start developing with the ESP32 Miner Display:
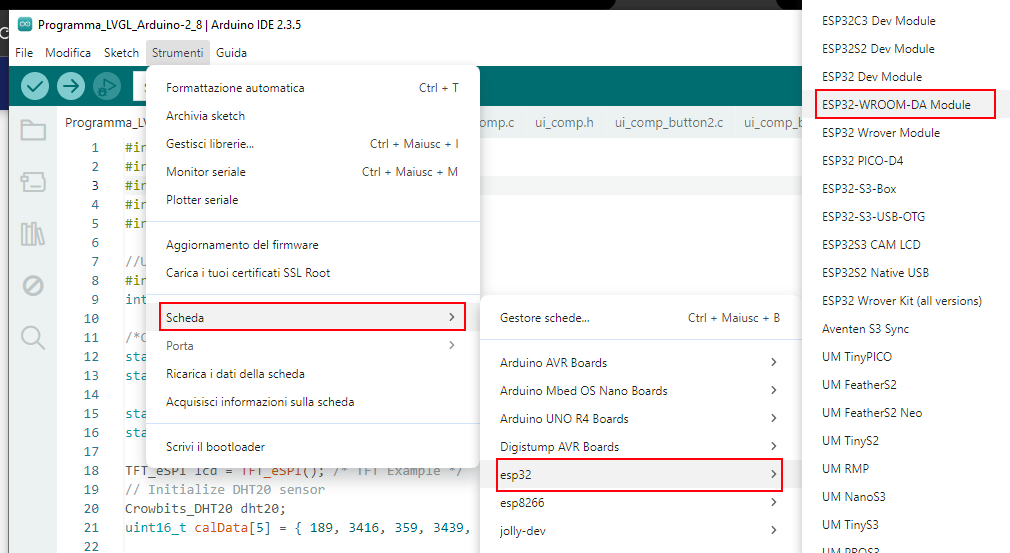
1. Development Environment
Install the Arduino IDE and configure the ESP32 board package.
2. Connect the Device
Connect the board to your computer using the USB-C cable.
The ESP32 will appear as a serial device ready for programming.

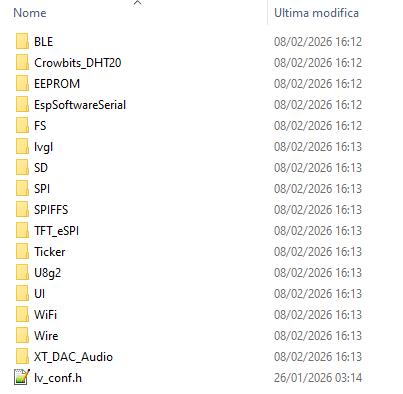
3. Install Required Libraries
For display and graphical interfaces you can use libraries such as:
-
TFT display libraries compatible with ILI9341
-
LVGL (for advanced graphical interfaces)
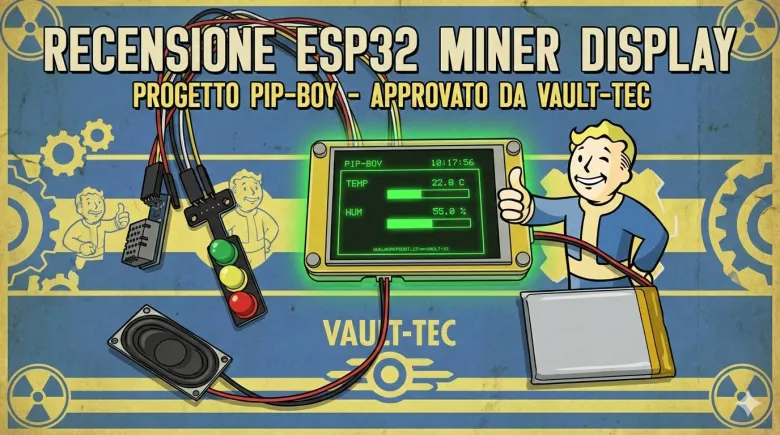
ESP32 Pip-Boy with Miner Display LCD
To test the display I developed a project that uses several of the board’s available resources.
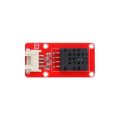
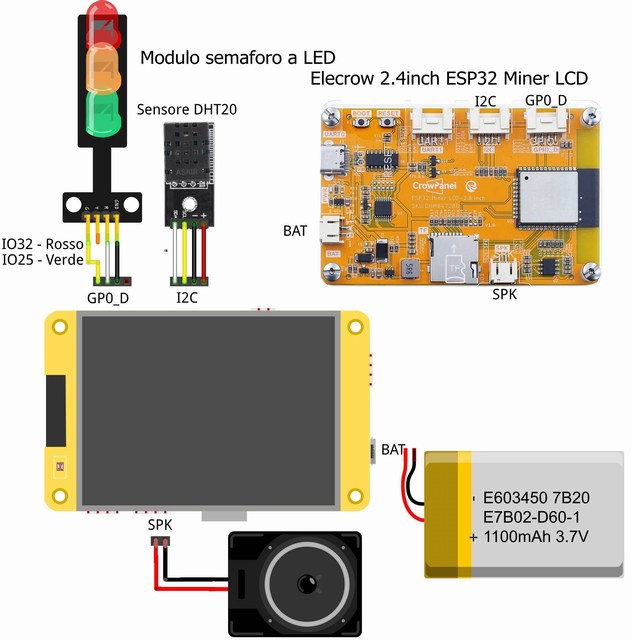
The system connects a DHT20 temperature and humidity sensor via the I²C interface (GPIO 22 and GPIO 21), while two LEDs connected to GPIO25 and GPIO32 simulate a small traffic-light module used as a status indicator. An audio amplifier output on GPIO26 allows the connection of a small speaker.
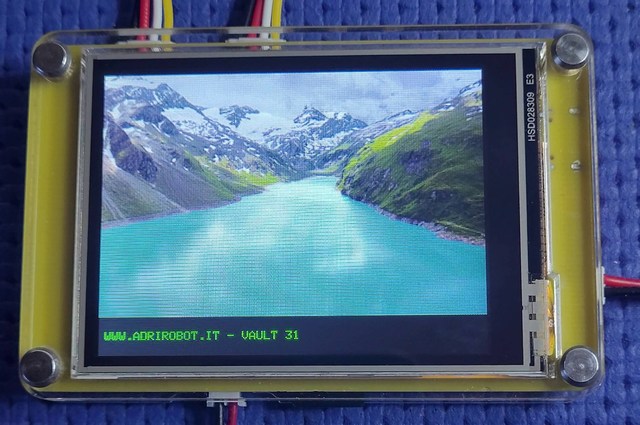
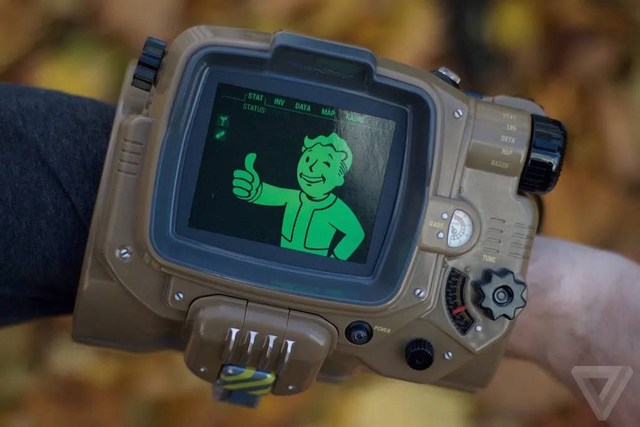
The idea is to recreate a simplified version of the Pip-Boy, specifically the Pip-Boy 3000 from the Fallout series (Fallout 3, New Vegas, Fallout 4 and the TV series). In the game universe, the Pip-Boy is a wearable wrist computer used as a personal terminal, navigation device, radio, and radiation detector (Geiger counter). In this project it becomes a small monitoring console powered by an ESP32 with an LCD display.
Hardware Connections
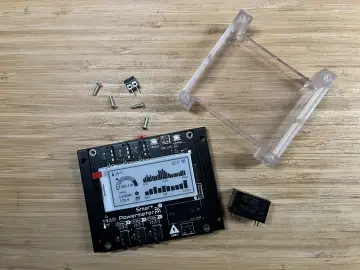
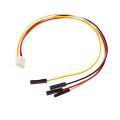
The traffic-light LED module and the DHT20 sensor are connected using HY2.0-4P cables, which are included with the board.
A 4–8Ω 1W speaker with a PH2.0-2P connector is connected to the audio output, and the battery also uses a PH2.0-2P connector.

Program Operation
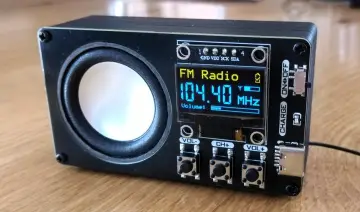
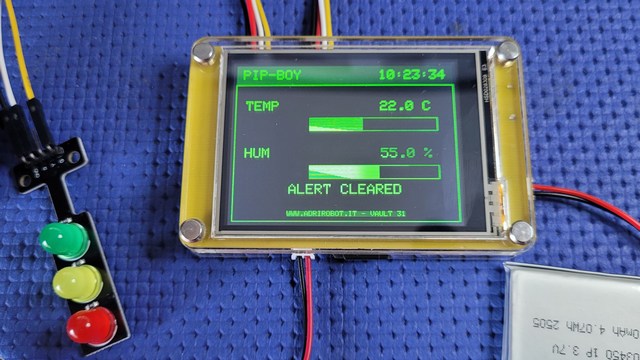
When powered on, the device connects to the configured Wi-Fi network (SSID and password must be set in the code) and synchronizes the local time using an NTP server. The current time is displayed in the top-right corner of the screen.
The system then initializes the DHT20 sensor and continuously reads temperature and humidity values. These measurements are displayed both numerically and through animated graphical bars, inspired by the Pip-Boy interface style.

Under normal conditions, the green LED blinks to indicate that the system is operating correctly.
When a simulated radiation event occurs, the green LED turns off and the red LED turns on. The display shows a flashing warning message: “!! RADIATION DETECTED !!”

At the same time, the speaker connected to GPIO26 emits an alarm siren.
After about 8 seconds, the event ends: the red LED turns off, the siren stops, the green LED resumes blinking, and the display message changes to: “ALERT CLEARED”
AFor more information: https://www.adrirobot.it/reviev-esp32-miner-display-lcd-2-8-inc-elecrow/