
Story
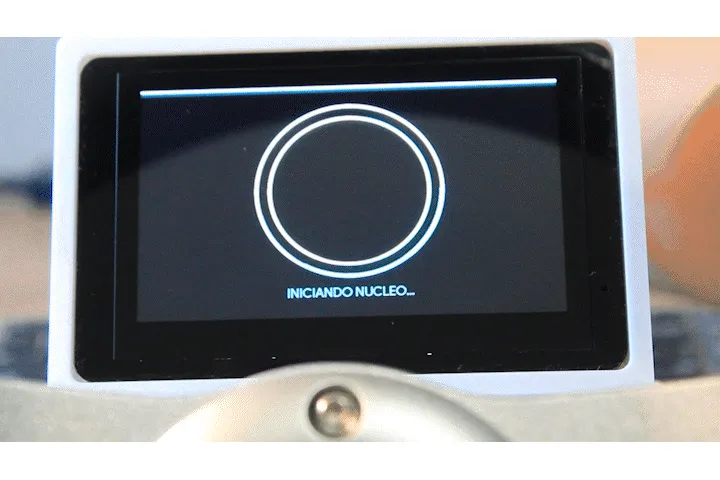
Premium HMI Dashboard for Euro Truck Simulator 2 (RTOS-based)
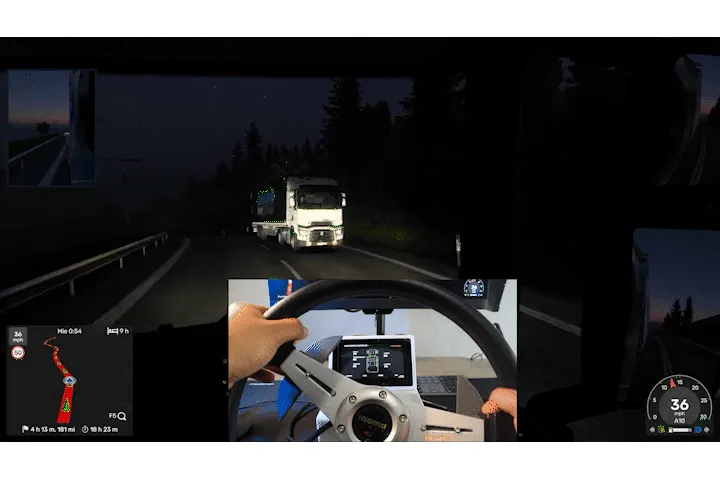
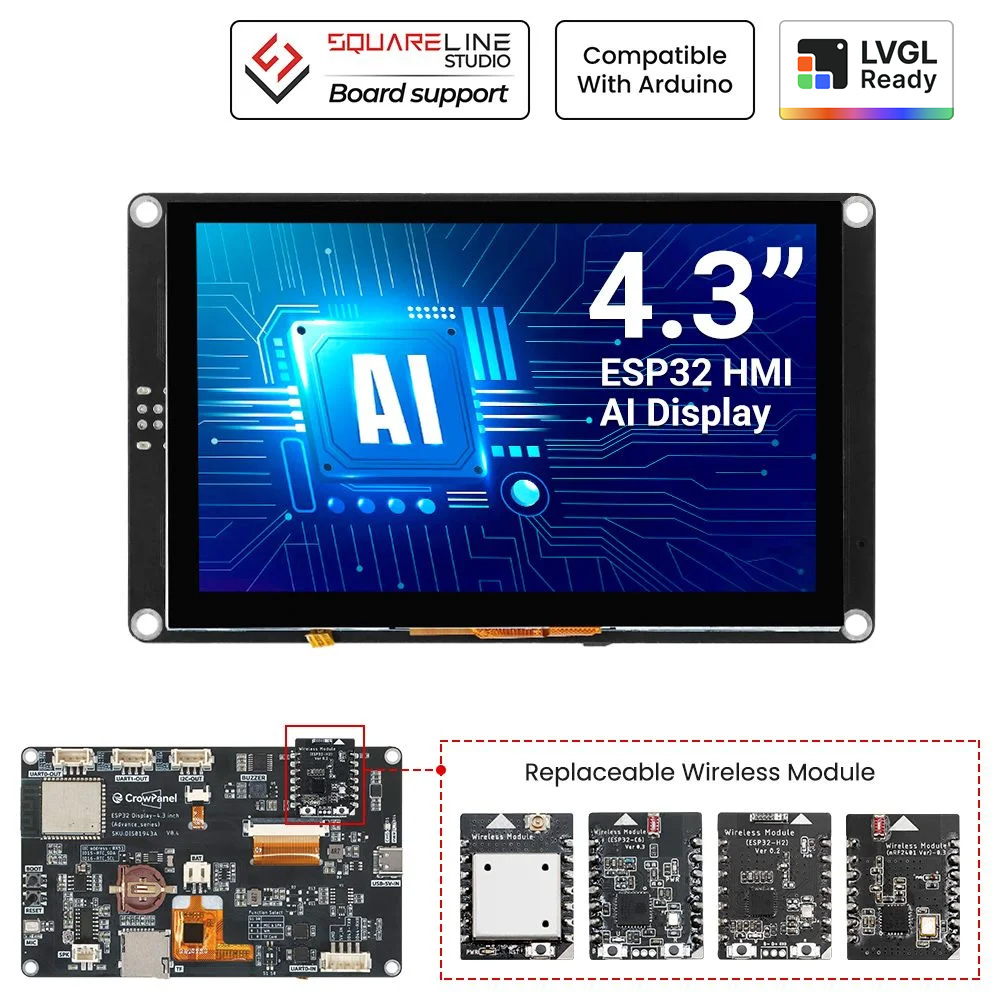
This project bridges the gap between casual gaming and professional simulation. I have developed a dedicated hardware dashboard for Euro Truck Simulator 2 using the CrowPanel Advanced 4.3" and an ESP32-C3 Supermini.
Unlike standard mobile apps that rely on laggy WiFi or generic displays, this system uses a high-speed serial connection and a custom Real-Time Operating System (RTOS) architecture. It provides truck drivers with 30-40FPS fluid gauges, real-time engine diagnostics, and a level of immersion previously reserved for high-end simulators.
2. How does it work?
The system is divided into three intelligent layers designed for maximum performance:
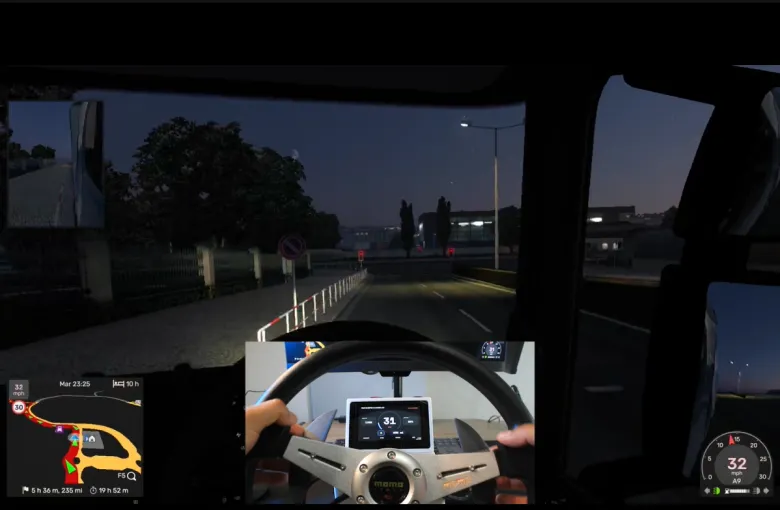
1. PC Telemetry Bridge (Python): A lightweight script hooks into the **ETS2 Telemetry SDK**, extracts live data (RPM, Speed, Fuel, Gears, etc.), and streams it via USB-C using a custom-defined protocol.
2. The Processing Engine (FreeRTOS): To achieve 30-40FPS, the ESP32-S3 runs two parallel tasks. One core handles the high-speed data stream, while the other dedicated core renders the UI. This dual-core approach prevents "stuttering" even when the game is pushing intense data updates.
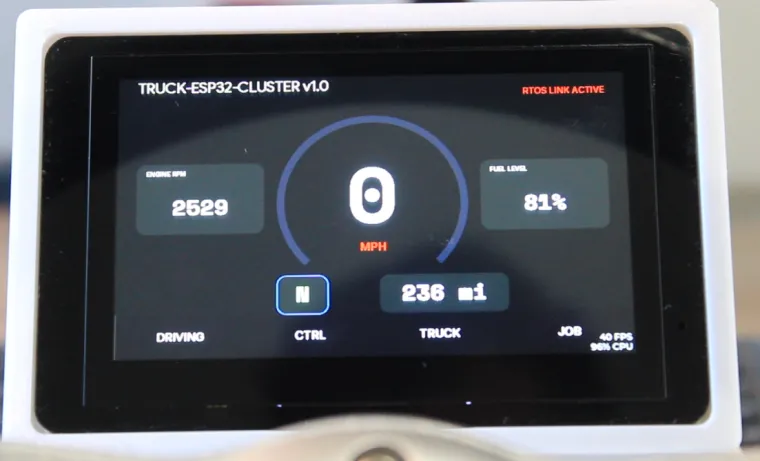
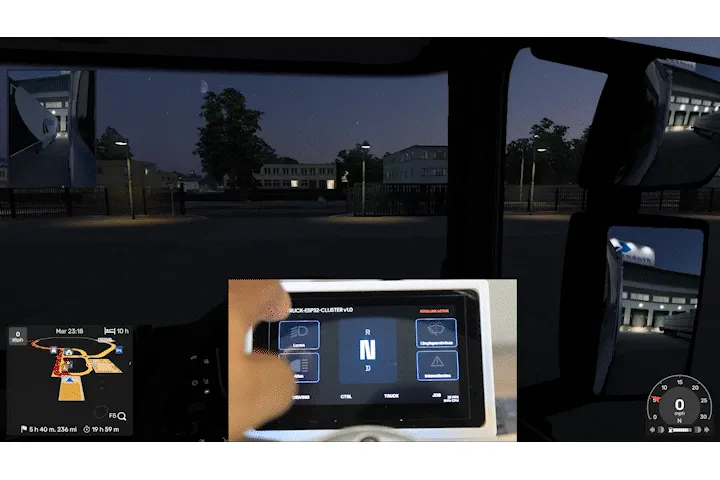
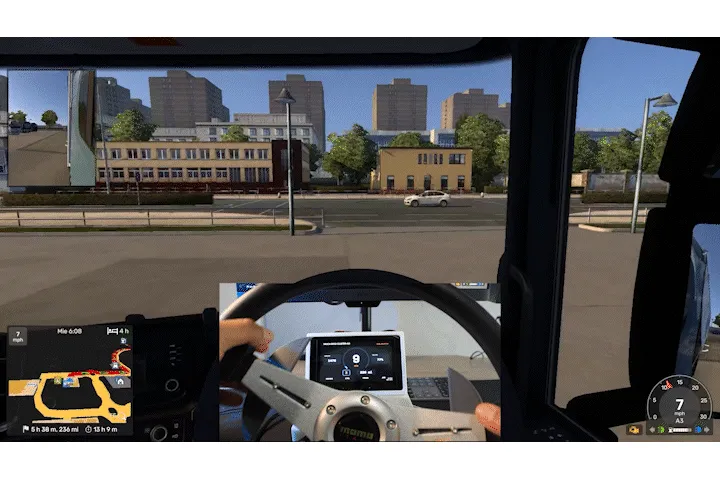
3. Modern HMI UI: The interface was built using Squareline Studio, featuring anti-aliased gauges, and a responsive layout optimized for the 800x480 IPS display.
We can control some functionalities through HMI like lights, wipers, warning lights and driving states.
 We can see the damage of the trailer in Truck tab
Repository:
https://github.com/JefeNacho/youtube-projects/tree/master
Youtube Video:
Step A: Hardware Setup
Main Components:
- CrowPanel Advanced 4.3
- ESP32-C3
- PCB files from repository
- 2x Hall Sensors.
- 2x Neodimum magnets
- 4x Springs
- 22 AWG Cable (Black, Red, Green)
- 2x XH-2W
- 4x XH-3W
- 1x XH-4A
- 1x XH-4W
- 3x XH-4Y
- 4x XH-3Y
- 2x XH-2Y
- 1x 4 Pin Crowtale to Female Splitable Jumper Wire
- M2 Screws
- M4 Screws
Connection: Connect the terminal to your PC using a high-quality USB-C data cable (standard charging cables may cause data dropouts).
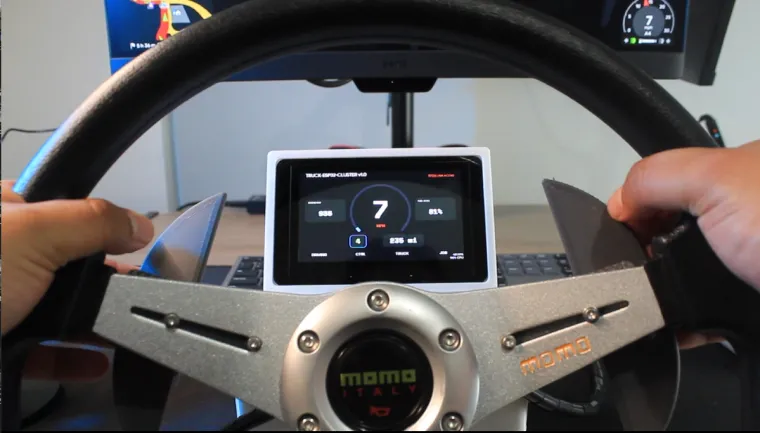
Mounting: Use the provided STL files to 3D print the steering wheel base.
Step B: Flashing the Firmware
1. Flash esp32_c3_steering_wheel to EXP32-C3 Supermini Board using vscode + platformIO.
2. Flash elecrow_panel_advanced_4.3 to CrowPanel Advanced using .ino file.
Step C: Setting up the PC Bridge
1. Install the ETS2 Telemetry Server (SDK) in your game's plugins folder.
2. Install Python 3 and the required libraries on your PC:
pip install pyserial requests
3. Run ETS2
4. Locate `ets2_real_bridge.py` in the repository and run it .
Step D: Driving!
The dashboard will automatically detect the game state and begin displaying your truck's live data.
4. Community Insights & Common Pitfalls
This project is significant because it solves the "Input Lag" problem common in DIY sim-racing dashboards. By moving from a "Web-view" or "WiFi" approach to a native LVGL + RTOS approach, we reduced latency.
Lessons learned for the community:
SPI Speed vs. Stability: We initially tried to push the display clock to 80MHz, but found that 40MHz with DMA (Direct Memory Access) is much more stable for long-haul drives while still maintaining 30-40FPS.
The "Power" Trap: High-brightness 4.3" screens draw significant current. Always ensure you are using a powered USB port or a high-quality hub to prevent the ESP32 from brownout resetting during a race.
Data Parsing: Don't try to parse complex JSON on the ESP32. We learned to pre-format the data on the Python side into a simple byte-stream to keep the ESP32 cores focused on rendering.
5. Files Included
Full Source Code: Optimized firmware and PC bridge.
3D Models: STL mounting files.
Design Assets: SquareLine Studio project files for full UI customization.
License: CC BY-NC-SA 4.0
Project Credits: Developed by Ignacio Aguilera