Story
What is this project about?
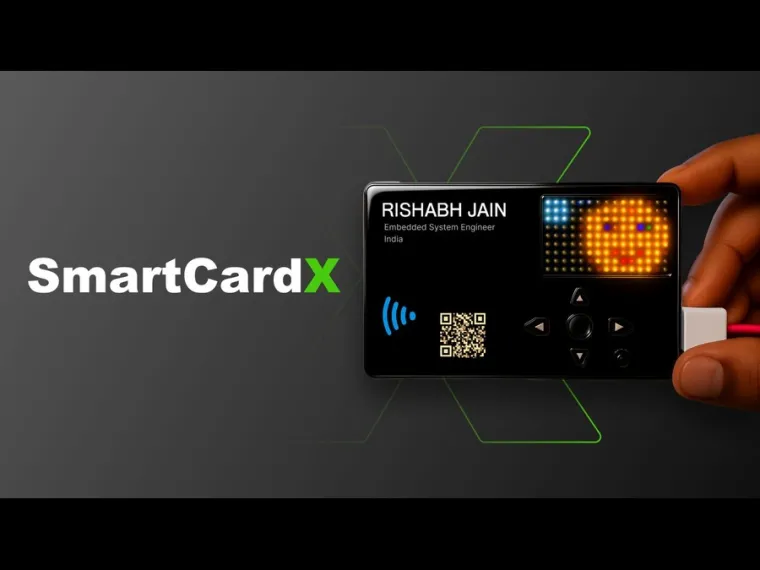
This project transforms the humble business card into an eye-catching, interactive tech gadget powered by the ESP32C6 module.
Instead of a plain piece of paper, you hand someone a device that lights up, plays games, shows weather updates, and even shares your contact info via NFC or QR code.
The card features:
-
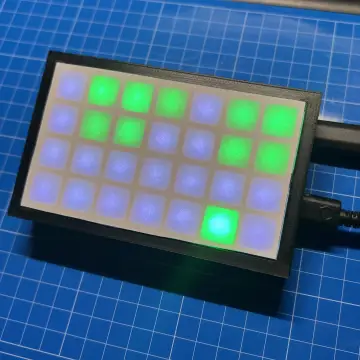
A 17×9 WS2812B NeoPixel LED matrix for vibrant visuals and animations.
-
MPU6050 IMU for tilt and motion-controlled effects.
-
NFC tag and QR code to instantly share contact or portfolio links.
-
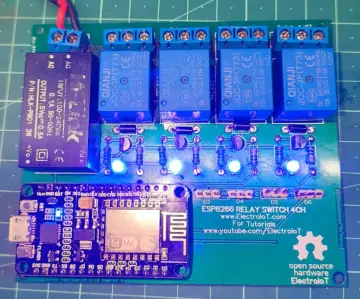
Wi-Fi + Bluetooth (via ESP32C6) to fetch live weather/time or send/receive data.
-
Multiple fun modes: Snake game, Pong, digital animations, ambient light mode, and more.
This isn’t just a card — it’s a tech showcase in your pocket.
How does it work?
-
Startup Animation
-
When powered via USB-C, the card greets with a "Hi" message and a blinking emoji face on the LED matrix.
-
-
Main Menu
-
Scroll through available modes using the navigation buttons.
-
Select a mode by pressing the center button.
-
-
Game Modes
-
Snake Game: Control the snake using the buttons, try to collect food, avoid crashing.
-
Pong Game: Classic paddle-and-ball gameplay.
-
Bouncing Ball Simulation: The ball reacts to your card movements using IMU tilt data.
-
-
Live Data Modes
-
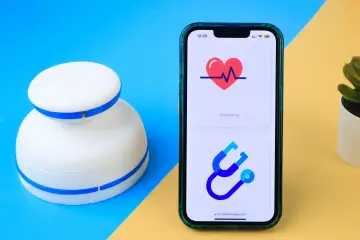
Weather Fetch: Connect to Wi-Fi, fetch live temperature, weather condition, and display on the LED matrix.
-
Time Display: Auto-syncs with NTP servers to show the current time in scrolling format.
-
-
Contact Sharing
-
Tap with NFC to share your digital profile, portfolio, or contact info.
-
Scan QR code printed on the back for instant access.
-
Step-by-Step Tutorial
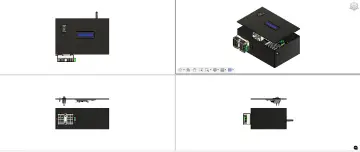
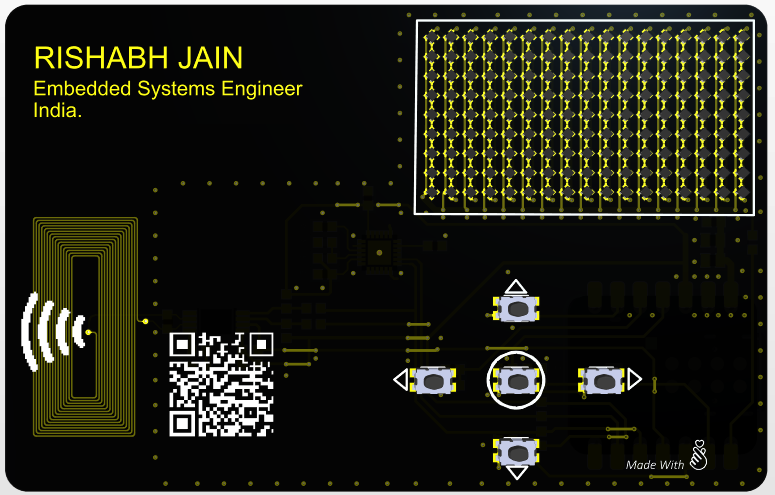
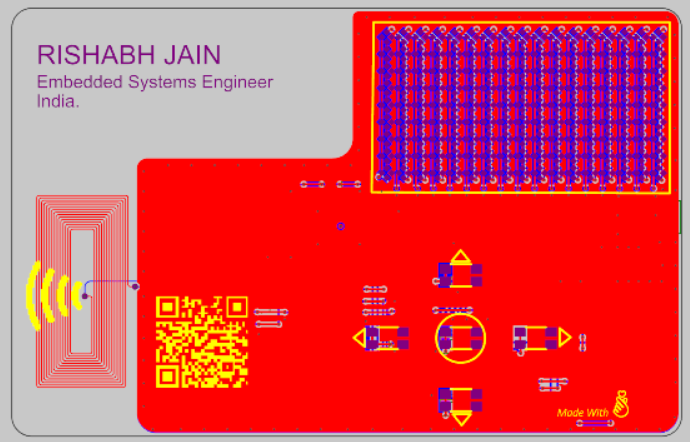
Step 1: Design & Fabrication
-
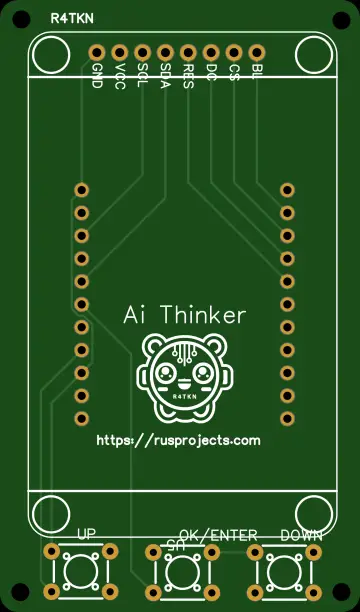
Design the PCB to fit all components in a business card size (90×54mm).
-
Arrange the LED matrix on the front, ESP32C6 module and MPU6050 on the back.
Step 2: Assembly
-
Solder the LED matrix to the PCB.
-
Mount the ESP32C6, MPU6050, NFC chip, and push buttons.
-
Attach the QR code label.

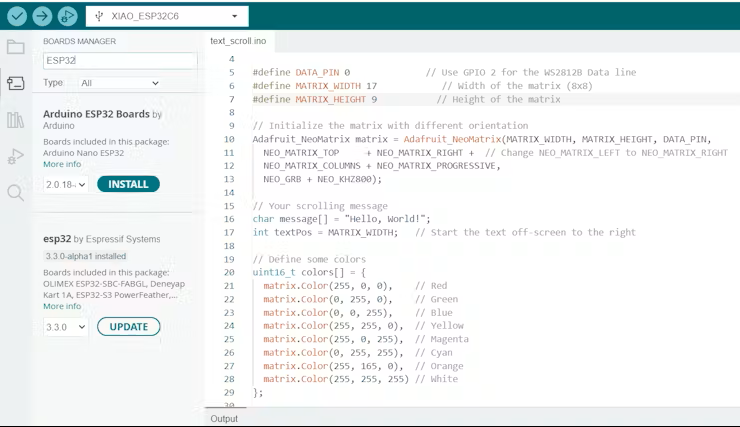
Step 3: Programming
-
Install the Arduino IDE and ESP32 board support.
-
Load the startup animation code, menu navigation, and game modes.
-
Add weather/time fetching functions via Wi-Fi.
Step 4: Testing
-
Connect the card via USB-C and run through each mode.
-
Test NFC and QR code functions.
(Insert GIF or video clip of startup animation and menu scroll)
Step 5: Show Off!
-
Share it at events, meetups, or client meetings.
-
Hand over not just a card, but an experience.