


Story
Detailed project description
1) What is the project about (Intro)
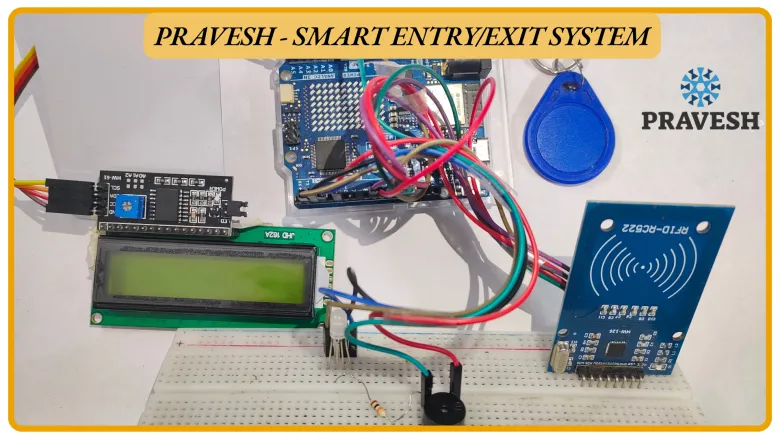
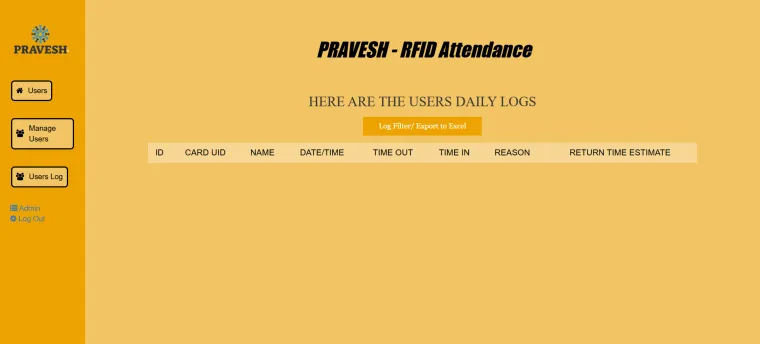
PRAVESH is a campus entry/exit system that replaces manual logbooks with a fast RFID-based workflow. When a student/staff scans an RFID card, the Arduino reads the UID and sends it to a backend server which logs the visit, maps the UID to a user, and issues an automated email (approval/log). The system gives admins a clean web interface and provides real-time accountability.
2) Features & design highlights
-
Real-time UID capture and HTTP POST to server.
-
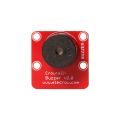
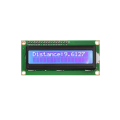
Visual and audio feedback (LCD + LED + buzzer) for user-friendly scanning flow.
-
Automated email notifications and a simple web dashboard for admins.
-
Built on Arduino UNO R4 WiFi for secure network connectivity and reliable performance.
3) Program & code (high level)
-
setup()initializes Wi-Fi, LCD, RFID (MFRC522), LEDs and buzzer. -
loop()checks Wi-Fi; when connected it waits for a new RFID card, reads UID, shows “Wait” on LCD, pulses buzzer/LED, then sends UID via HTTP POST to the server endpoint. The server returns status, then the device displays “Thank You” and resets to “Scan your card.” See the Arduino code in the repo for implementation and library usage.
4) Show media / schematics
-
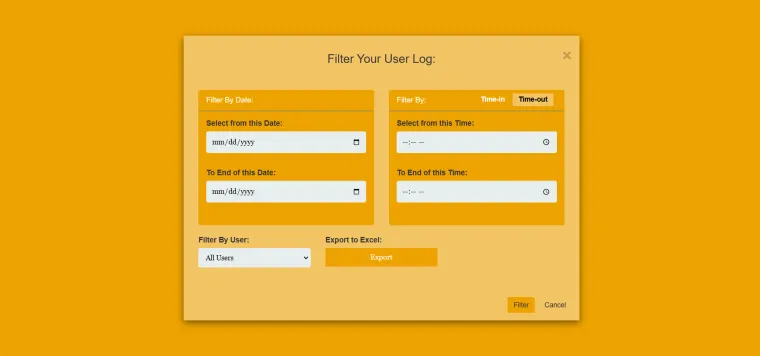
Demo video (YouTube) and circuit diagram are in the repo — include these in the contest submission to get extra attention.
-
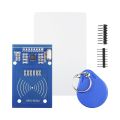
Circuit diagram (PNG/PDF) in repo shows wiring for MFRC522 → Arduino (SDA, SCK, MOSI, MISO, RST), I2C LCD (A4/A5), and LEDs/buzzer.
Step-by-step tutorial
Step 1 — Hardware wiring
-
Power Arduino UNO R4 WiFi (USB 5V or battery via Vin).
-
Connect RC522: SDA → D10, SCK → D13, MOSI → D11, MISO → D12, RST → D9, VCC → 3.3V, GND → common ground.
-
Connect LCD (I2C): SDA → A4, SCL → A5, VCC → 5V, GND → GND.
-
Connect RGB LED and buzzer with appropriate resistors and common ground (pins per README).
Step 2 — Upload Arduino firmware
-
Install libraries:
MFRC522,LiquidCrystal_I2C,ArduinoHttpClient,WiFiS3(or WiFi lib appropriate for UNO R4 WiFi). -
Edit the sketch: set
ssid,password, and the server URL/IP (e.g.http://<your-server-ip>/rfidattendance/test_data.php). Do not hardcode production creds — use secure local network or config file. -
Compile & upload to Arduino UNO R4 WiFi.
Step 3 — Backend setup
-
On the server (LAMP stack): create a MySQL DB and table for
rfid_logsand ausersmapping table (uid ↔ email/name/role). See theDatabasefolder in repo for schema. -
Place
test_data.php(or your API) in the server web root, update DB credentials in the PHP script. The PHP endpoint expects HTTP POST with the UID and returns JSON status. -
Configure server mail (SMTP or PHPMailer) for automated email notifications when an entry is logged.
Step 4 — Frontend & admin
-
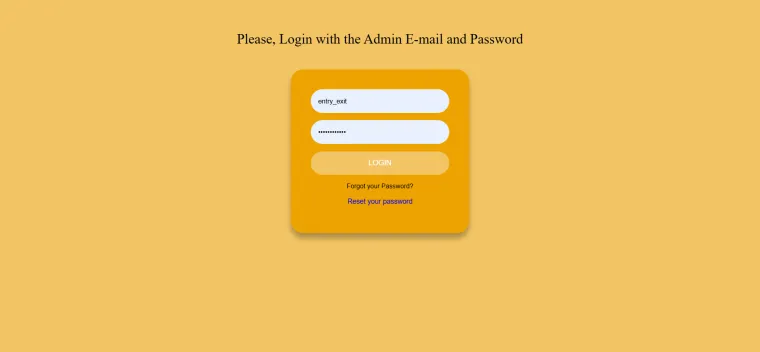
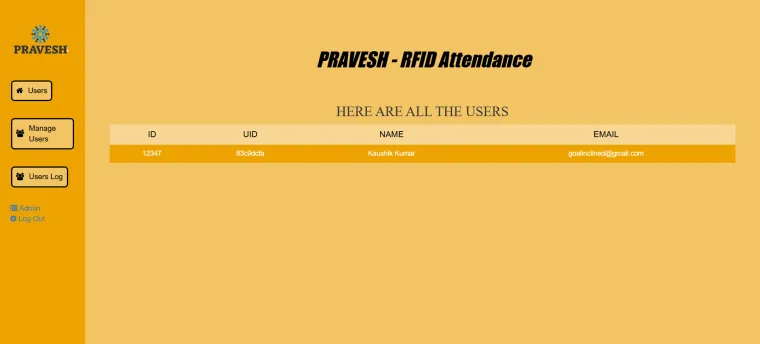
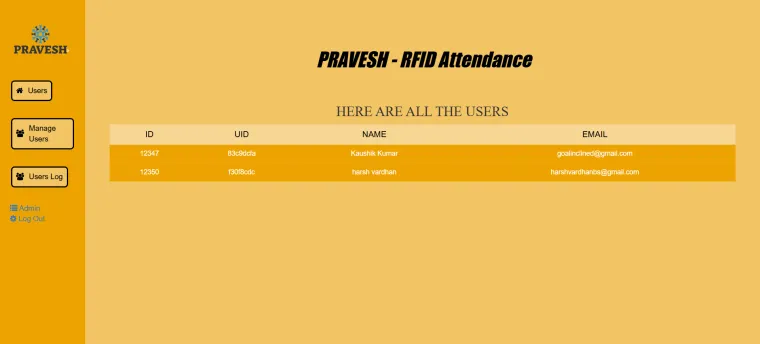
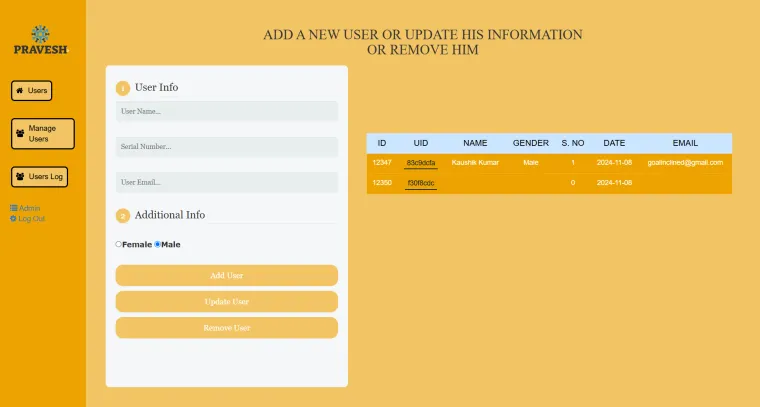
Deploy the small web dashboard (static + server API) — the repo contains frontend assets and images. You can host on Vercel, Netlify or any static host and point to the PHP API for live data.
Step 5 — Test & finalize
-
Test scanning several cards, check server logs, verify emails, and tune LCD messages/sound timing.
Tips & common pitfalls (from experience)
-
Wi-Fi connection loops: Use serial debugging and an LED indicator; ensure correct Wi-Fi credentials and stable signal.
-
Power issues: Don’t power RC522 from 5V — use 3.3V for the module; ensure common ground.
-
UID formatting: Always normalize UID hex strings (leading zeros) before inserting/looking up in DB.
-
Server IP vs DNS: During prototyping, use static IP addresses; for production, use a proper hostname/SSL to avoid CORS and security issues.