


Story
1. What is your project about?
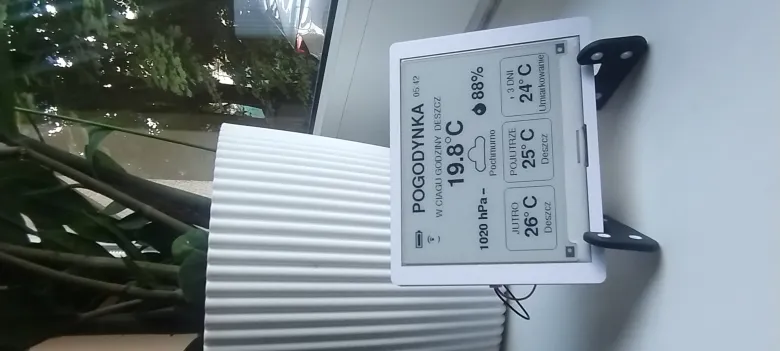
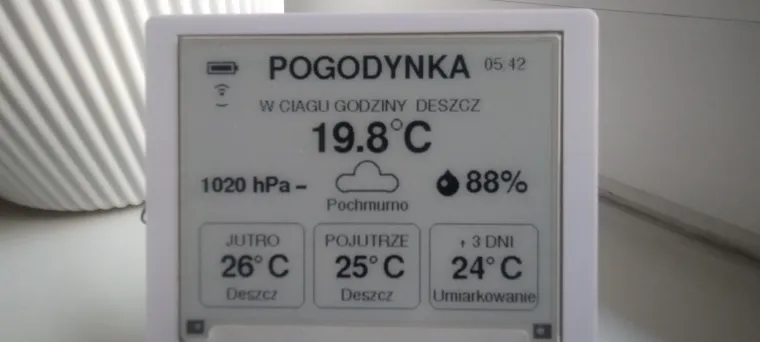
Introduction This project is an ultra-low-power e-ink weather station powered by the advanced ESP32-S3 microcontroller, seamlessly combining precise OpenWeatherMap data with a custom early warning algorithm for precipitation, all controlled through an elegant, single-button interface. It is designed to be a "glanceable," maintenance-free desk companion that keeps you prepared for sudden weather changes.
Features & Design
-
Ultra-Low Power E-Ink Display: Utilizes a high-contrast e-paper screen that consumes zero power to maintain an image. The ESP32-S3 relies heavily on Deep Sleep, waking up only to fetch data and refresh the screen, maximizing battery life.
-
Custom Storm Algorithm: Standard APIs often miss sudden summer convection storms. This project uses a custom loop that evaluates not just rain volume, but also Probability of Precipitation (POP > 50%) and specific weather condition IDs to trigger an early warning on the screen.
-
"Coffee Time" Pressure Trend: A unique UI touch! The station stores the previous atmospheric pressure. If it detects a sudden drop in pressure (which often causes sleepiness and precedes bad weather), a custom 8-bit coffee cup icon appears on the screen, suggesting it's time for a break.
-
Smart System Indicators: Custom-drawn visual icons keep you informed without cluttering the UI. It features a dynamic Wi-Fi signal strength indicator (based on RSSI) and a precise battery level icon with percentage.
-
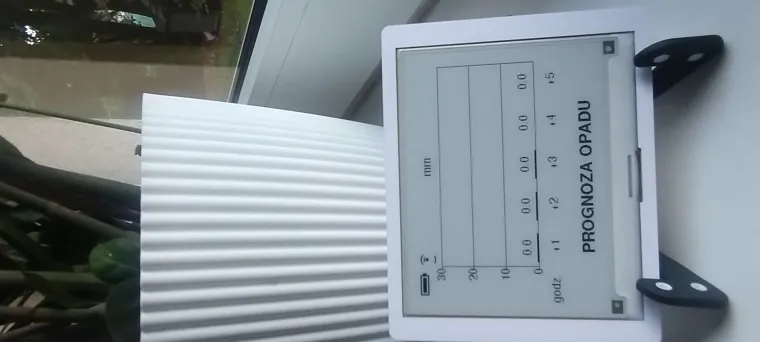
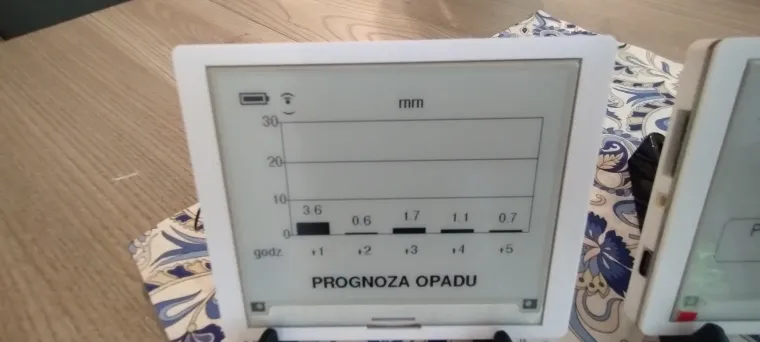
Single-Button Navigation: Instead of complex menus, the UX is streamlined. Pressing the rotary encoder instantly wakes the device from deep sleep via a hardware interrupt, cycling through the Main Forecast, a 5-hour Rain Radar Bar Chart, and System Info.
Program & Code
-
Developed in C++ using the Arduino IDE.
-
Powered by the
OpenWeatherMap One Call API 3.0parsed dynamically viaArduinoJson. -
Uses
WiFiManagerwith custom HTML parameters, allowing users to input their exact Latitude and Longitude from their smartphone during the initial setup—no code recompilation needed! -
Display graphics are handled seamlessly by the
GxEPD2andAdafruit_GFXlibraries.
2. Step-by-Step Tutorial
Step 1: Hardware Assembly Connect the E-Ink display to the ESP32-S3 via the SPI bus (CS, DC, RST, BUSY pins). Wire the rotary encoder's push-button pin to the designated wake-up GPIO (configured for RTC external wake-up). Finally, connect the Li-Po battery circuit to an analog pin to enable voltage reading for the battery icon.
Step 2: Software Setup Install the necessary libraries in the Arduino IDE (GxEPD2, ArduinoJson, WiFiManager). Obtain a free OpenWeatherMap API 3.0 key and paste it into the designated variable in the code.
Step 3: Flashing and Configuration Upload the code to your ESP32-S3. On the first boot, the station will fail to find a network and host its own Access Point named "StacjaPogody_Setup". Connect to it with your smartphone, enter your Wi-Fi credentials, and input your local Latitude and Longitude in the custom fields.
Step 4: Daily Operation Once configured, the station runs autonomously. It will wake up every 15 minutes (or every 5 minutes if rain is expected) to update the screen. Simply press the center button at any time to wake it instantly and cycle through your weather dashboards!
Tekst jest sformatowany tak, aby był czytelny i od razu pokazywał, że projekt jest przemyślany inżynieryjnie (szczególnie wzmianki o przerwaniach sprzętowych, Deep Sleep i analizie JSON).


