Story
Introduction
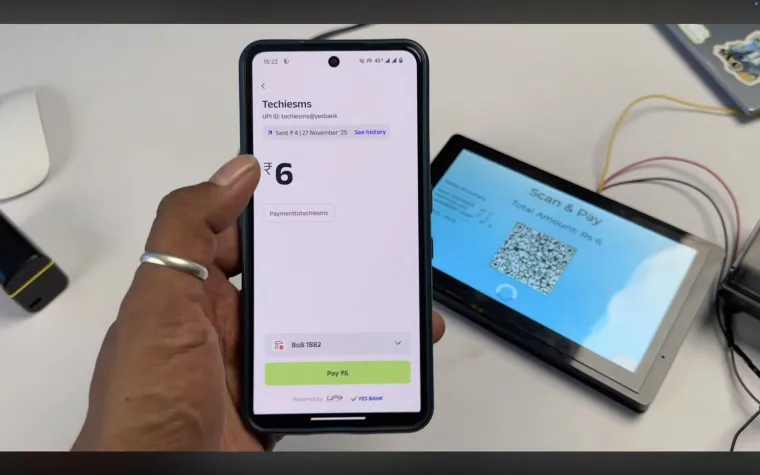
A few days back, I built a simple UPI payment interface using this Elecrow HMI display. It worked perfectly, but it had one drawback — you had to enter the amount manually on your phone after scanning the QR. In real vending machines, that doesn’t happen.
You select items → machine calculates total → QR code appears with fixed payment amount → you pay → done.
That missing part is called Dynamic QR Code Generation, and today we are going to build exactly that feature.
By the end of this article, we’ll have:
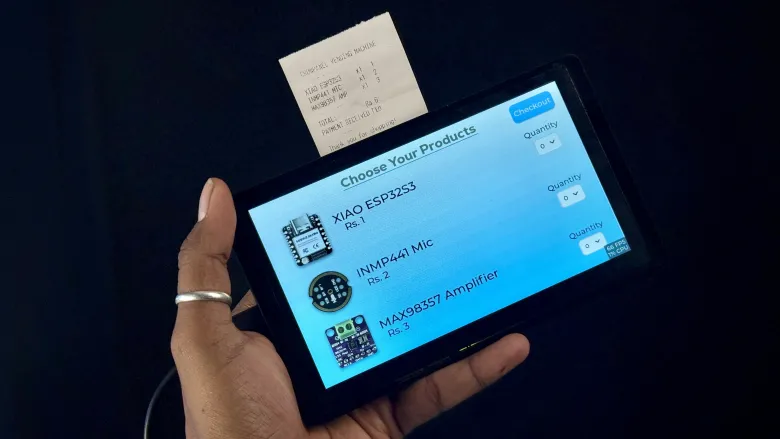
✔ A full touchscreen vending-machine UI
✔ Automatic billing based on selected items
✔ Dynamic UPI QR code generated instantly
✔ Payment confirmation handling + thermal receipt printing
✔ Entire system running on just one ESP32-S3 board inside the Elecrow HMI
So let’s begin.
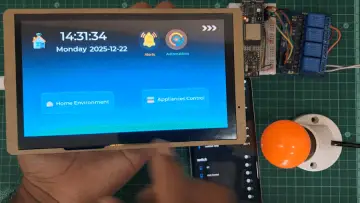
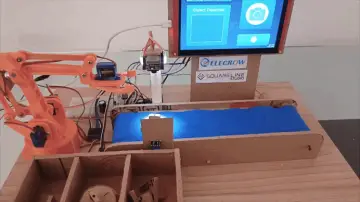
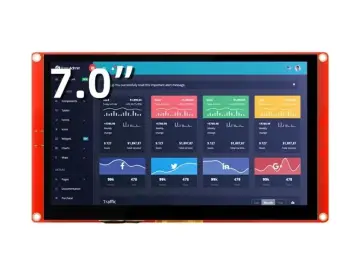
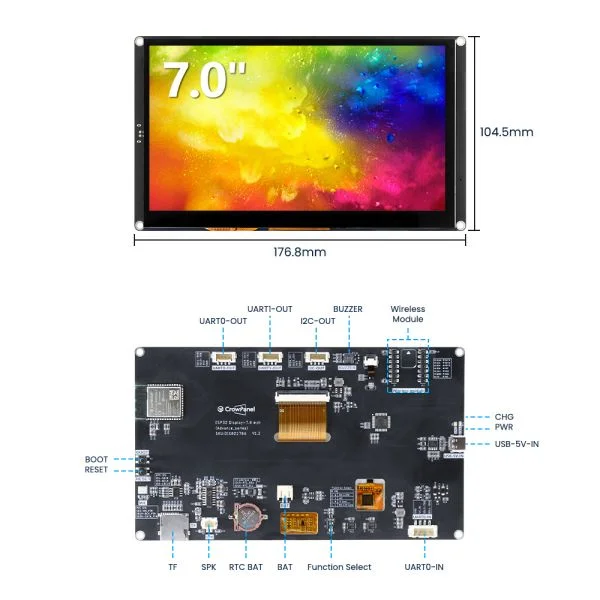
Understanding the Hardware — Elecrow 7" HMI Display
The heart of this project is the Elecrow 7-inch HMI Development Kit, and the more I work with it, the more I realize how powerful this board is. It doesn’t need an external processor — the UI and logic both run on the inbuilt ESP32-S3.
Key Hardware Features
| Feature | Details |
|---|---|
| Microcontroller | ESP32-S3 @ 240 MHz |
| Memory | 16MB Flash + 8MB PSRAM |
| Display | 7" IPS, 800×480, 178° viewing |
| Touchscreen | Capacitive single-touch |
| Interfaces | UART ×3, I2C, SD card, USB-C |
| Audio | Built-in mic + Speaker connector |
| Power | USB-C + Battery connector (BMS included) |
| Unique Feature | Replaceable wireless module slot |
This board is sold in with base and without base variants, and you can choose one of the extra wireless modules at the time of purchase.
How the System Works
To understand the flow better, here’s what our vending system does:
Unlike a normal QR, a UPI dynamic QR carries the pre-defined amount inside its string, so the user cannot change it.
That’s what makes it vending-machine-friendly.
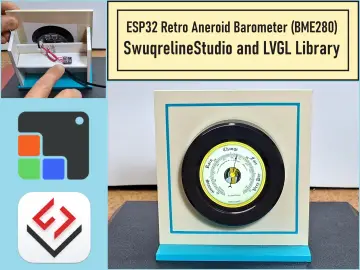
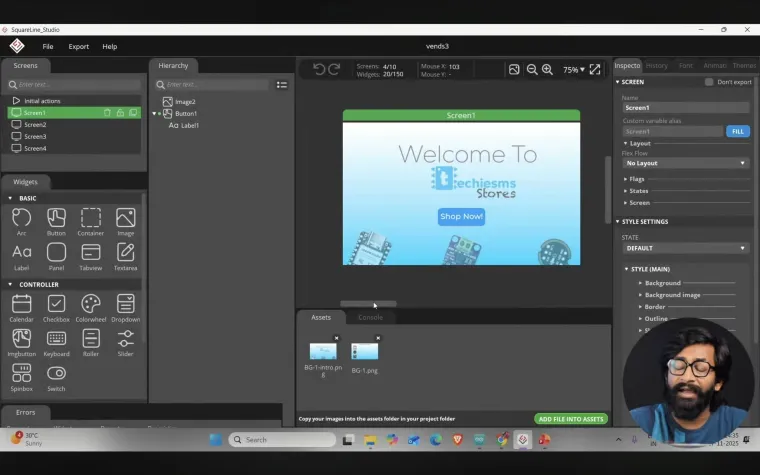
Designing the UI (Zero Code — Only Drag & Drop)
Instead of writing LVGL code manually, we use SquareLine Studio, which supports the Elecrow display out of the box.
The UI Screens We Create:
-
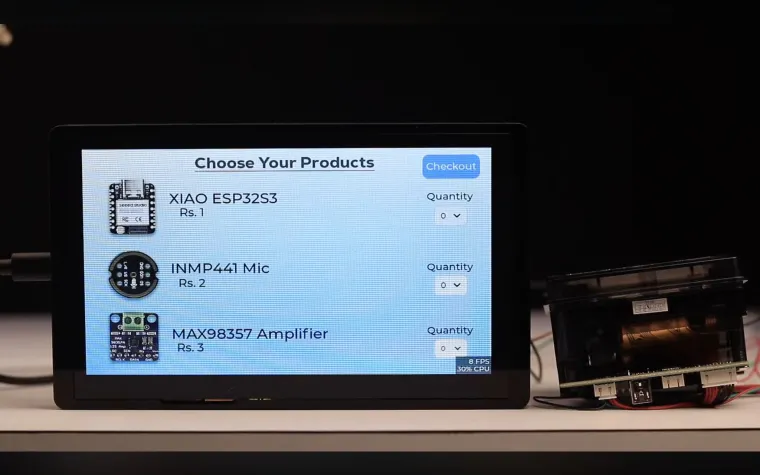
Item Selection Screen
‣ Buttons to increase/decrease quantity
‣ Labels displaying price and total
‣ Checkout button -
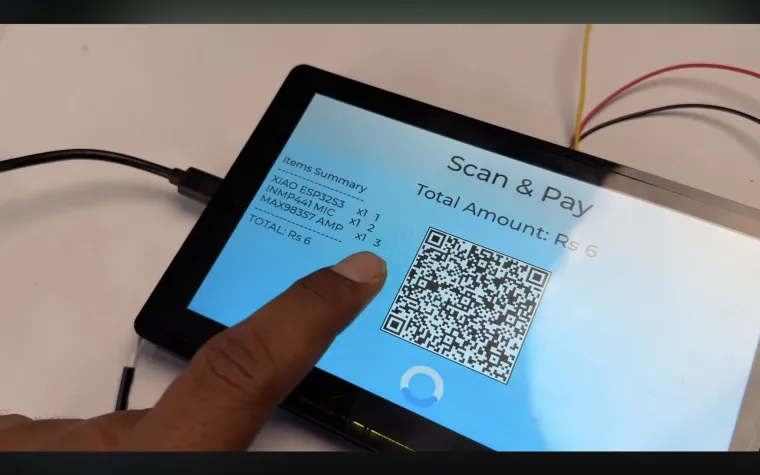
Payment Screen
‣ Dynamic QR code displayed
‣ Total amount and order summary -
Payment Success + Printing
‣ Shows message
‣ Sends data to thermal printer
Everything is visually arranged with drag-and-drop.
Once UI is ready → export project, and it generates LVGL UI files that we include in Arduino IDE.
This means no UI coding, only logic coding.
Programming the System in Arduino IDE
We open a new Arduino sketch and add:
-
LVGL libraries
-
Elecrow display + touch drivers
-
The UI files exported from SquareLine Studio
-
A QR code generation library
Now, when user presses Generate QR, we create our UPI payment URI like a real vending machine:
We convert this into a black-white bitmap QR and display it inside our UI QR box.
This is where it becomes a real dynamic payment interface.
Receipt Printing (Just Like a Store Slip)
Once payment succeeds (in demo, triggered manually), we print:
The thermal printer connects using UART serial.
A physical slip pops out — like a real automated kiosk.
Final Result
At this point, we have built:
> Touch-based vending interface
> Auto-calculation billing system
> Dynamic UPI QR payment processing
> Thermal receipt printing
> All powered by a single ESP32-S3 HMI
The only thing remaining is the mechanical dispensing assembly — motors & delivery system — which I’m planning to work on next, maybe even collaborate with someone skilled in mechanical design.
What’s Next?
Soon, I’ll move ahead to the mechanical build:
> Solenoid/Servo dispensing
> Hopper design
> Payment-triggered delivery
> Full vending prototype
If you’re interested in following the build, this is the perfect time to subscribe so you don’t miss the final part of the vending machine series.
Tutorial Video
In case if you want to see me building this complete project step by step well I have also made a detailed tutorial video about this project which is already live on my yotube channel
https://youtu.be/OZiLDGIJJ60?si=SLphJrjfe4uh_pZr