


Story
I'm designing and building an entire large 3D printer from scratch for ~$500!
Click here to check out my Journal (including many more pictures!) of the design & build journey!
Here's the BOM (if you want to build your own!): Google sheets
It's GitHub repo (it's open source!): GitHub
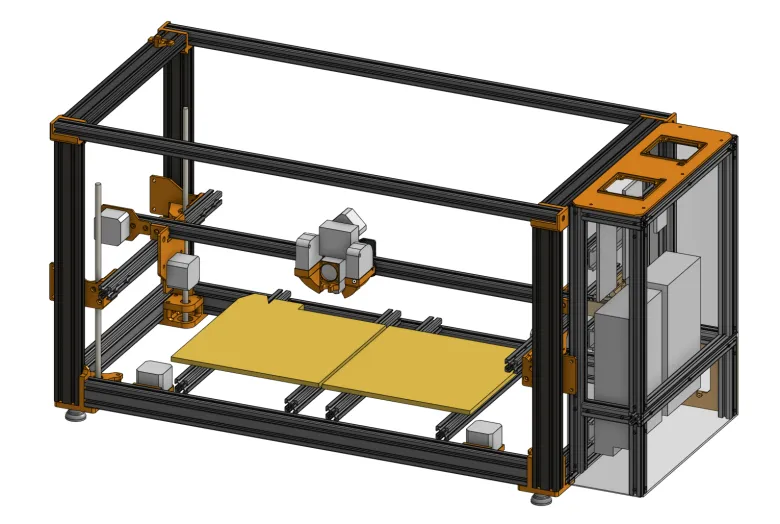
And the CAD model: Onshape
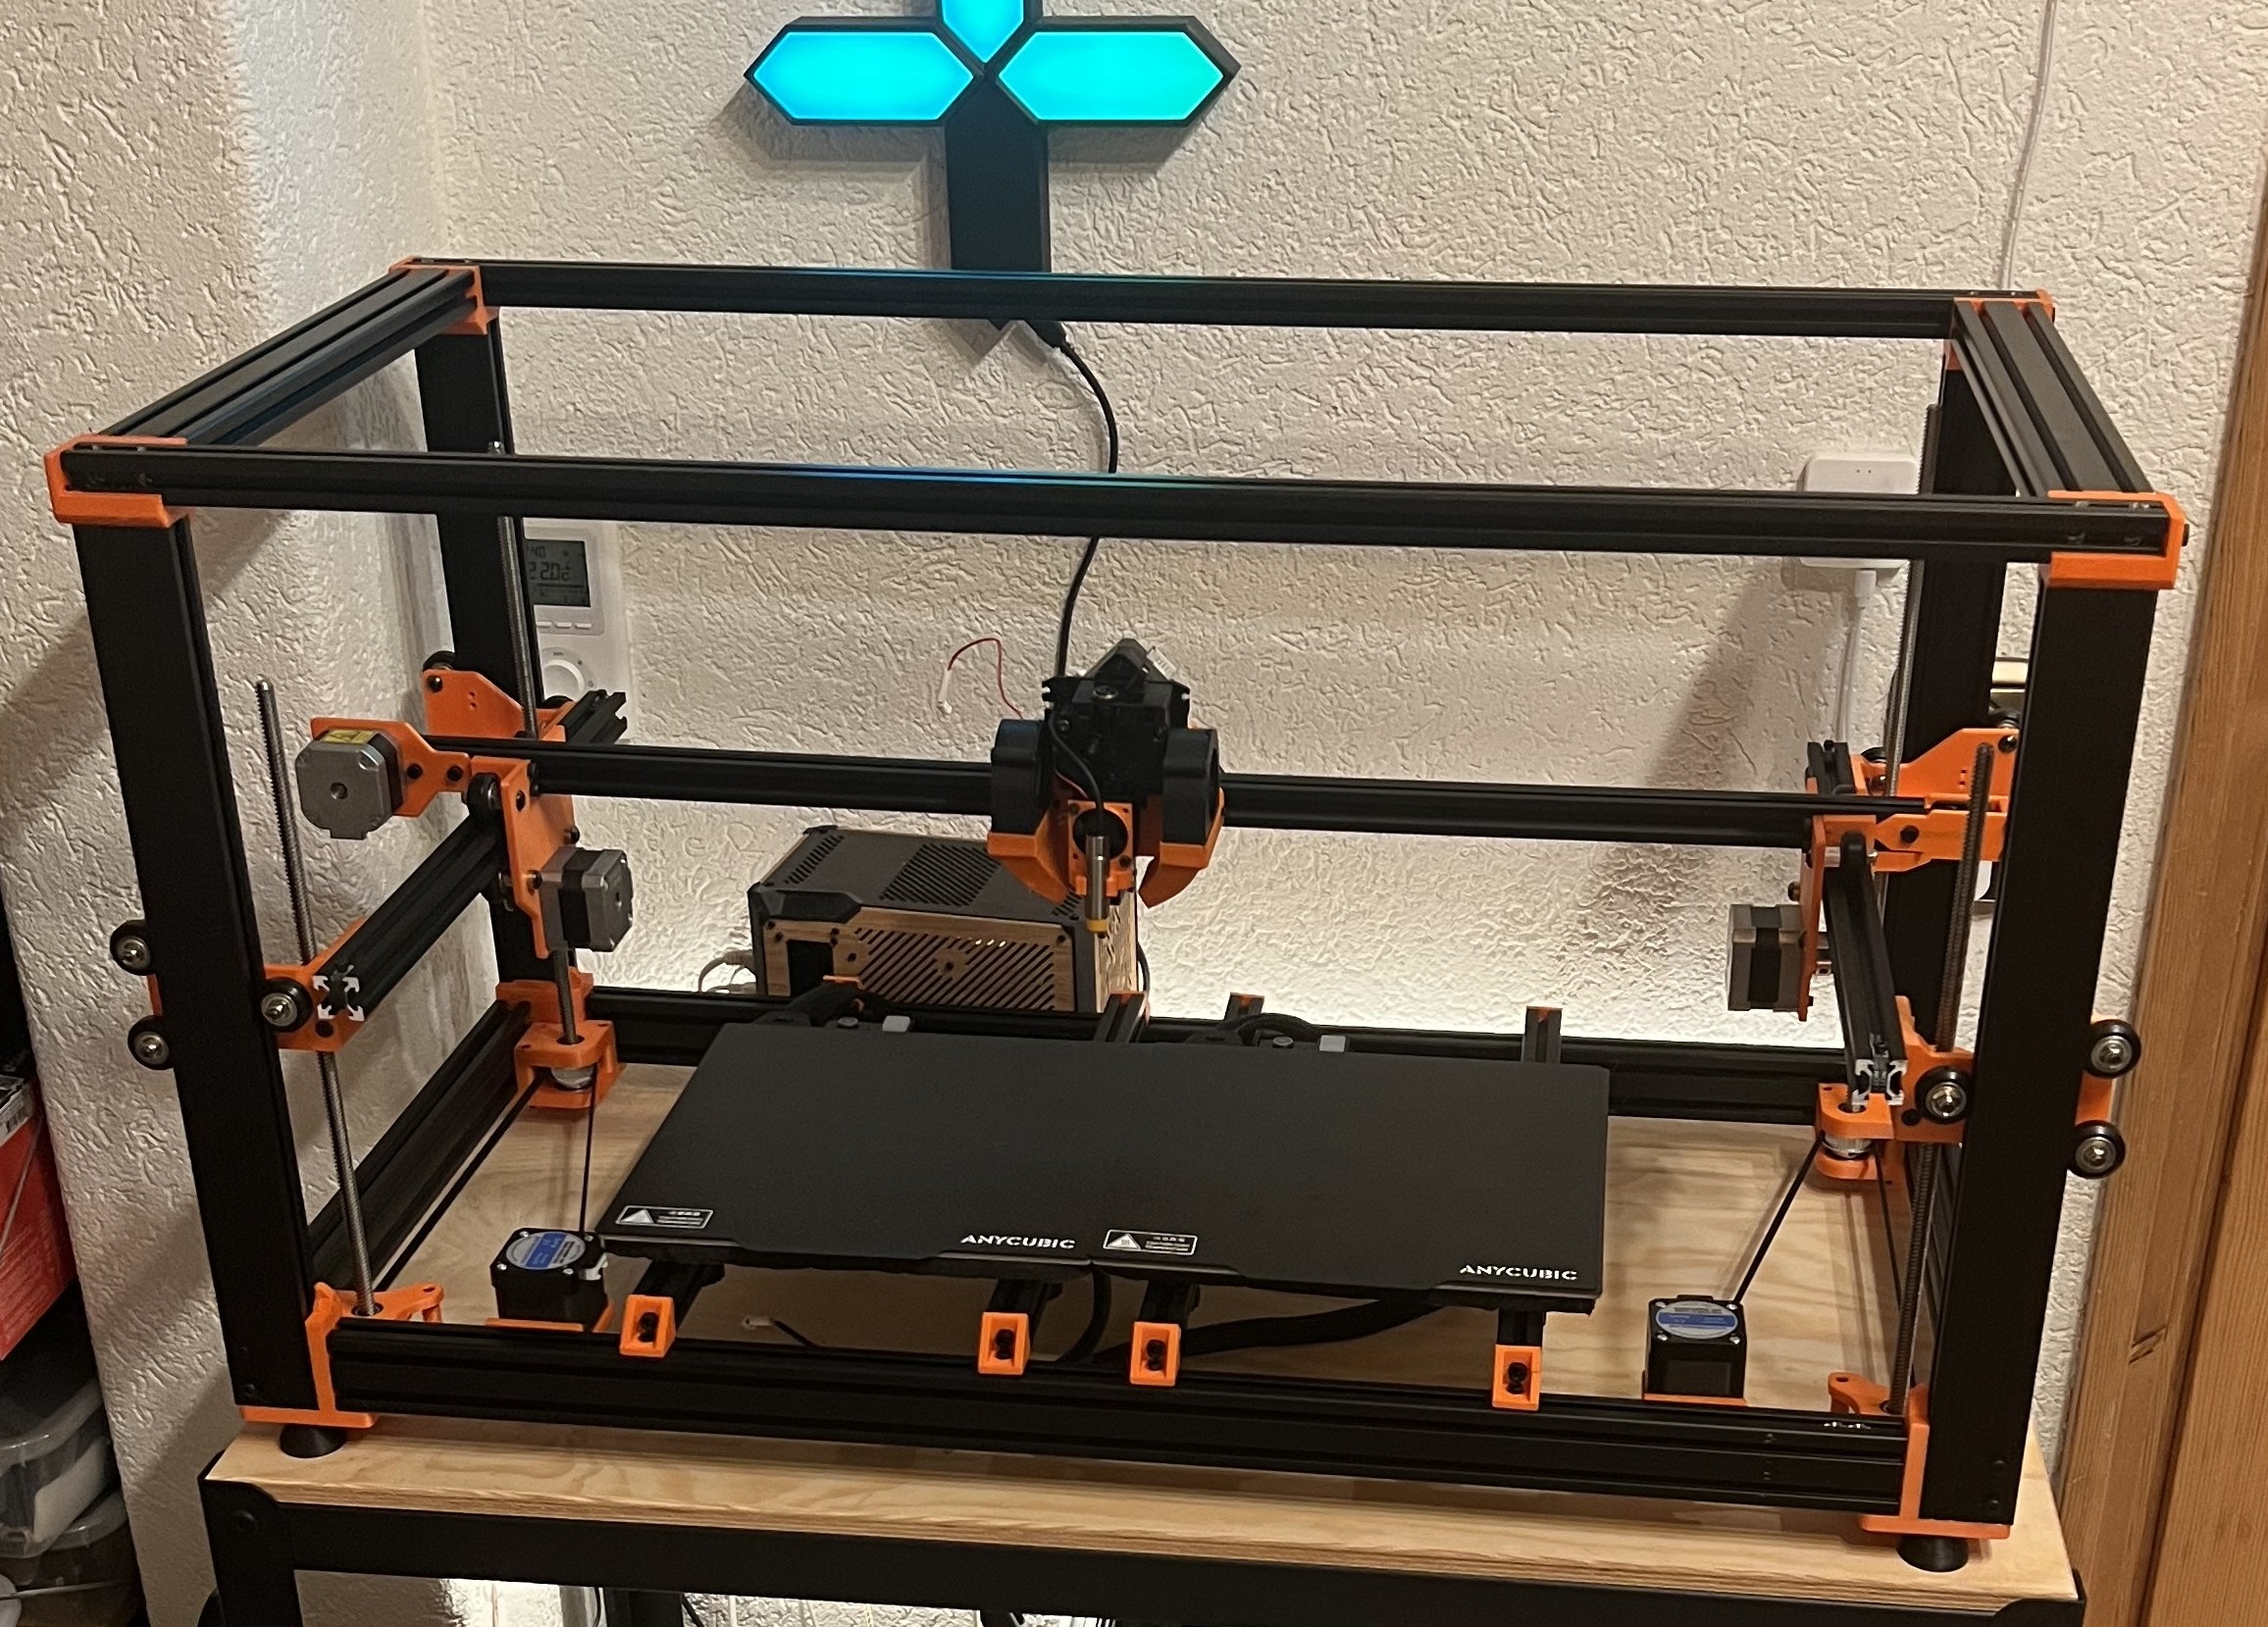
About the printer:
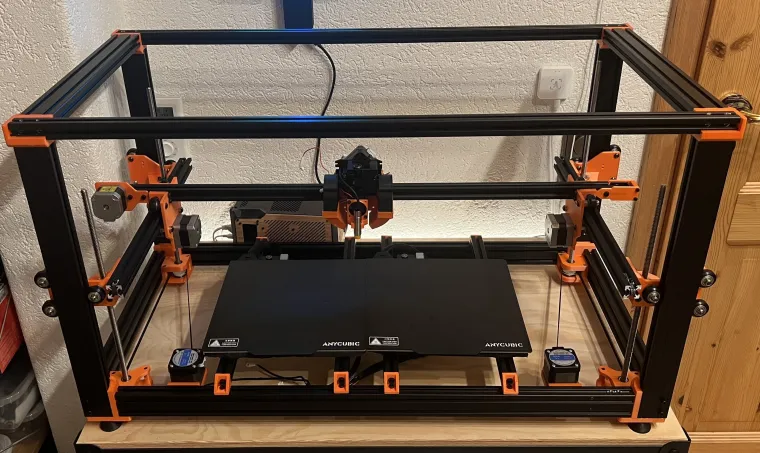
- 440x230x260mm printing volume
- 940x410x465mm frame
- Reuses a lot of parts from two "broken" Anycubic Kobra 2 Neos
- Direct drive extruder & dual 5020 part cooling
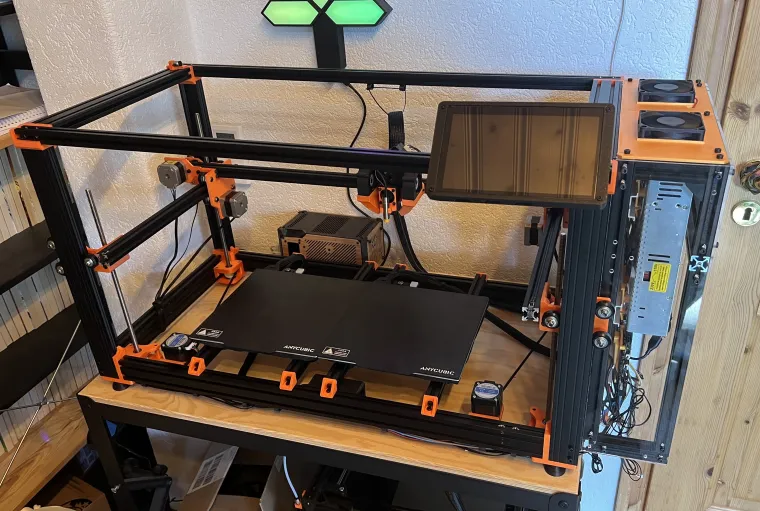
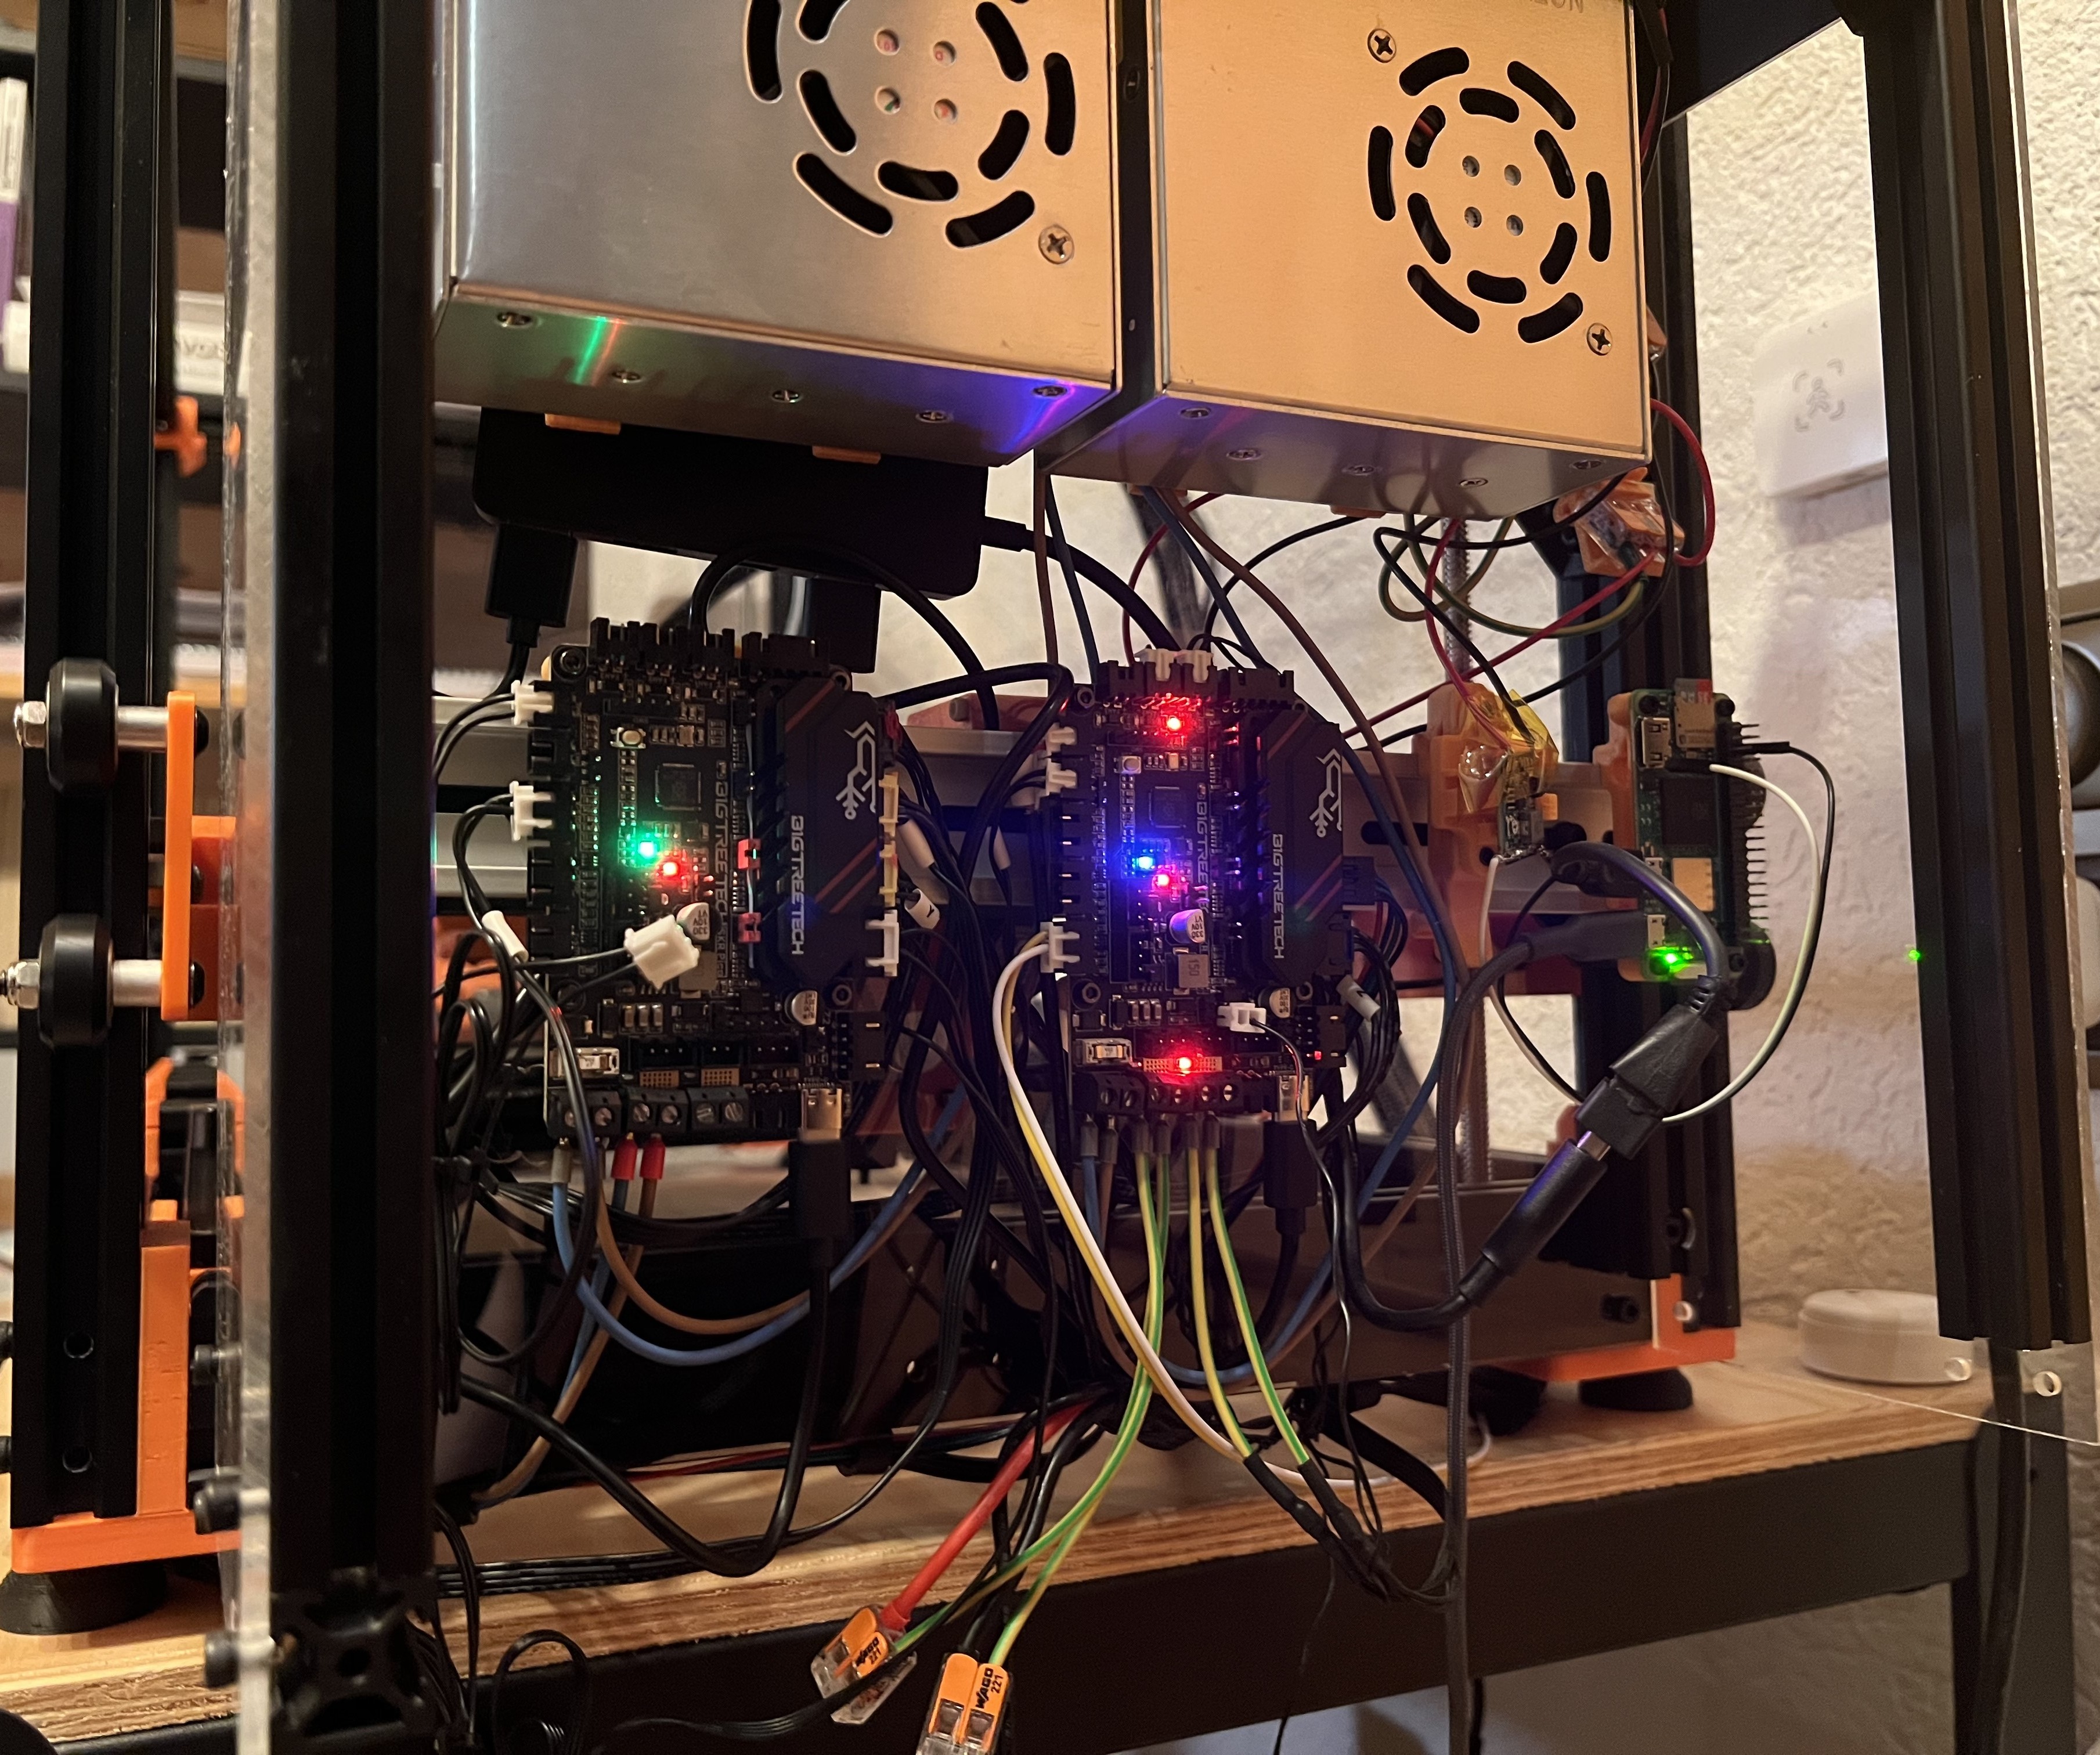
- Completely enclosed electronics
- Build-in ABL
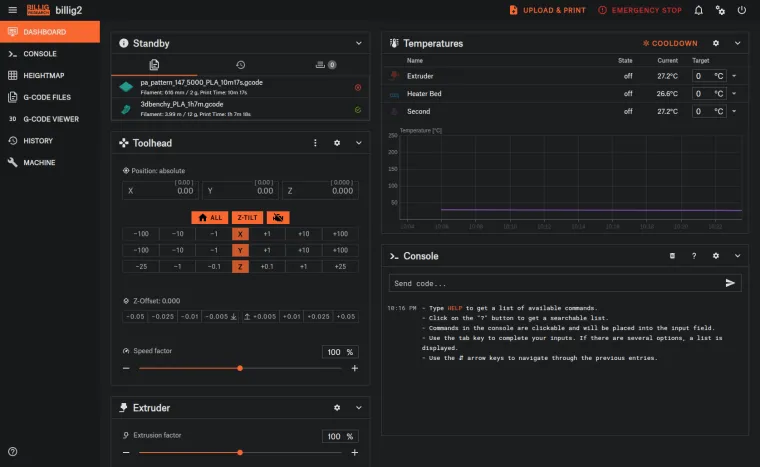
- With a rpi zero & Klipper-Ready
- A custom PCB for fan & led control
The build
After finishing the Design in April I stared printing the parts on my Anycubic Vypers - As you can see I had some stringing problems, which drove me to rage buy the cheapest filament dryer I could found... Which worked - So If you have stringing problems with your printer, I really recommend buying a filament dryer (doesn't even have to be a fancy one).

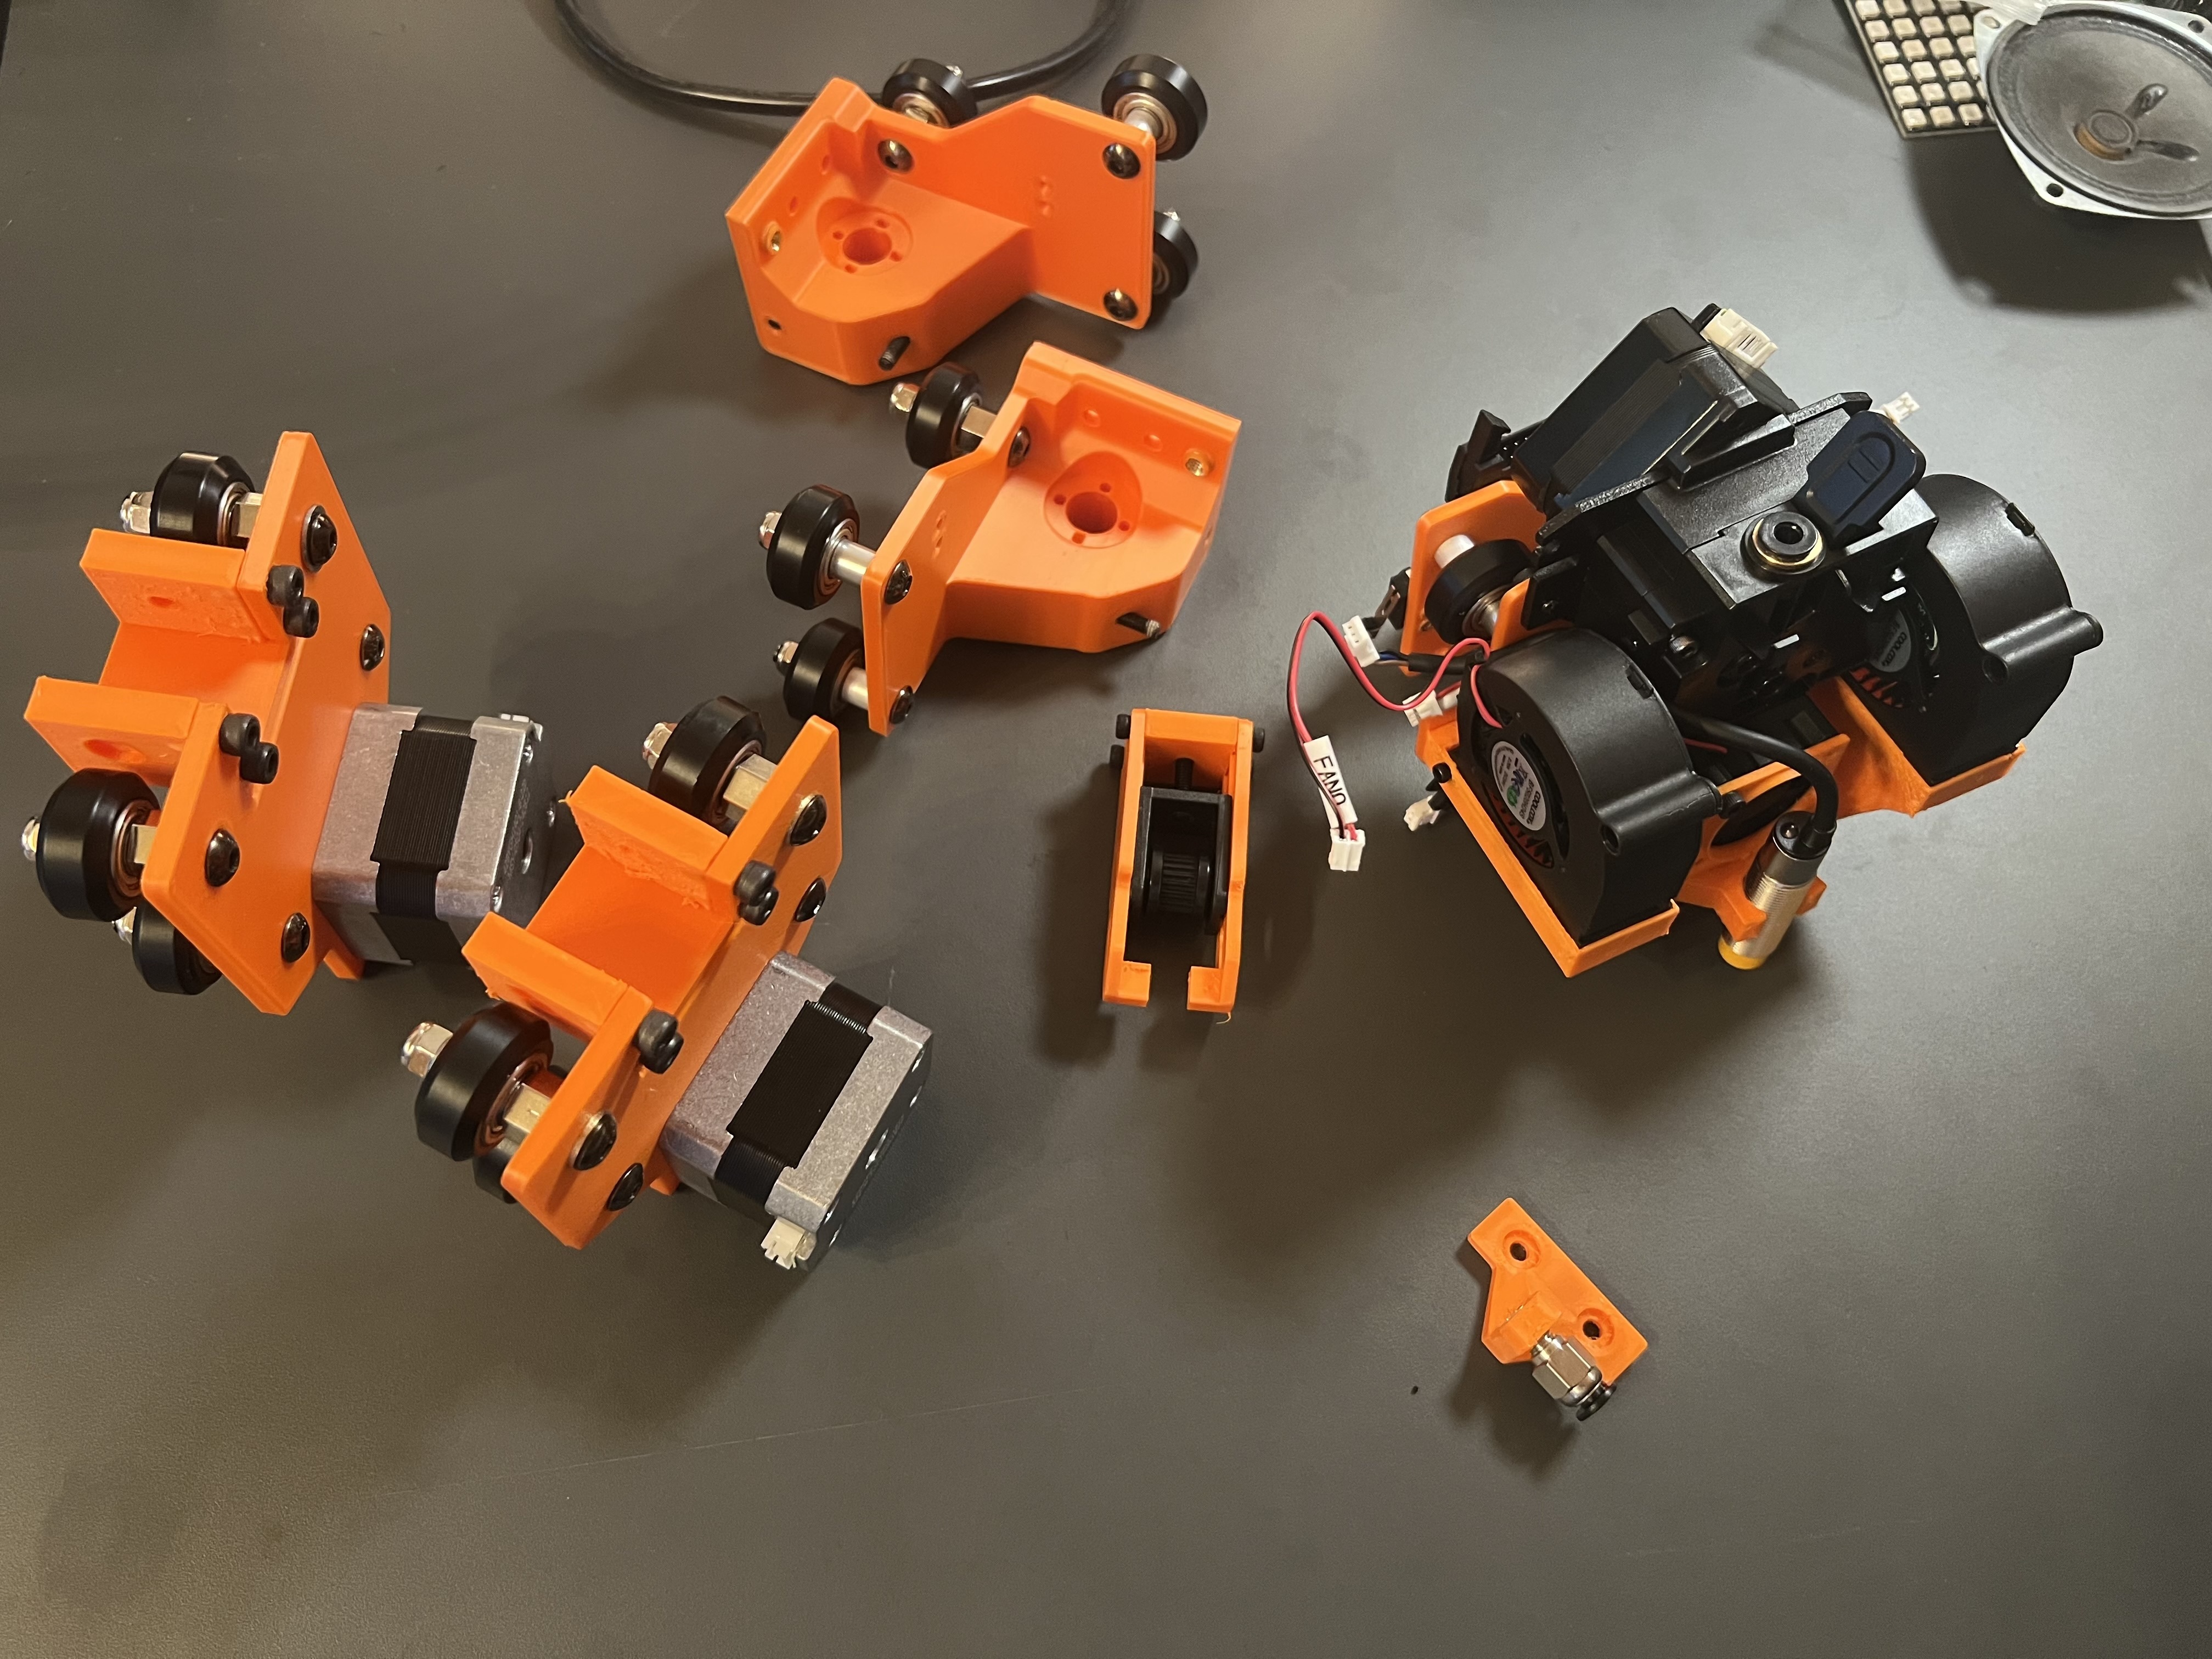
About a week of (nearly) 24/7 printing later I started with assembling the subassemblies, like Y-Axis motor mounts, or the Toolhead!
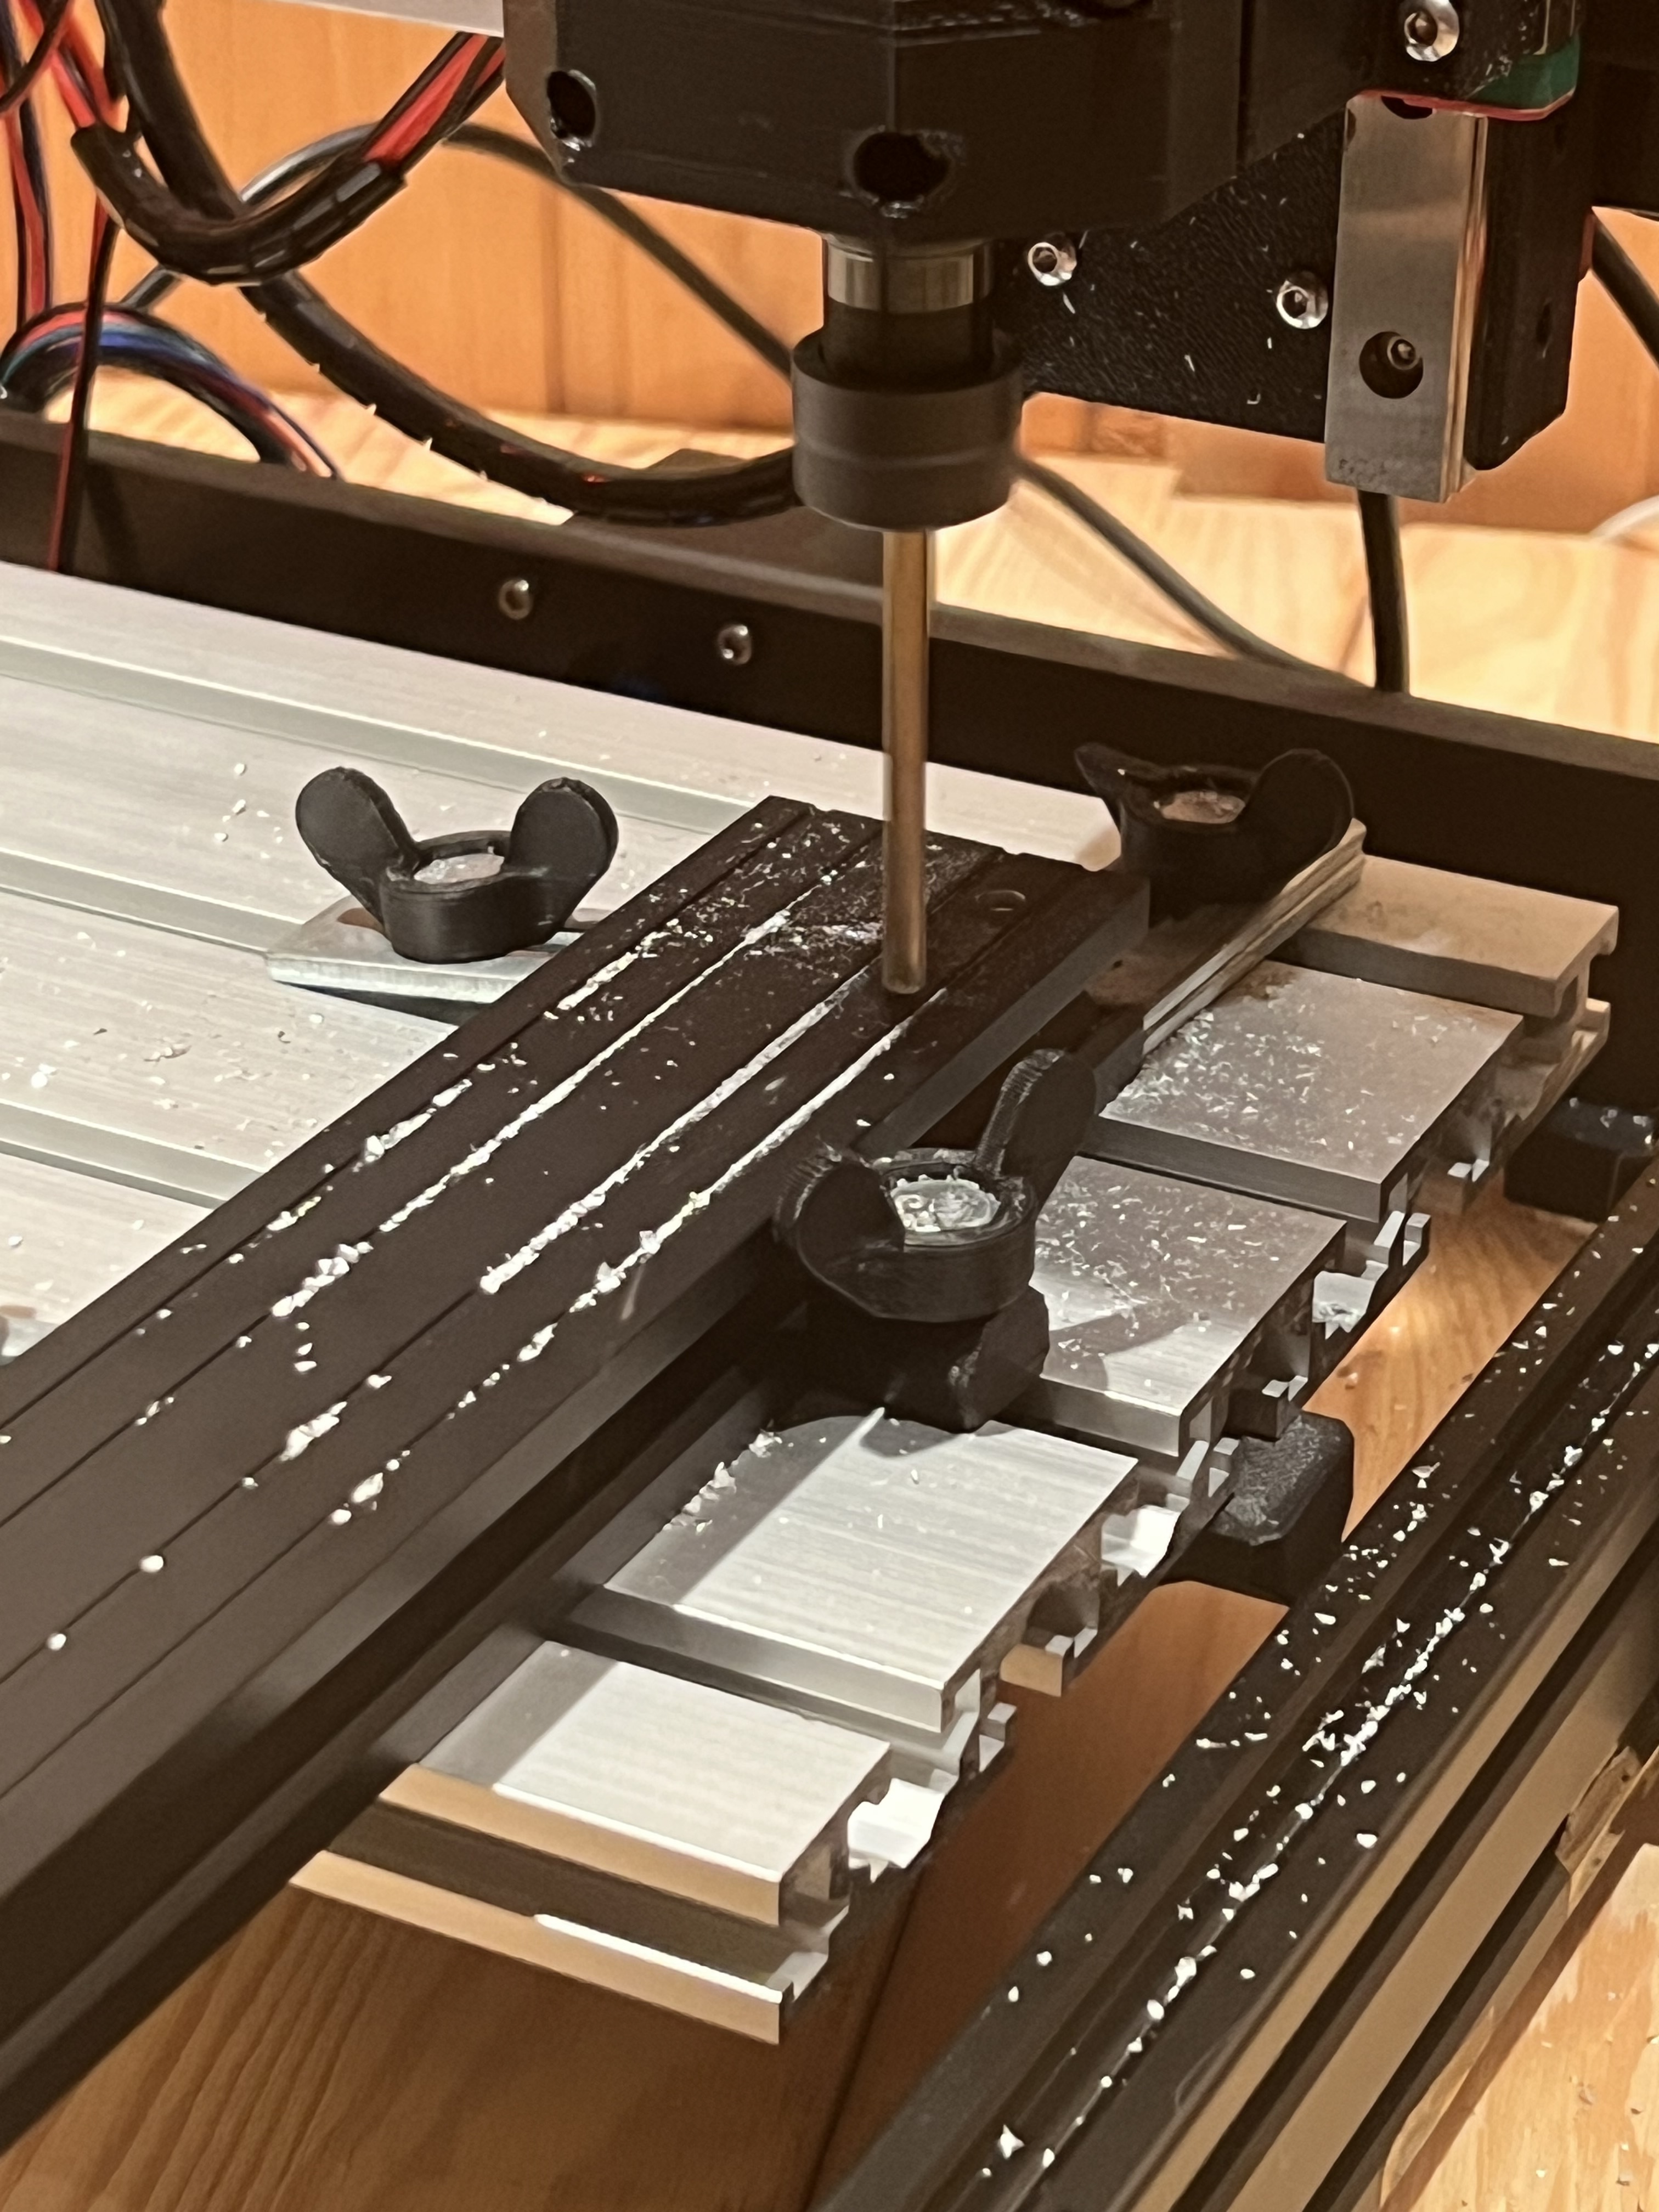
Next up I went through the painful progress of tapping the aluminum profiles and drilling all the required holes (and I used a lot of blind holes...) into the newly bought & reused profiles. At first, I tried drilling them using a heavily modded 3018 CNC with a staggering feed rate of 2mm/min, which was very, very slow - After a day of babysitting the CNC I gave up and just bought the cheapest drill press at my local hardware store, and finished all the leftover holes in under 1h. Lesson learned: Just because something is possible, doesn't mean it's a good idea…
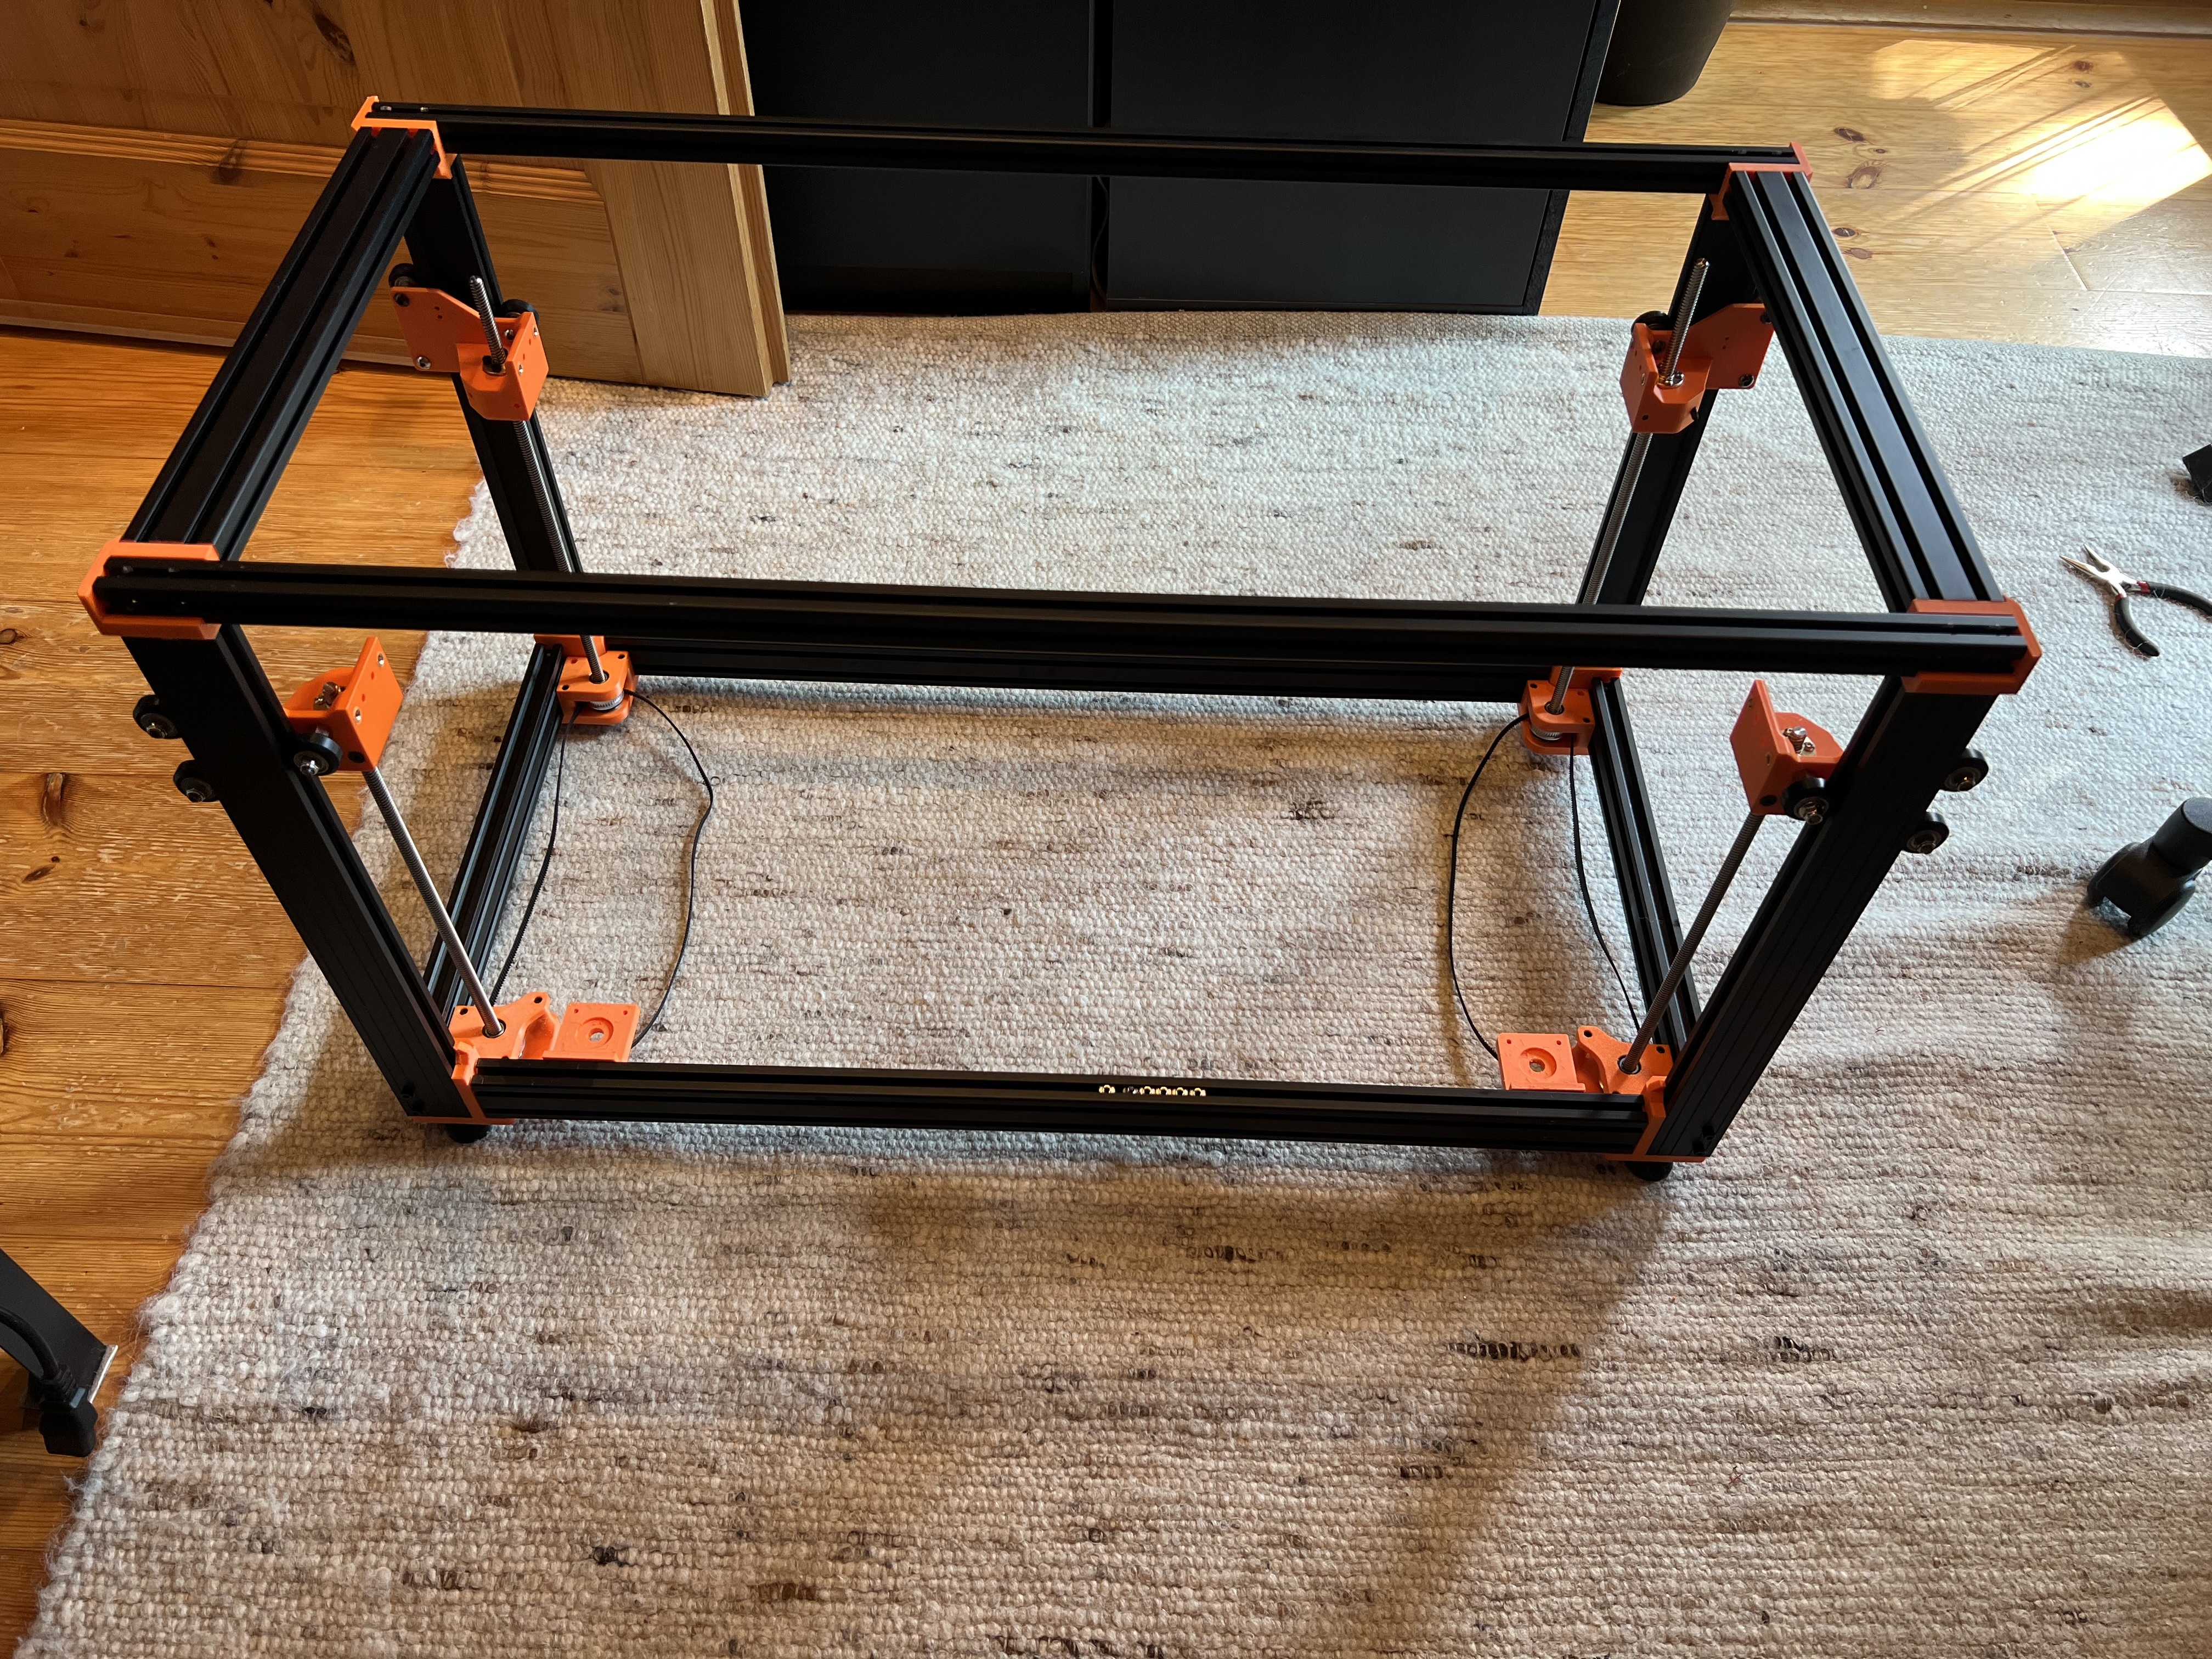
After suffering though that I could finally start assembling the frame and mounting the beds! It took a lot of convincing (=force) to get some blind holes to properly line up...
Next I build the electronics enclosure to protect me from the mains voltage parts and provide proper cooling for the PSUs and MCUs & did all the wiring (which once again was may more than I thought). Speaking of the MCUs, I first tried to reuse the two original control boards from the Anycubic Kobra 2 Neos I tore down for this build, but after wasting two days trying to flash Klipper onto them (via SD card & SWD) I just gave up and bought two new Bigtreetech SKR Picos, which worked instantly :D
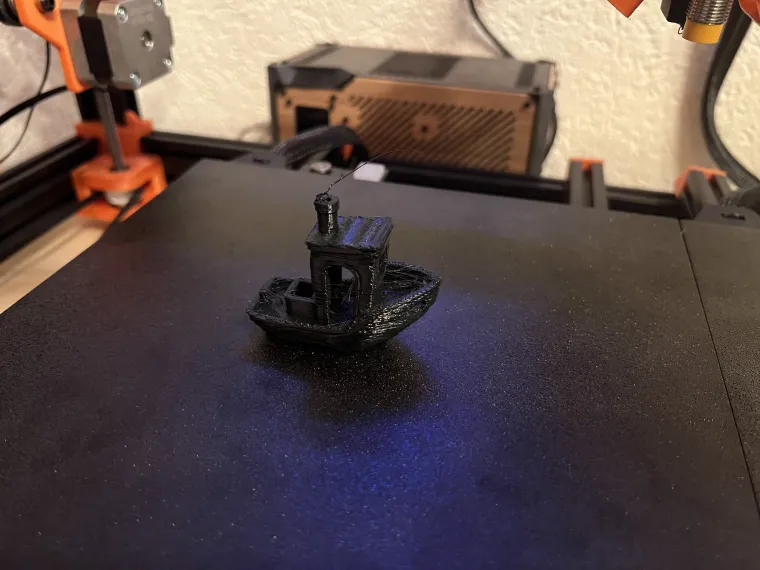
The next day I printed it's first Benchy and I think it turned out perfect (only minor extrusion issues and some stringing since the filament is super old)!

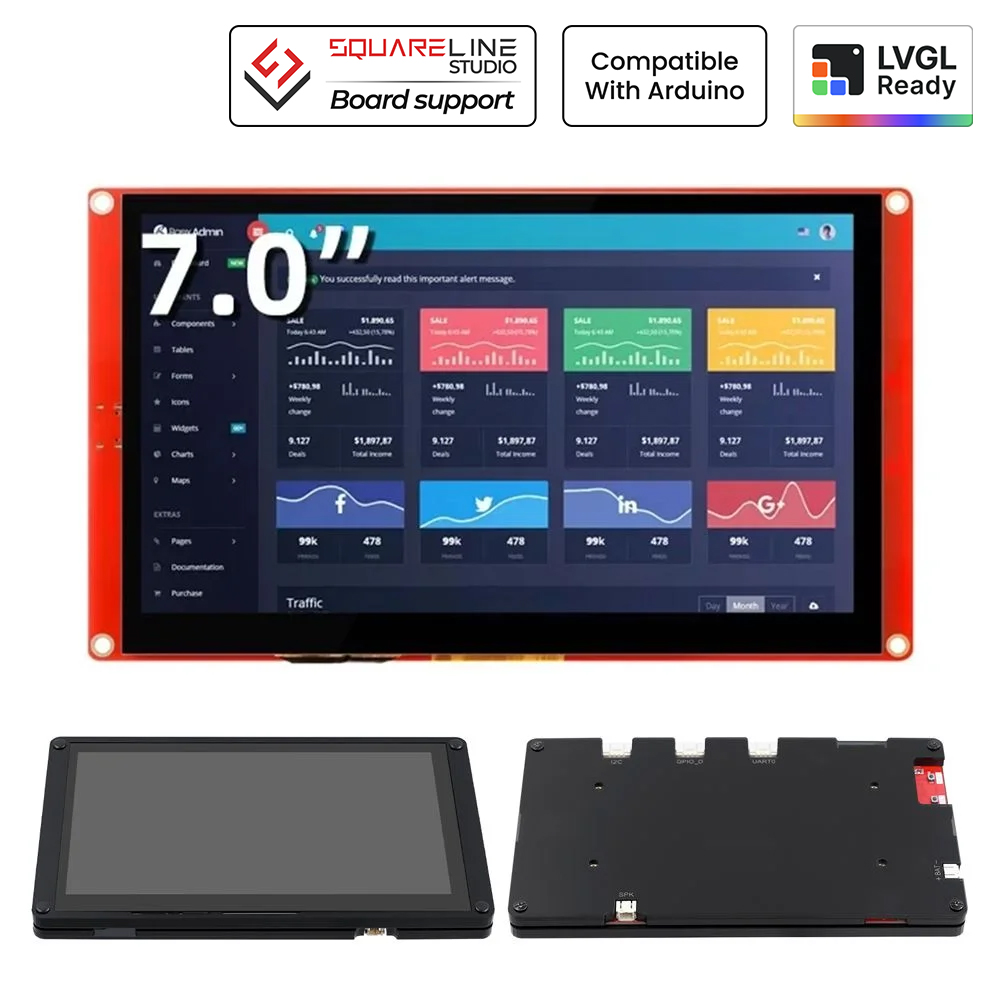
Next up I'll be integrating a CrowPanel 7.0" Esp32 Touch display that was graciously provided by Elecrow to control the printer via the Moonraker API!
If you enjoyed this super short article, consider liking it and checking out my Journal on GitHub - it goes into way more detail and has way more pictures!
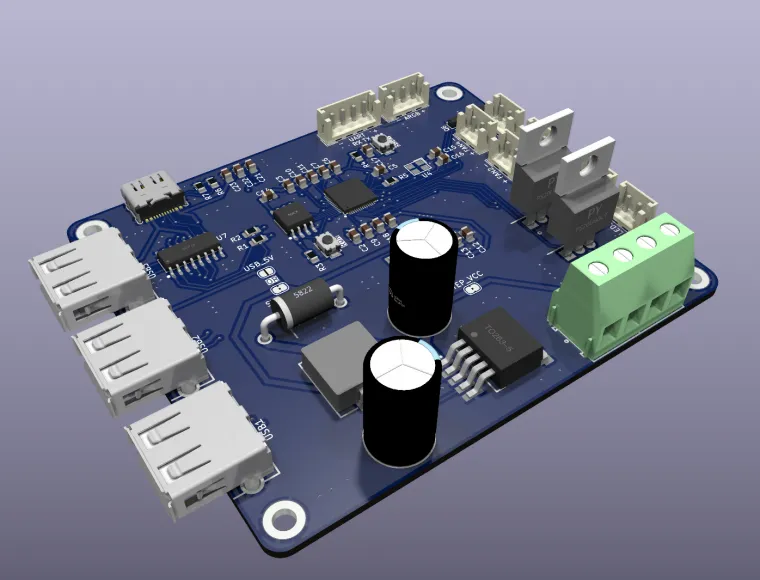
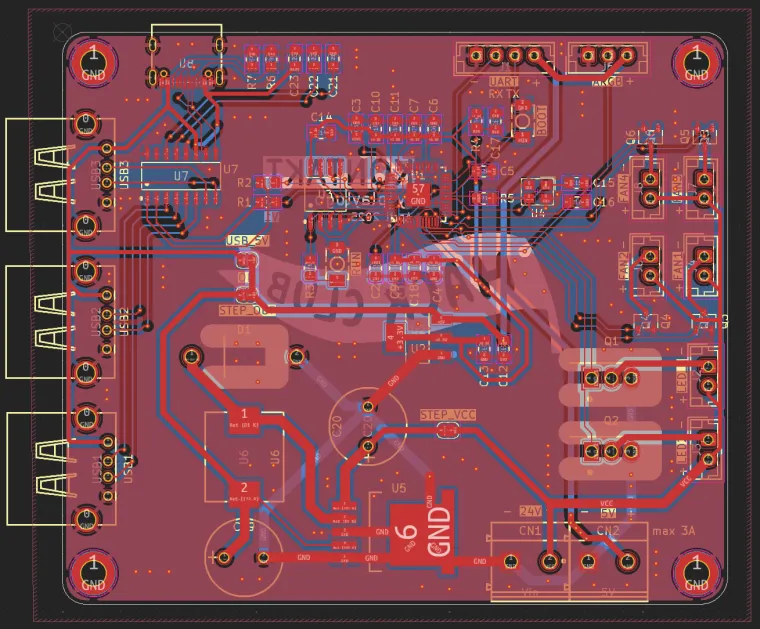
The PCB
I originally also designed a custom PCB with a rp2040 for the printer, but since switching to the Bigtreetech SKR Picos I didn't order it, since it wasn't needed anymore. If you're still interested in it you can check out it's features below or even more in-depth docs on GitHub!
The custom PCB features:
- 24V power input
- Build-in 5V 3A Stepdown (for RP2040 and external RPI)
- RP2040 with 128MB Flash
- 3 Port USB hub
- 1x UART connection
- 1x ARGB connection
- 2x High current 24V PWM outputs (5A)
- 4x Low current 24V PWM outputs (2A)