


Story
Screens can show information. But when a device starts telling a story, reacting to touch, speaking with a voice, and animating like a living object, the experience changes completely.
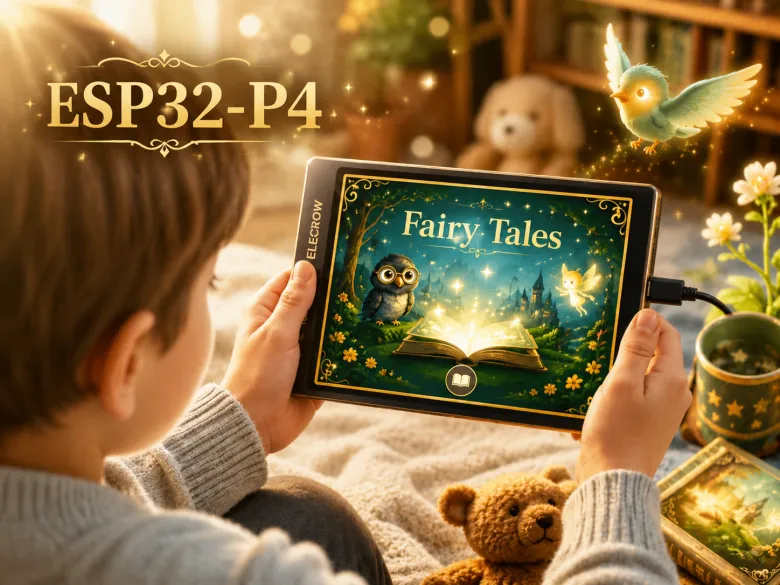
This project turns the ELECROW CrowPanel Advance ESP32-P4 into an interactive AI-powered storybook with animated scenes, local voice playback, and touch interaction.
Beyond being a demo application, this project showcases the impressive capabilities of the CrowPanel Advance ESP32-P4 platform for building rich, responsive, and visually immersive standalone embedded experiences with animated graphics, local audio playback, touch interaction, and edge AI processing.
It demonstrates how the CrowPanel Advance ESP32-P4 can transform into a polished interactive device capable of delivering next-generation HMI and immersive storytelling experiences.


-
- a smart toy
- an interactive exhibit
- a talking photo frame
- and a next-generation embedded HMI demo
Because everything runs locally on the device, the experience feels immediate and self-contained — no cloud delays, no external rendering pipeline, no remote processing.
The project is useful not only as a demo, but also as a starting point for real products and installations:
-
- interactive museum exhibits
- educational devices
- smart displays
- storytelling installations
- children’s products
- branded experiences
- custom embedded HMI systems
The project is fully open and designed to be modified. You can replace the assets, change the stories, redesign the UI, and build your own experience on top of the framework.
Repository: https://github.com/Grovety/Crowpanel_P4_Storybook
Hardware
-
- ELECROW CrowPanel Advance ESP32-P4 (7", 9", or 10.1")
- GRC tinyTTS
- microSD card
CrowPanel
-
- high-resolution graphics support
- smooth LVGL-based interfaces
- Wi-Fi connectivity
- local media handling
- enough performance for large animated UI scenes

GRC AI Add-on


Quick Start
-
- ESP32-C6 — used for Wi-Fi communication - flash it first
- ESP32-P4 — runs the main application - flash after C6
-
- Insert a microSD card into your computer.
- Format the microSD card as **FAT32**.
- Create an `assets` folder in the root of the microSD card.
- Copy the runtime asset files from the repository into this folder.
- The resulting microSD card layout should look like this:

-
- Download and extract the archive with ESP32-C6 firmware
- Connect the panel to your PC via the UART USB Type-C port
- Open the folder with the extracted firmware files.
- Run the Flash_tool.exe for the ESP32-C6 firmware.

-
- Wait until the flashing process is complete.
-
- Download and extract the archive for ESP32-P4
- Run the flash_from_binaries_p4.exe for the ESP32-P4 application firmware.
-
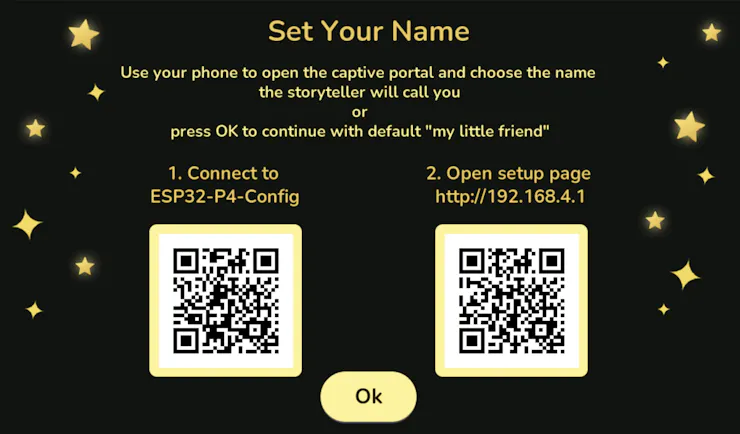
- The panel creates its own Wi-Fi network
- Scan the first QR code to connect to the panel Wi-Fi
- Scan the second QR code to open the setup page(or manually open 192.168.4.1 in your browser)
- Enter your name and save the settings


Customization
-
- add your own GIF/CFA assets
- change story text
- build your own storytelling experience
-
- a template for interactive devices
- an HMI demo framework
- a smart exhibit prototype
- an educational storytelling platform
- a starting point for commercial embedded UI concepts