

Story
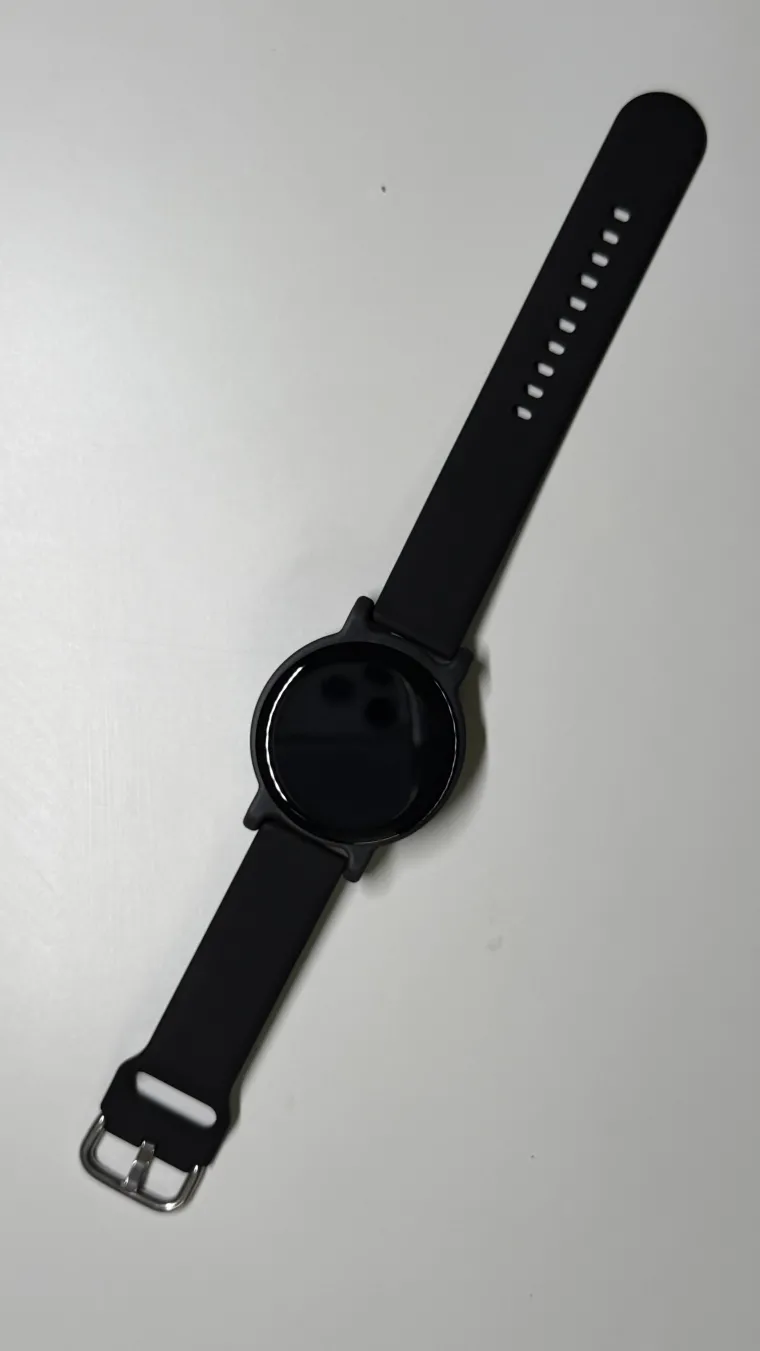
The OG DIY Smartwatch: From Naked PCB to Professional Wearable
1. Introduction: The Problem & The Promise
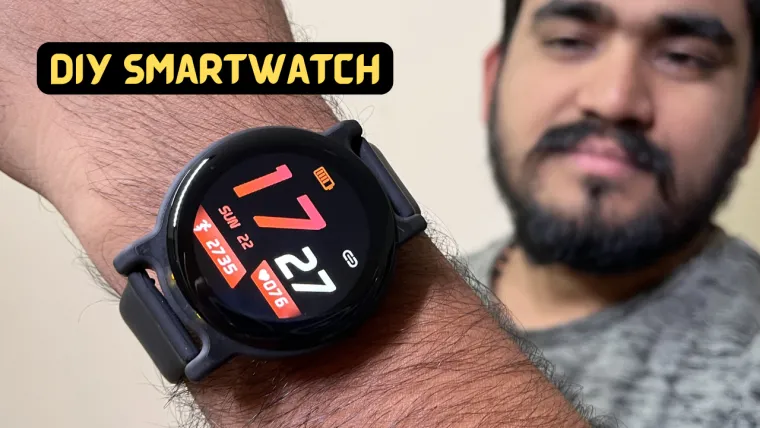
Nine months ago, I made a highly compact smartwatch PCB based on the ESP32-C3CrowPanel -ESP32 Display-1.28inch(R) 240*240 Round IPS Display Capacitive Touch SPI Screen. It went viral in the maker community, proving that people wanted powerful, open-source wearables. However, it had a major flaw: it was just a "naked" circuit board. It was powerful, but unwearable.
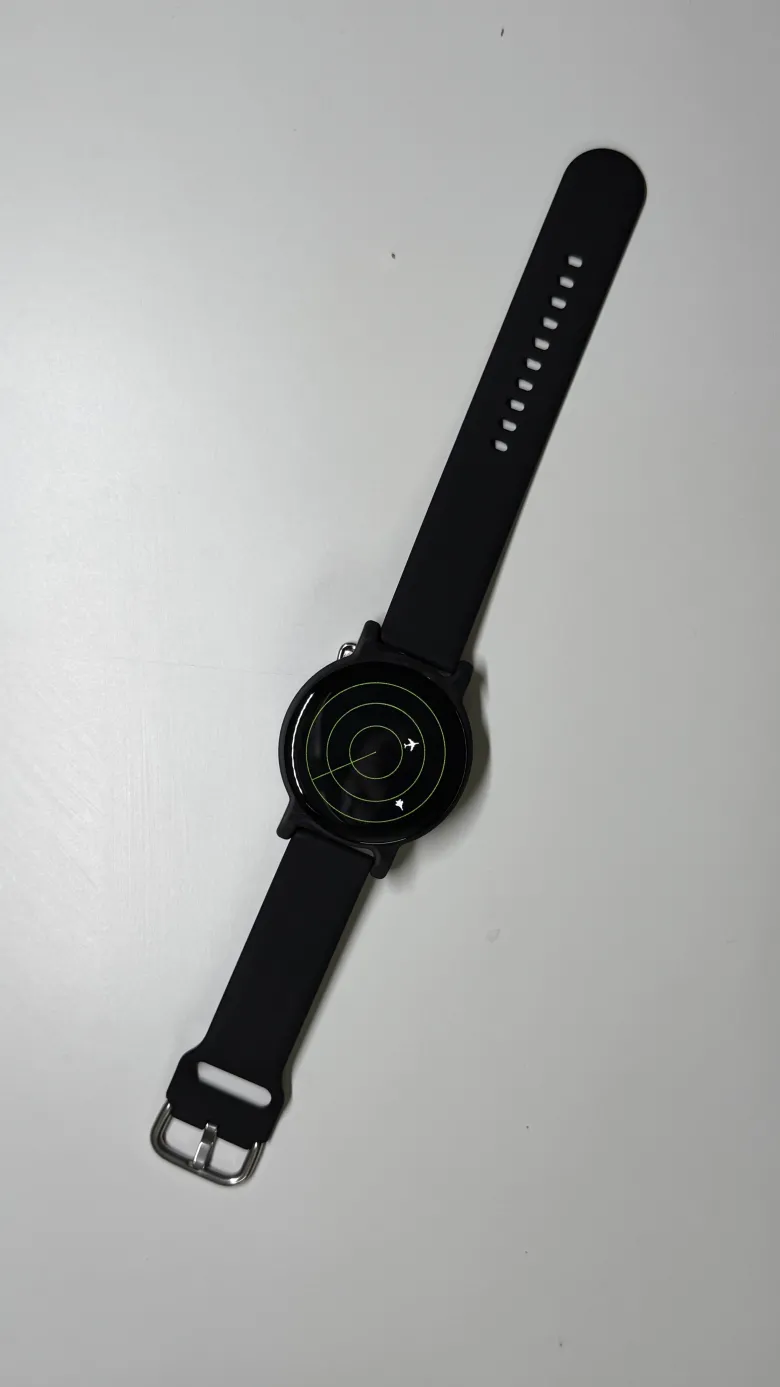
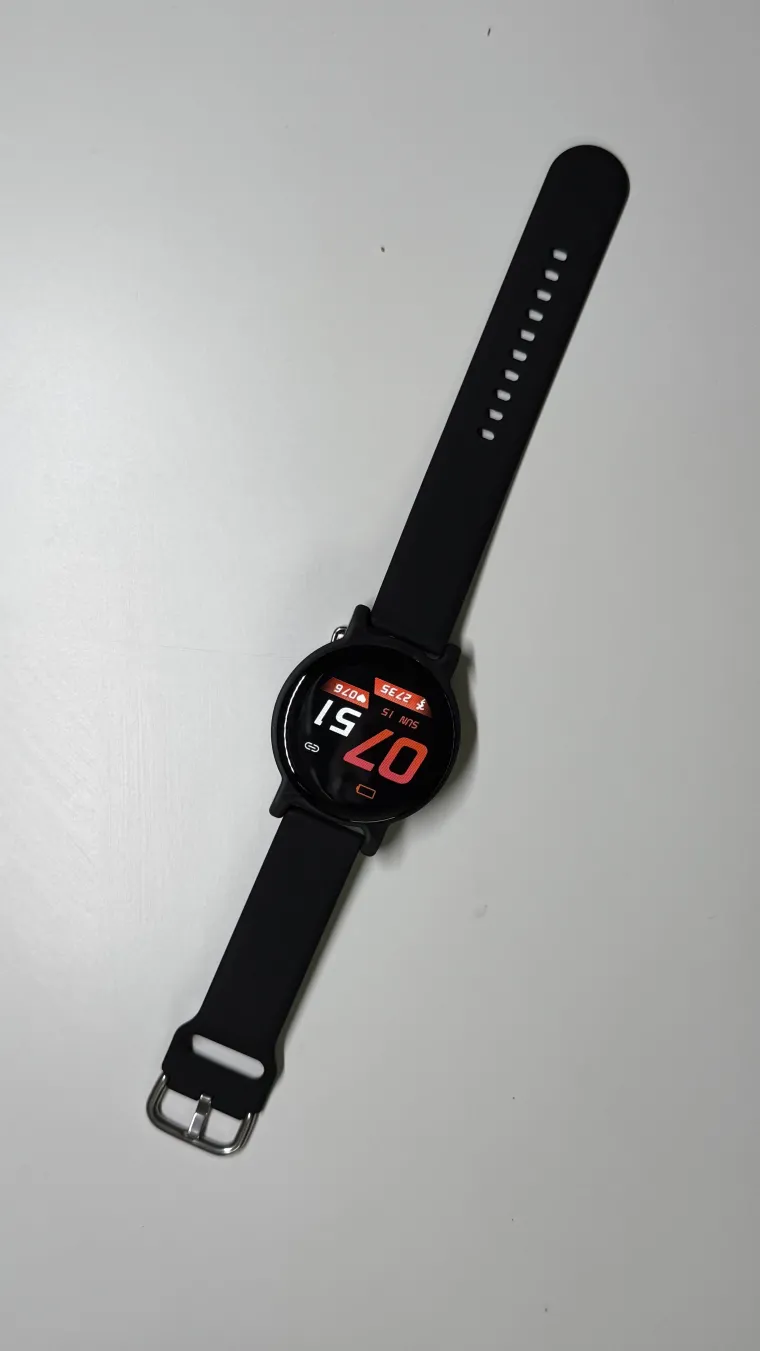
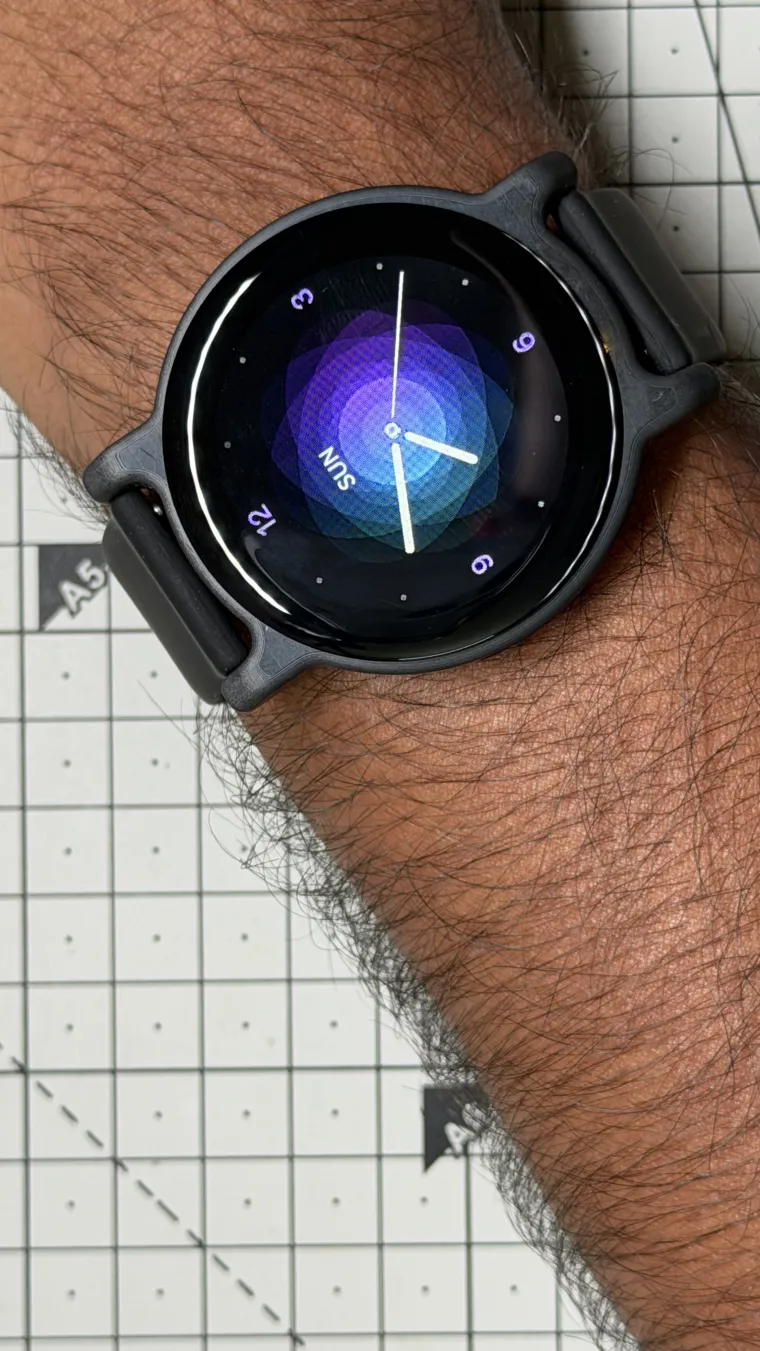
The OG DIY Smartwatch project is the culmination of a nine-month engineering journey to solve that problem. The goal was to take a functional prototype and turn it into a sleek, professional-grade "daily driver" using accessible desktop manufacturing tools (SLA 3D printing). This isn't just a gadget; it's a blueprint for makers to bridge the gap between workbench electronics and finished consumer products.
2. How It Works: Technical Overview
The OG Watch is a fully integrated hardware and software platform designed for efficiency and aesthetics.
The Hardware "Brain": At its core is a custom-designed high-density PCB powered by the ESP32-C3. This MCU handles Wi-Fi and Bluetooth LE connectivity without external modules, keeping the footprint minimal.
-
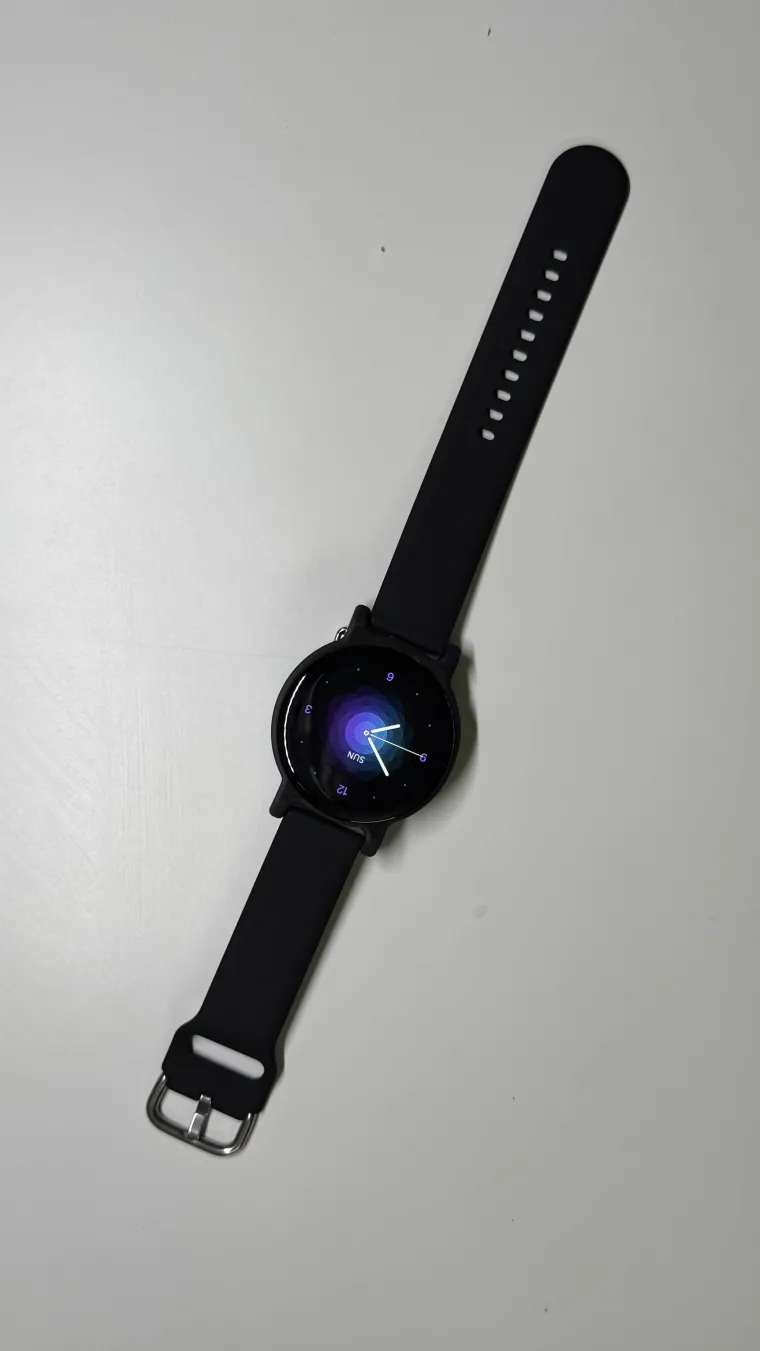
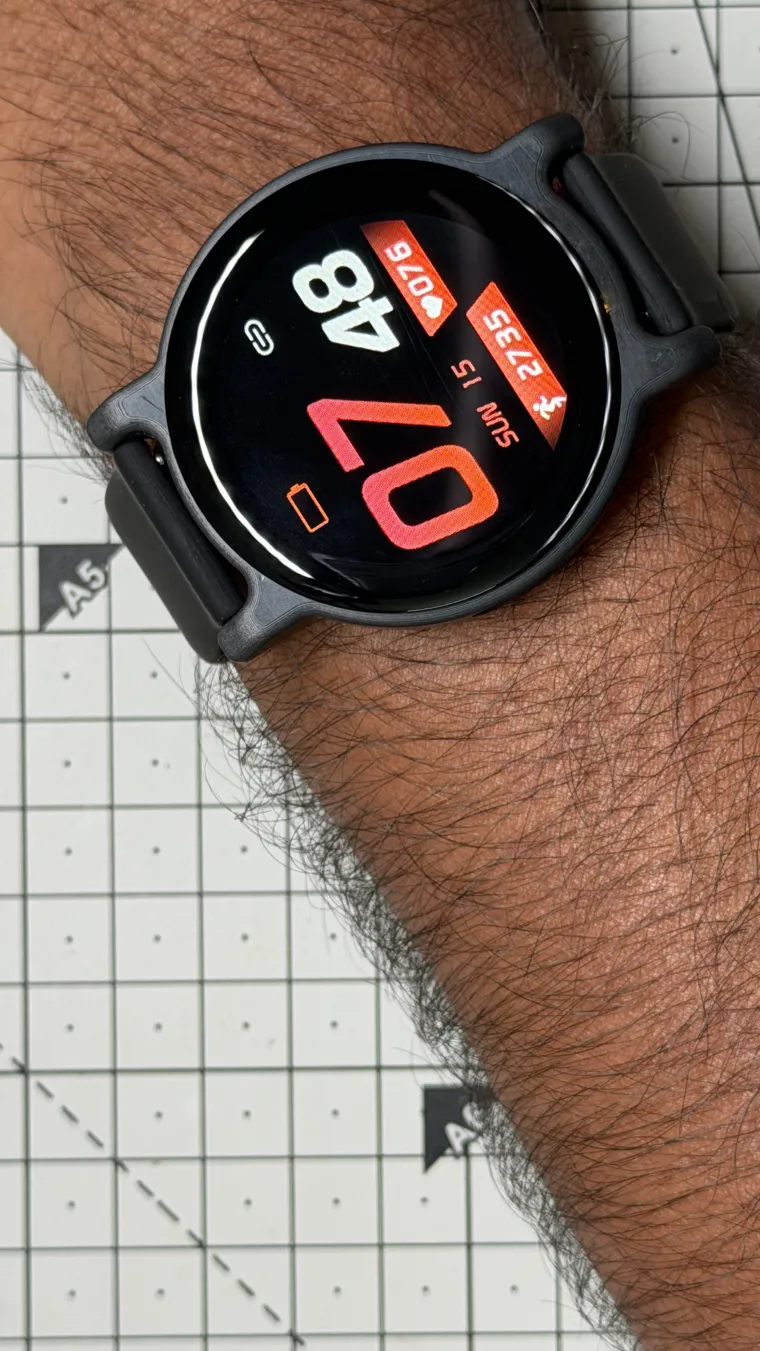
Display: A stunning 1.28-inch circular IPS LCD (240x240 resolution, 350 nits brightness) connected via high-speed SPI with DMA for buttery-smooth 30FPS+ UI performance.
-
Power Management: A TP4054 IC handles USB-C charging for the upgraded 300mAh LiPo battery.
-
Timekeeping: A dedicated BM8563 RTC chip with a CR927 backup battery ensures precise timekeeping even when the main battery is drained.
-
User Interface: A capacitive touch screen, a navigation encoder, a customizable side button, and a vibration motor for haptic feedback.
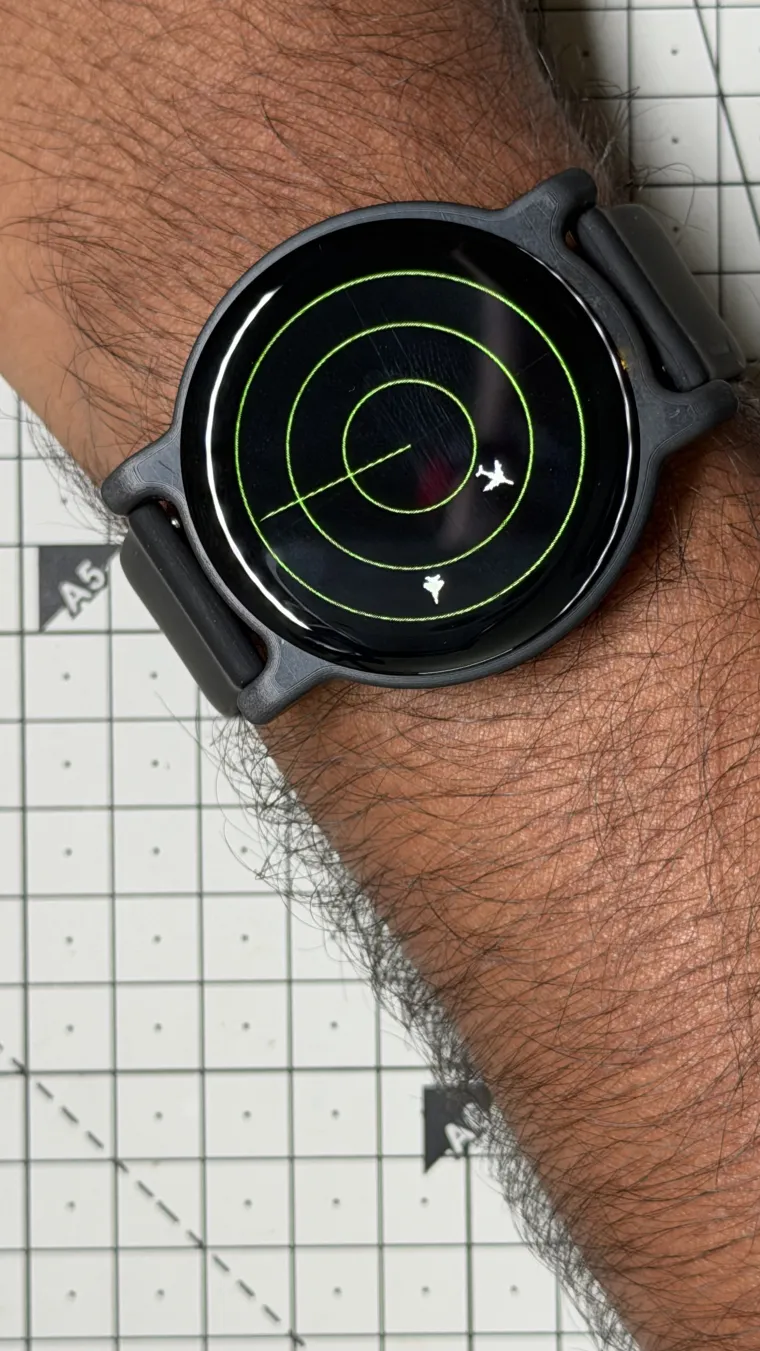
The Software "Soul": The firmware is built upon the powerful LVGL graphics library, running a custom OS based on open-source work by Fbiego. It communicates with the Chronos Mobile App (iOS/Android) to sync notifications, weather data, and allow for immediate watch-face switching. Key features include music control, phone-synced navigation mirroring, and health tracking apps.
3. The Engineering Journey: Avoiding Common Pitfalls
This project is significant to the community because it documents the harsh reality of mechanical design for wearables. Achieving a "retail" look required surviving a 7-revision gauntlet of SLA resin printing failures. By sharing these pitfalls, I hope to save other makers months of trial and error.
Pitfall #1: SLA Orientation & Warping (Revisions 1-3)
-
The Challenge: Early prints suffered from poor bed adhesion and warping, resulting in unusable "melted clock" shapes.
-
The Lesson: Part orientation in SLA printing is critical to manage suction forces. Finding the correct angle was essential for dimensional accuracy.
Pitfall #2: The "Standard Strap" Myth (Revisions 4-5)
-
The Challenge: I designed the lugs for "standard" 20mm silicone straps, only to realize tolerances vary wildly between manufacturers.
-
The Lesson: Designing for wearability means testing against multiple real-world accessories. I spent two revisions micro-adjusting the lug tolerances so straps would click in securely without excessive force.
Pitfall #3: Light Bleed & Aesthetics (Revision 6)
-
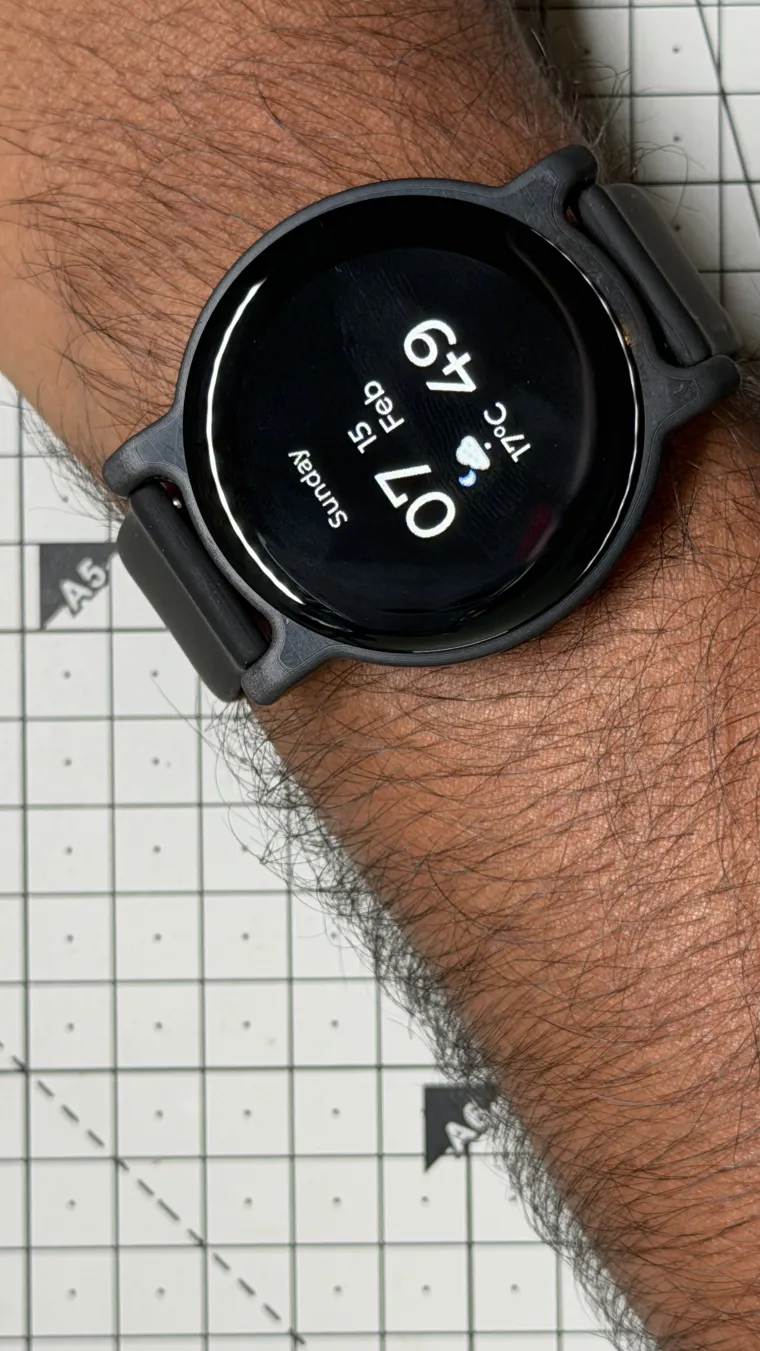
The Challenge: Mechanically, Rev 6 was perfect. But using standard grey/translucent resin caused the 350-nit backlight to "bleed" through the bezel, making the watch look cheap.
-
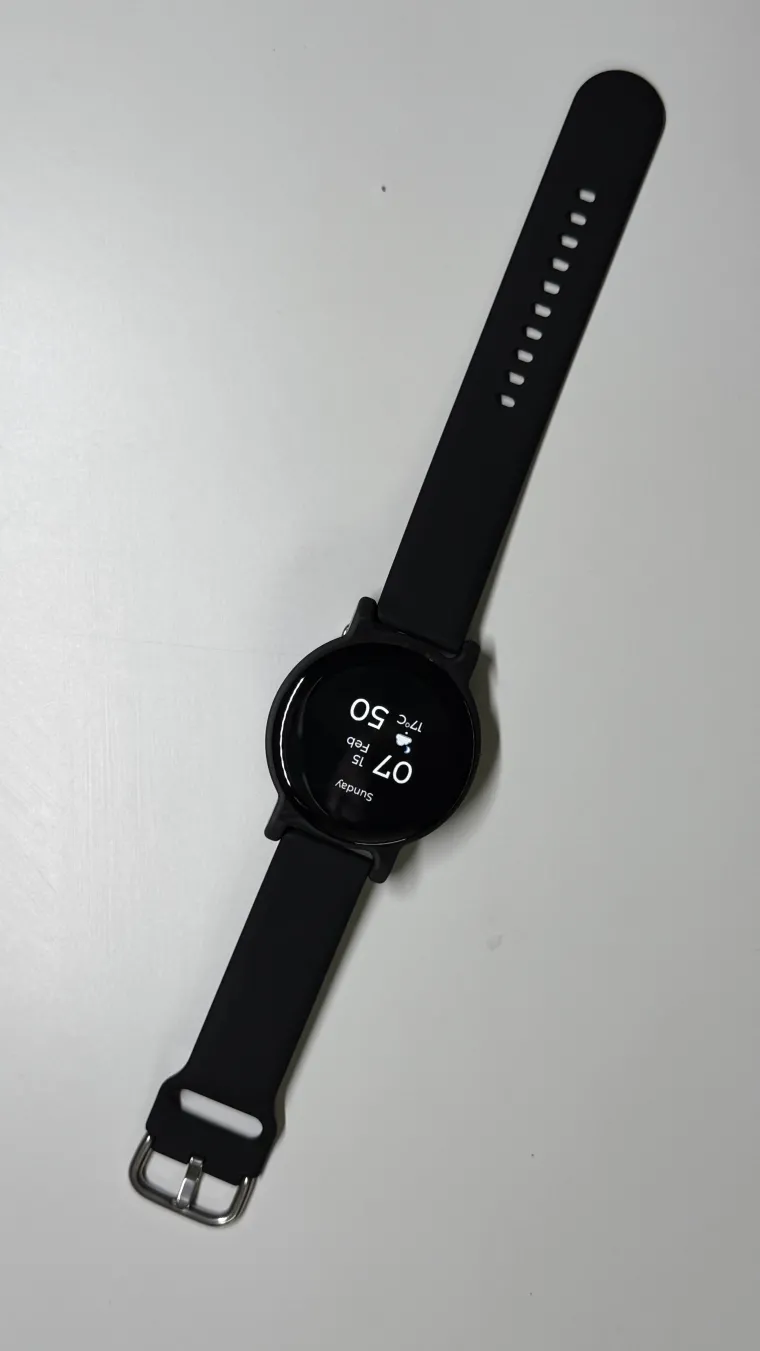
The Solution (Final Rev 7): I redesigned the inner bezel to seat the display deeper, masking the edges. Crucially, I switched to opaque matte black resin to block 100% of stray light, resulting in a stealthy, high-end finish.
Pitfall #4: Battery Sizing (Back Cover V2)
-
The Challenge: The initial design only fit a 50mAh battery, which caused brownouts during high current draw (WiFi/Display peaks).
-
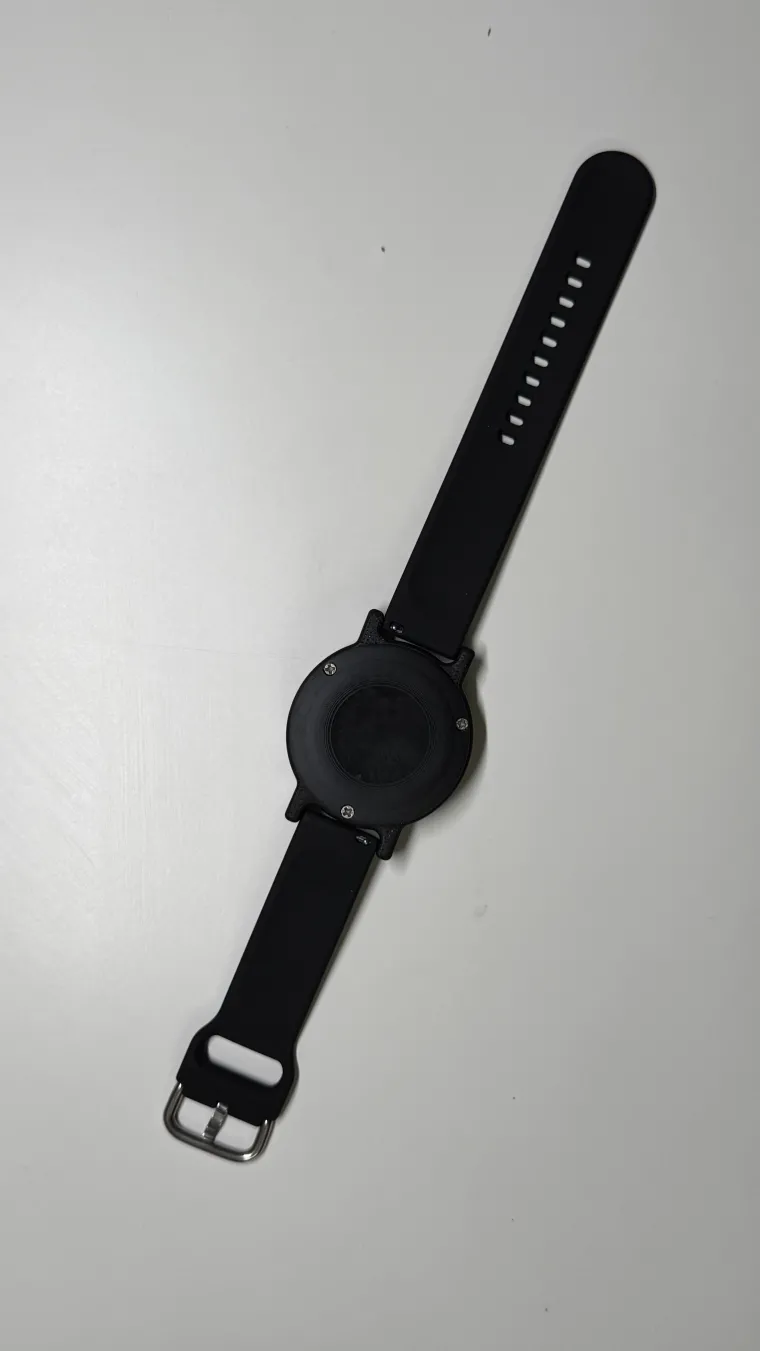
The Solution: The final back cover was redesigned with a deeper pocket to accommodate a 300mAh battery, providing necessary stability and runtime.
4. Step-by-Step Assembly Tutorial
The final design is optimized for easy assembly, requiring minimal tools.
-
Step 1: The Print. Print the Case and Back Cover V2 using opaque resin (SLA/DLP recommended for best finish).
-
Step 2: PCB Prep. Remove the protective film from the display adhesive.
-
Step 3: Seating. Gently press the PCB/Display assembly into the front case. The tolerances are tight to ensure the screen is perfectly centered.
-
Step 4: Power. Connect the 300mAh LiPo battery to the JST connector and tuck it into the dedicated space in the back cover.
-
Step 5: Closure. Snap the back cover onto the main body and secure it with three M1.6 screws.
-
Step 6: Finish. Attach standard 20mm quick-release straps. The watch wakes with a tap and is ready to sync with the Chronos app.
The OG DIY Smartwatch: From Naked PCB to Professional Wearable
5. Community Significance
The OG DIY Smartwatch proves that open-source hardware doesn't have to look like a prototype. By releasing the STL files, BOM, and documenting the mechanical struggles, I am providing the community with a proven platform to build upon. It empowers makers to move beyond breadboards and create wearable technology they can truly "Wear Proud" on a daily basis.