


Story
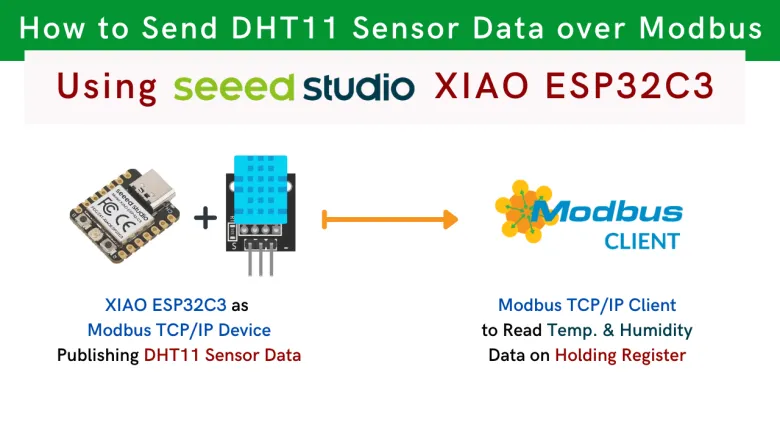
The DHT11 sensor stands as a cornerstone in environmental monitoring, renowned for its accuracy and simplicity in measuring temperature and humidity. On the other hand, the XIAO ESP32C3 microcontroller offers a versatile platform with built-in Wi-Fi capabilities, making it an ideal candidate for IoT projects. By combining these two components and leveraging the power of the Modbus communication protocol, we can create a robust system for monitoring and managing environmental conditions remotely.
Requirements
Before embarking on this journey, ensure you have the following prerequisites:
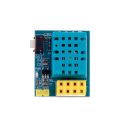
- XIAO ESP32C3 microcontroller
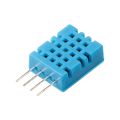
- DHT11 temperature and humidity sensor
- Access to a Wi-Fi network
- Arduino IDE installed on your computer
Setting Up the Hardware
- Begin by connecting the DHT11 sensor to the XIAO ESP32C3 microcontroller. We'll utilize digital pin D6 for this purpose.

- Establish a physical connection between the XIAO ESP32C3 microcontroller and your computer using a USB cable.
Setting Up the Software
Let's navigate through the software setup process step by step:
- Launch the Arduino IDE on your computer.
- Install the necessary libraries by navigating to Sketch > Include Library > Manage Libraries. Search for and install the following libraries:
- DHT Sensor Library by Adafruit

- ModbusIP_ESP8266

- With the libraries successfully installed, copy and paste the provided code into the Arduino IDE.
- Replace
"Your_WiFi_SSID"and"Your_WiFi_Password"with your actual WiFi credentials.
- Upload the code to your XIAO ESP32C3.
Let's dissect the key components of the code snippet provided:
- We include essential libraries such as the DHT sensor library, Wi-Fi library, and ModbusIP library.
- We define the pin connected to the DHT11 sensor (
DHTPIN) and specify its type (DHTTYPE).
- Within the
setup()function:- Serial communication is initialized for debugging purposes.
- We configure the Wi-Fi connection using a fixed IP address.
- Initialization of the DHT sensor takes place.
- The Modbus server is initialized, and registers are added to store temperature and humidity data.
- In the
loop()function:- Temperature and humidity readings are retrieved from the DHT11 sensor.
- Modbus registers are updated with the sensor data.
- Modbus communication tasks are handled.
- Sensor data is printed to the serial monitor for monitoring purposes.
Testing the Setup
Let's put our setup to the test:
- After uploading the code, open the serial monitor in the Arduino IDE (
Tools > Serial Monitor).
- You should observe temperature and humidity readings being displayed in the serial monitor interface.

- To further validate our setup, utilize a Modbus client application to connect to the XIAO ESP32C3 microcontroller's IP address. From there, you can effortlessly retrieve and interpret temperature and humidity values stored within the Modbus registers.


Conclusion
In this extensive tutorial, we've meticulously explored the process of integrating a DHT11 sensor with the XIAO ESP32C3 microcontroller, thereby enabling the publication of sensor data via a built-in Modbus TCP server. This setup empowers users to remotely monitor temperature and humidity levels, offering invaluable insights into environmental conditions.
This tutorial merely scratches the surface of the vast possibilities afforded by IoT and Modbus communication. Feel free to experiment further with the provided code and explore additional functionalities to cater to diverse project requirements. Embrace the journey of exploration and innovation as you embark on your IoT endeavors.
Happy coding and may your projects flourish with boundless creativity!