










Story
Tired of swapping change gears every time you need a different feed rate or want to cut a new thread?
The TheMakerVoid ELS (Electronic Lead Screw) replaces your lathe's gear train with an electronic coupling between the spindle and the carriage: an encoder reads the spindle rotation and a servo moves the carriage in a perfectly synchronized ratio.
With a touchscreen (or four physical buttons) you can select:
- Automatic feed — 5 feed rates from 0.07 to 0.25 mm/rev
- Metric threading — 16 pitches from 0.20 to 4.00 mm
- Imperial threading (UTS) — 21 values from 8 to 56 TPI
- Divider mode — use your spindle as a dividing head with ¼-degree resolution
This is an open source / public domain project: use it, modify it, and share it as you wish.
📺 Project video: https://www.youtube.com/watch?v=V1nno7E8xr8
📥 Downloads (firmware, schematics, PCB, 3D files, and full manual): https://themakervoid.com/
💻 Full source code (free access): https://github.com/THEMAKERVOID/esp32-lathe/tree/main
Supplies
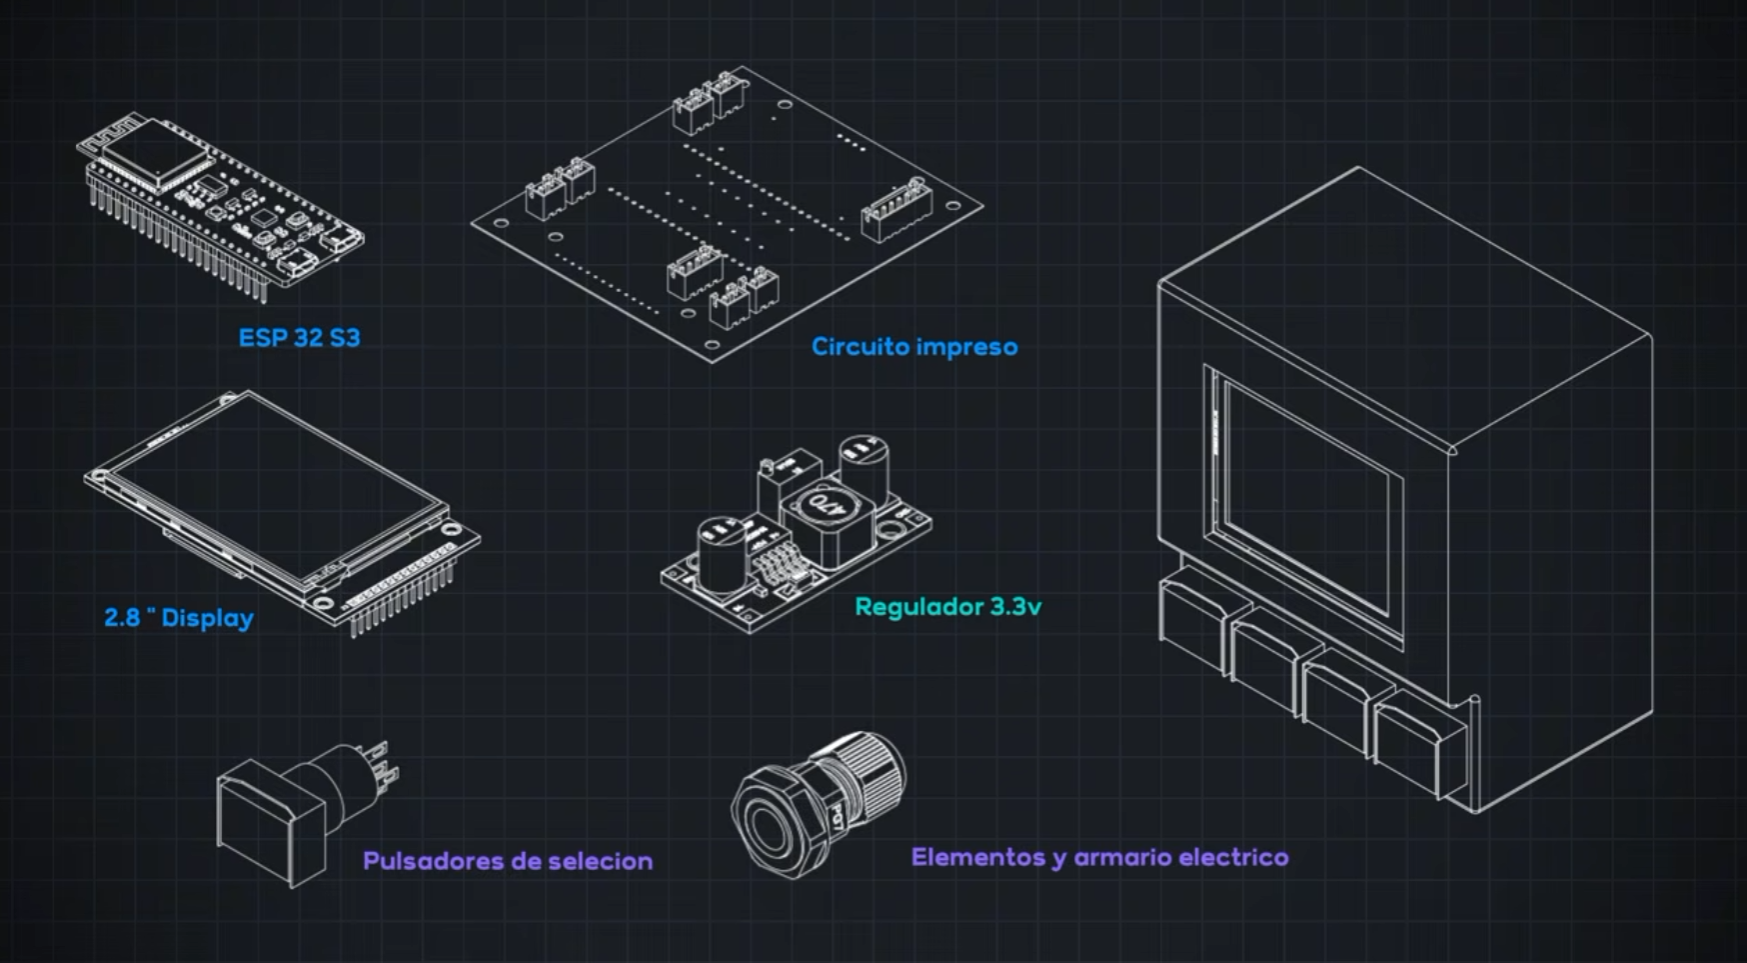
ESP32-S3 DevKit (onboard antenna) — 1 pc. Dual-core development board, dual USB-C, WiFi + BT 5.0. → AliExpress
2.8" TFT touchscreen display (SPI) — 1 pc. ILI9341 320×240 with XPT2046 resistive touch. → AliExpress
Incremental rotary encoder 360 PPR — 1 pc. C3856G5, 5–24V DC, quadrature output (1440 counts/rev). → AliExpress
Mean Well RS-15-5 power supply — 1 pc. 5V DC, 15W, universal input 85–264V AC. → AliExpress
LM2596 DC-DC buck converter — 1 pc. Adjustable step-down; set to 3.3V to power the display. → AliExpress
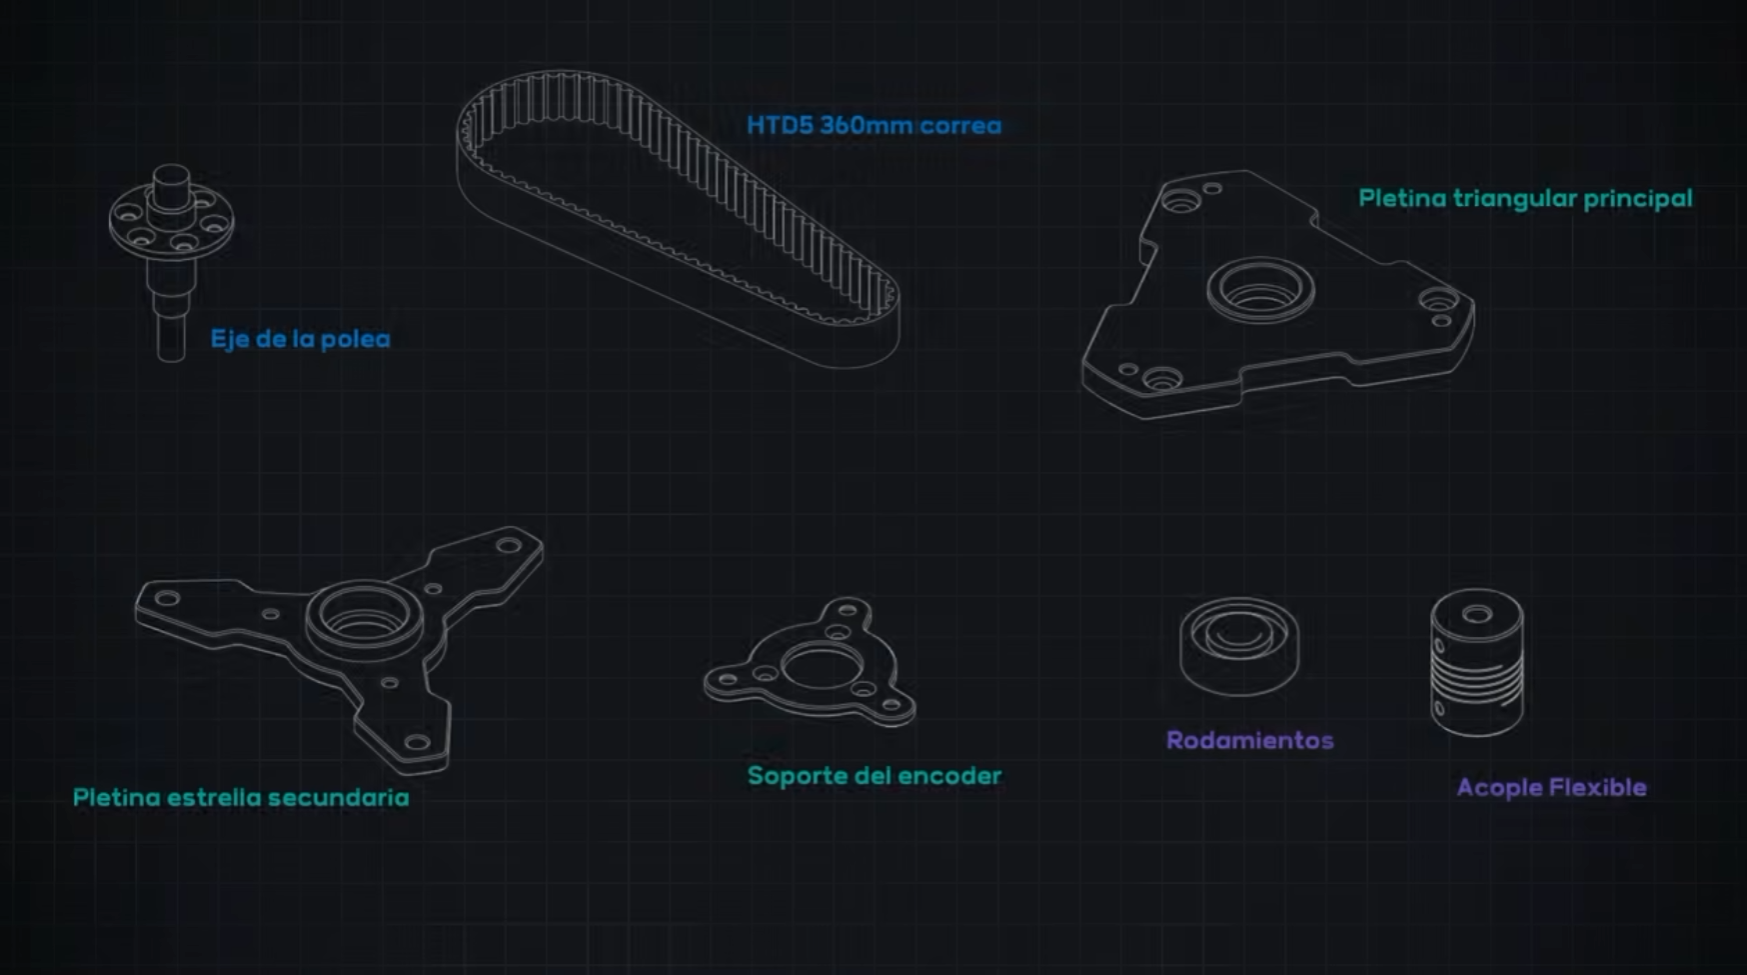
HTD 5M 535mm timing belt — 1 pc. Closed-loop HTD-535-5M, 10mm wide, no slippage. → AliExpress
Flexible shaft coupler (beam coupling) — 1 pc. Helical, aluminum, compensates for misalignment. → AliExpress
Illuminated momentary push buttons 16mm — 2× white, 1× red, 1× green. NO contact, rectangular illuminated head, panel mount. → AliExpress
Female PCB pin headers (2.54mm) — 2×22, 1×14, 1×4 pins. Female header strips, 2.54mm pitch. → AliExpress
Neodymium disc magnets 20×5mm — 2 pcs. N35, high pull force. → AliExpress
PG11 cable glands — 3 pcs. Black nylon, for 5–10mm cables, IP68. → AliExpress
Servodriver and Servomotor - 1pcs. 1K2W motor + Servodriver + 3meter cables → Aliexpress
Step 1: How Does It Work?
The principle is simple: instead of a fixed gear train between the spindle and the lead screw, the ELS reads the spindle rotation with a quadrature encoder (360 PPR → 1440 counts per revolution) and generates the PUL/DIR pulses for the servo that moves the carriage, in real time.
The key is the dual-core ESP32-S3:
- Core 1 handles the graphical interface and the touchscreen.
- Core 2, dedicated and high-priority, does nothing but read the encoder and generate motor pulses.
This separation guarantees precise, jitter-free motion even while you navigate the menus. The transmission ratio is calculated from your lead screw pitch (configurable from 1 to 10 mm), so the system adapts to any lathe.
Step 2: Mechanical Assembly
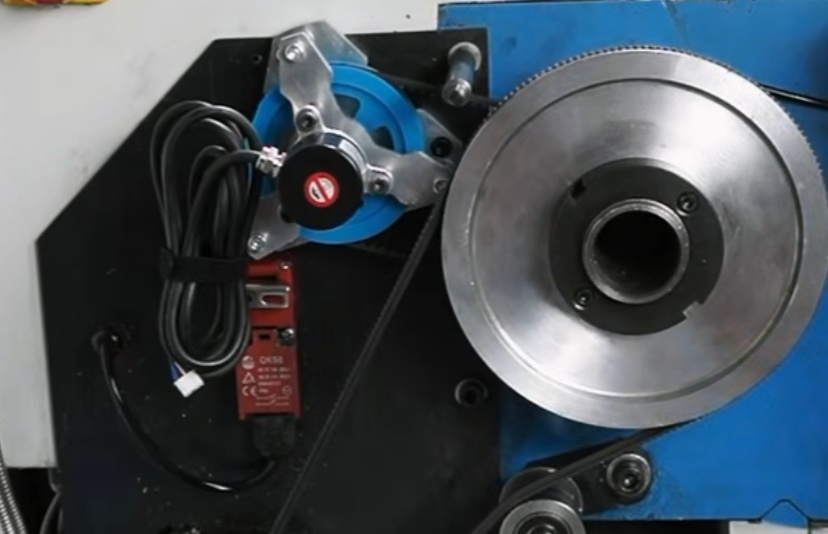
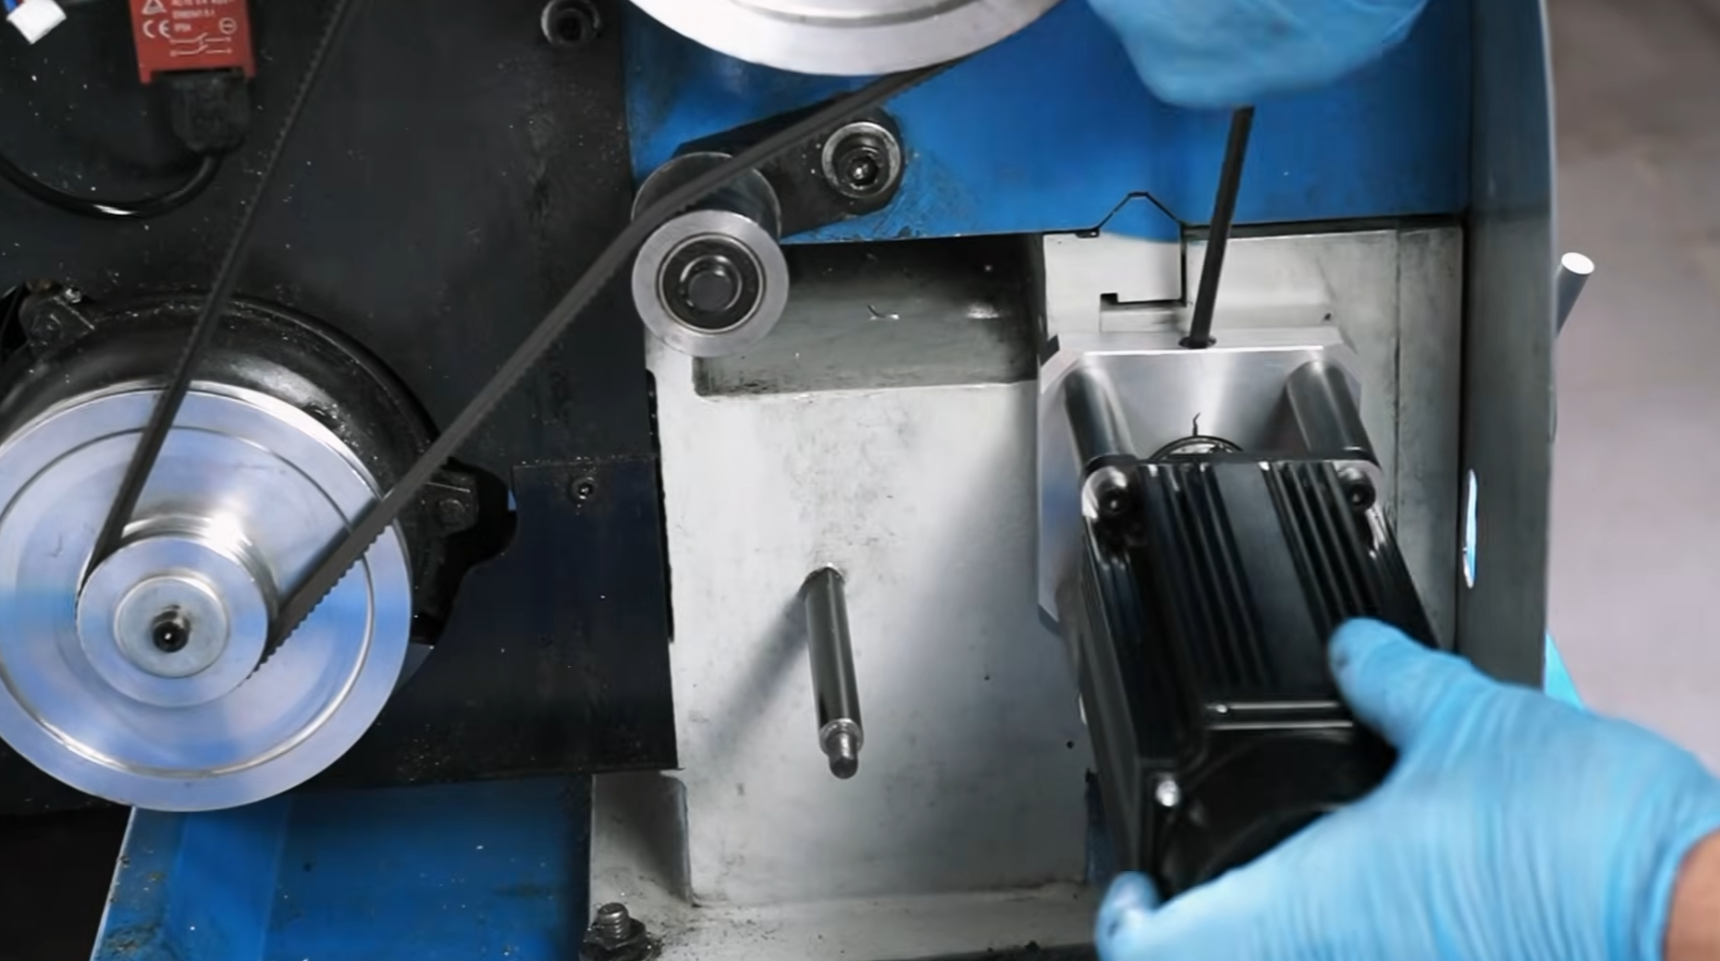
- Encoder on the spindle: the encoder must rotate 1:1 with the spindle. Mount it using the HTD 5M timing belt or directly with the flexible coupler, depending on your lathe's geometry.
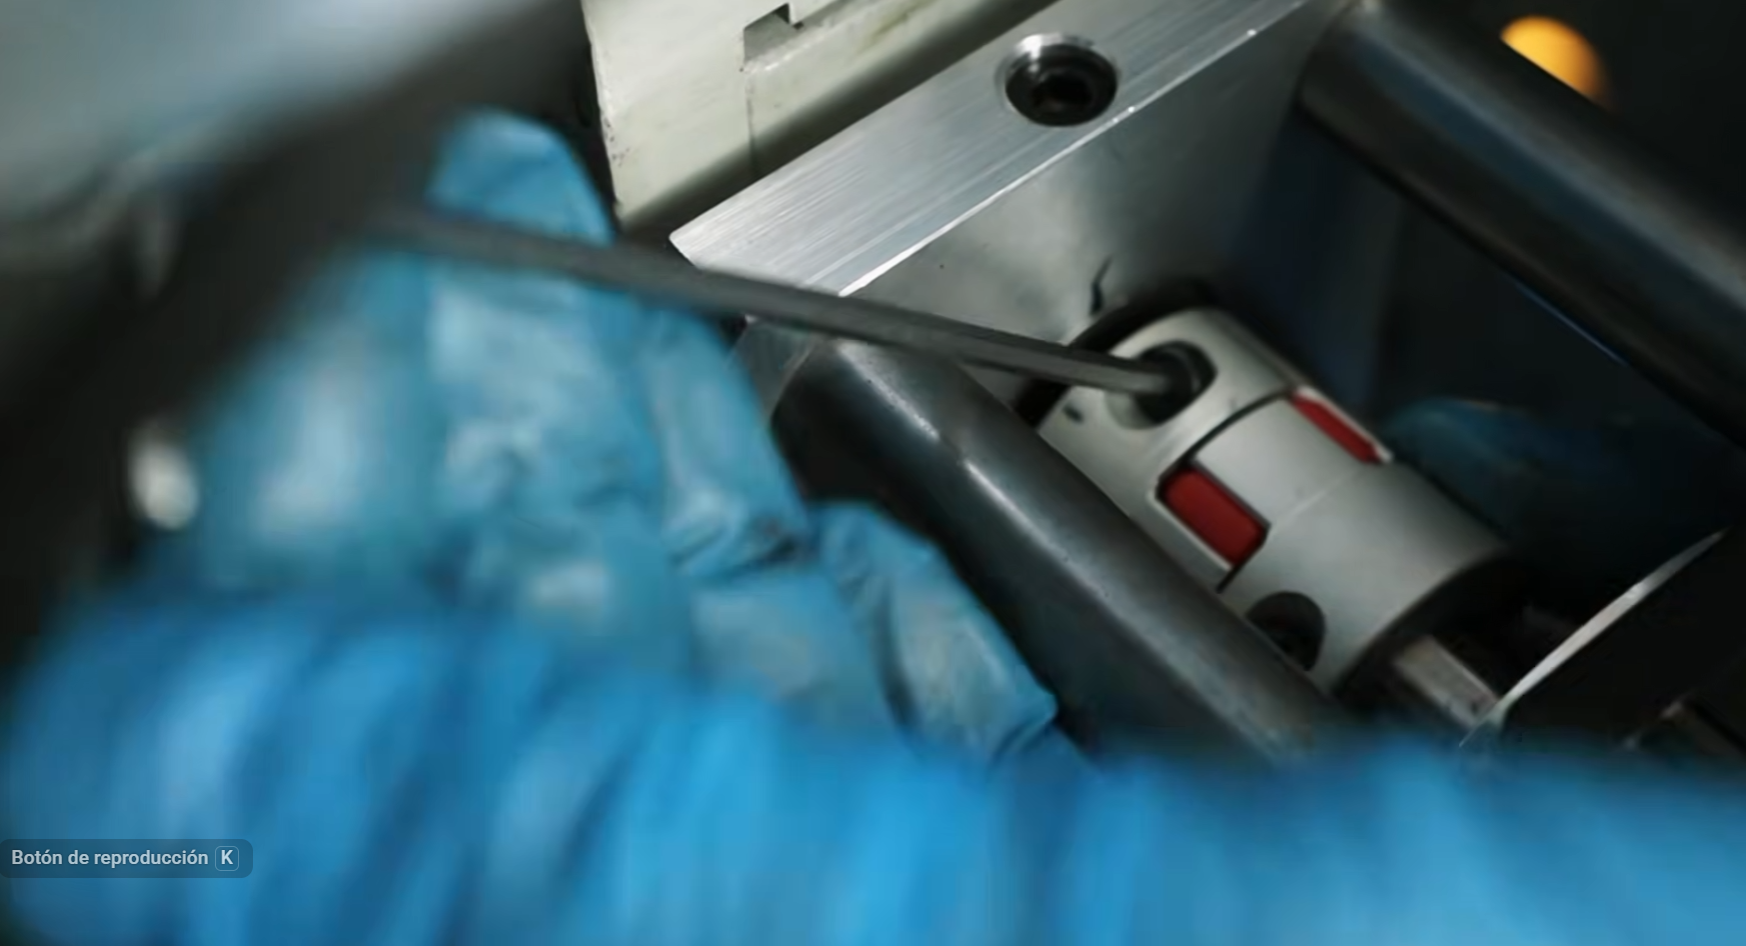
- Servo on the lead screw: couple the servo to the lead screw with the flexible coupler, which compensates for small misalignments.
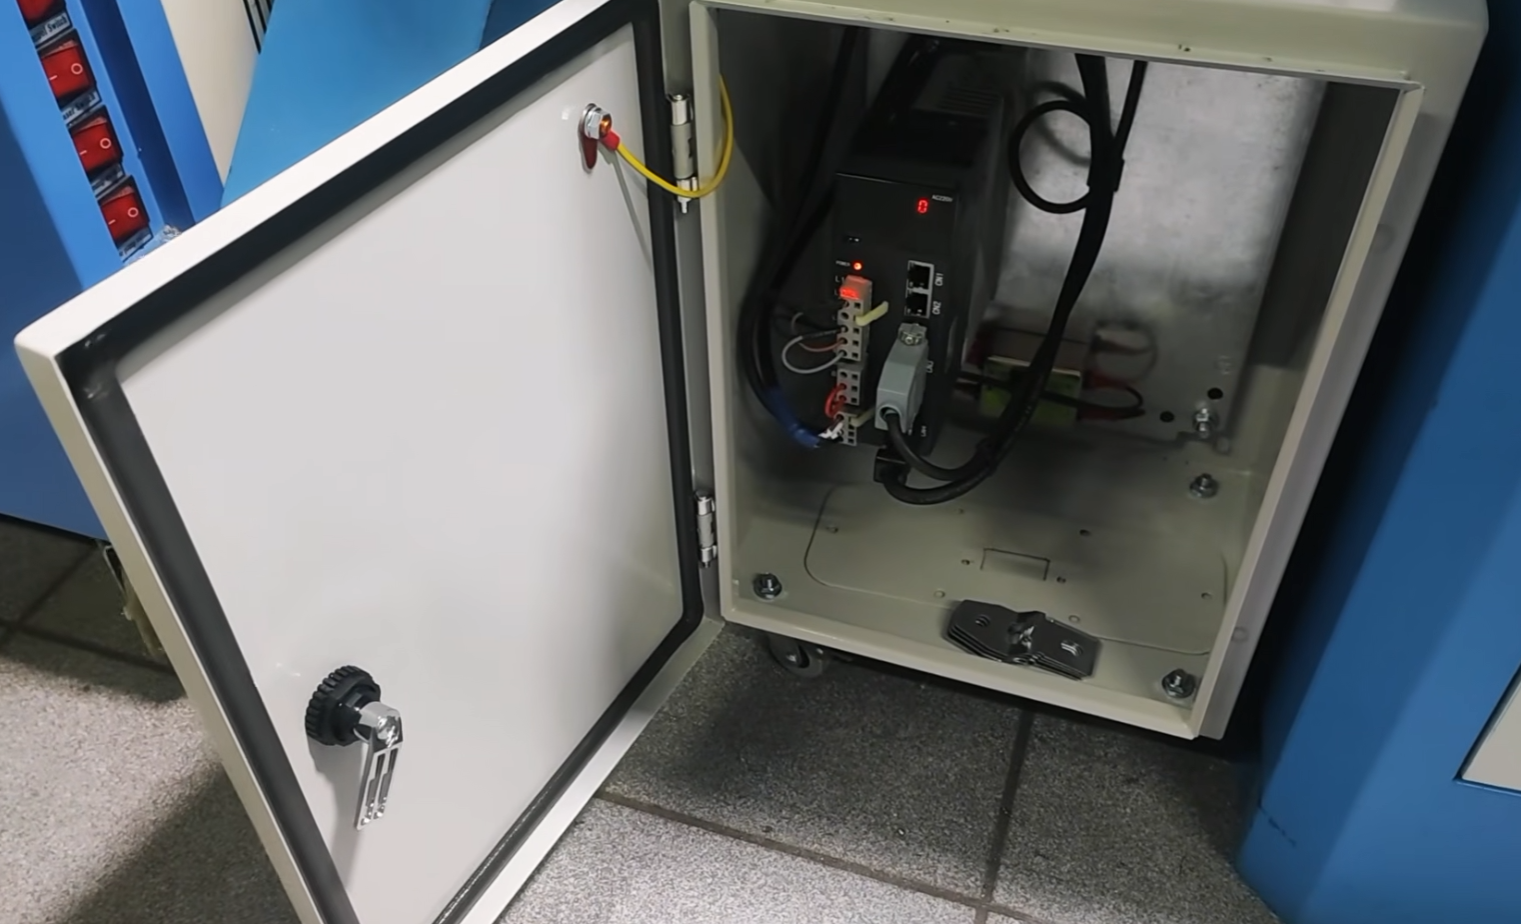
- Control enclosure: mount the electronics in an enclosure with the PG11 cable glands for the encoder, servo, and power cables. The 3D files for the enclosure are available at themakervoid.com.
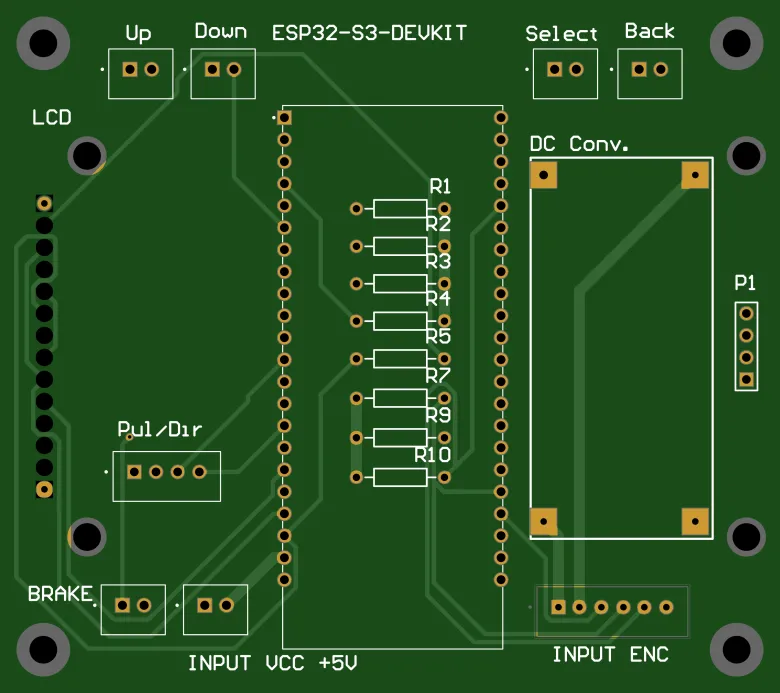
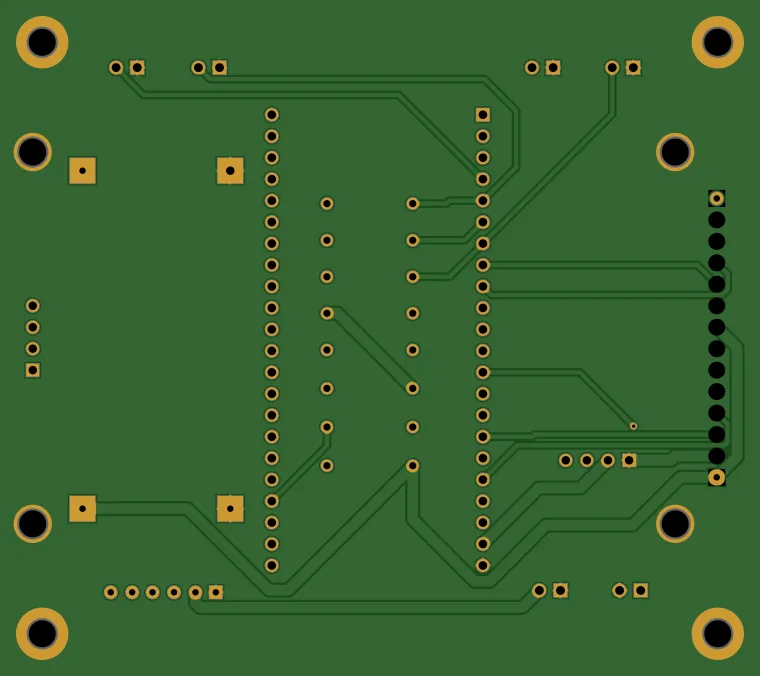
Step 3: Electronics and Wiring
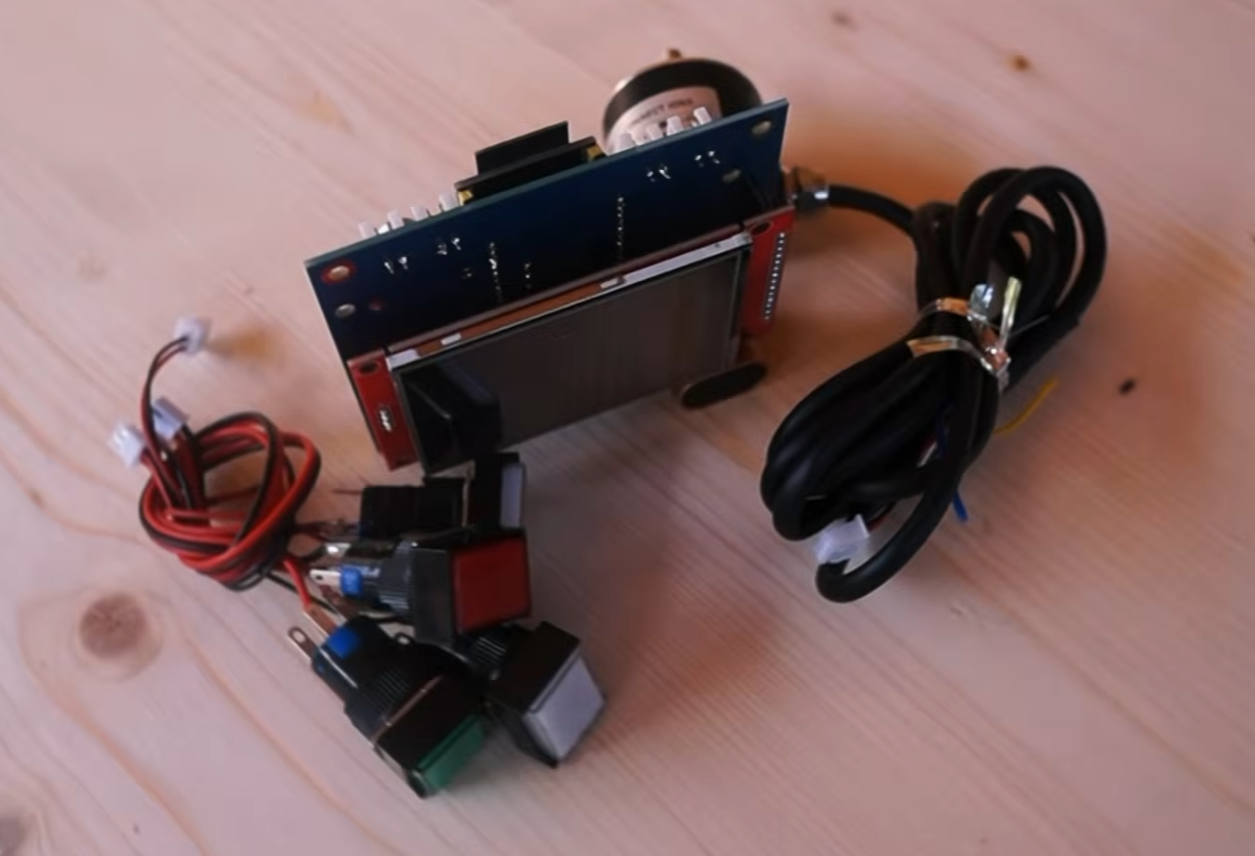
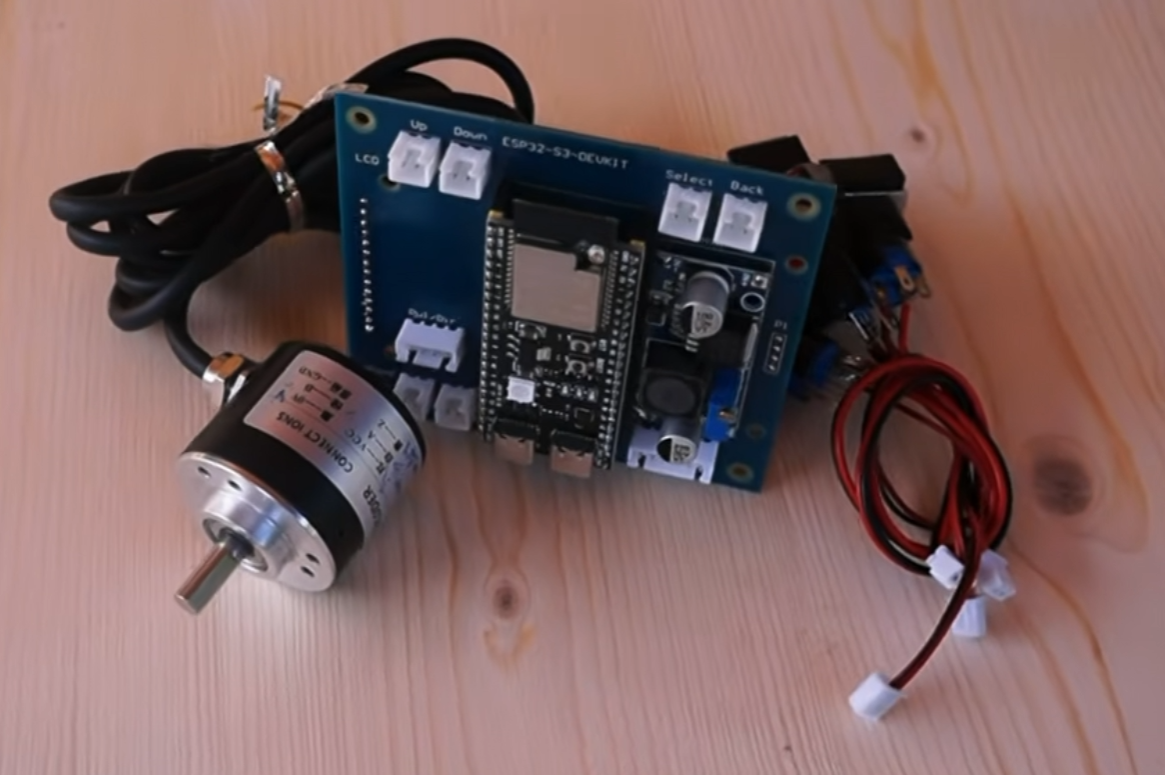
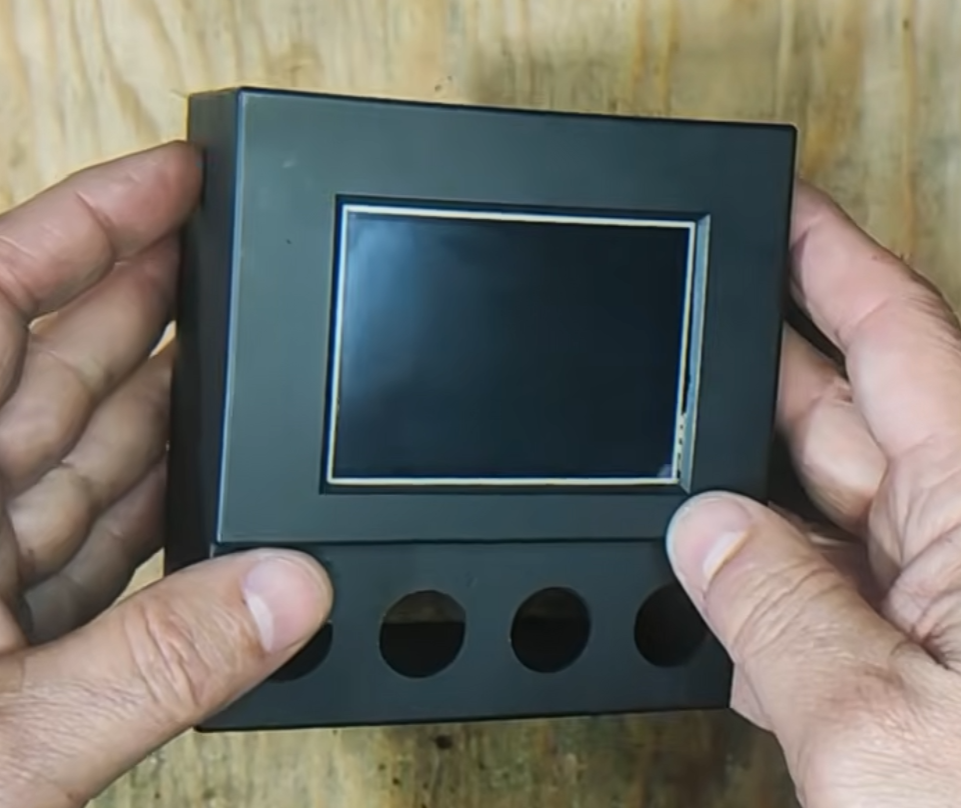
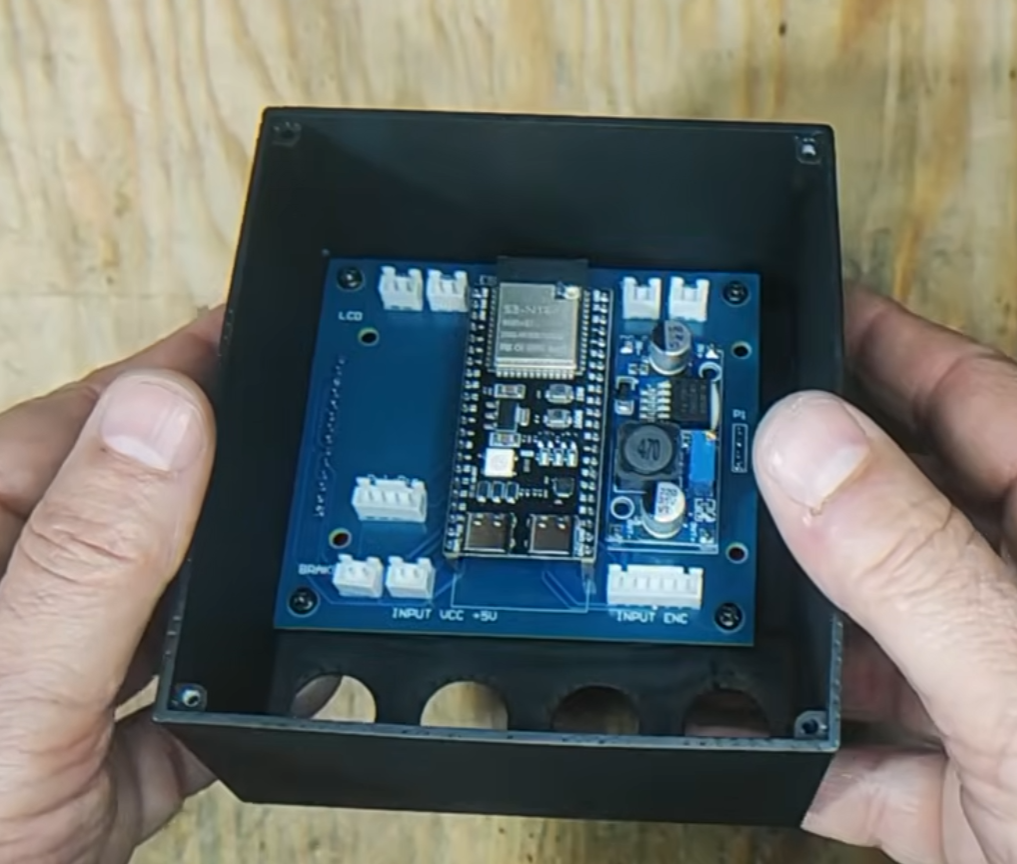
The Mean Well RS-15-5 power supply feeds the system at 5V.
The LM2596 module is set to 3.3V to power the TFT display.
The ESP32-S3 connects to the display via SPI (ILI9341 + XPT2046 touch).
The encoder's A/B channels go to ESP32 inputs; the PUL/DIR outputs go to the servo driver.
The 4 illuminated push buttons (UP, DOWN, SELECT, BACK) are wired as physical inputs: they do exactly the same as the touchscreen, and both input methods are always active.
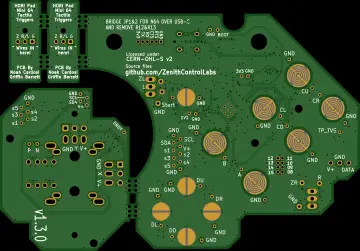
The complete schematic and the PCB are available for download at https://themakervoid.com/
Step 4: Firmware
The entire program is published with free access on GitHub: https://github.com/THEMAKERVOID/esp32-lathe/tree/main — you can clone the repository, compile it, and modify it as you like. You will also find the ready-to-flash firmware at https://themakervoid.com/. Flash it to the ESP32-S3 via USB-C.
On first power-up the controller initializes safe default values:
- Motor direction: CW (clockwise)
- Lead screw pitch: 3 mm
- Dark mode: Enabled
After the welcome screen (5 s, skippable with a tap) the Main Menu appears, which also shows the live spindle RPM — you can use it as a tachometer at any time.
Step 5: Initial Setup (Important!)
From the Main Menu, press BACK or tap the Menu icon to open Settings → CONFIGURATION:
- Direction (CW/CCW): select the motor rotation direction that corresponds to forward carriage travel on your lathe. If the carriage moves the wrong way, flip this setting.
- Lead screw pitch: enter your lead screw's actual pitch in mm (range 1–10). Every ratio calculation is based on this value, so it must match your machine.
Both settings are saved to EEPROM when confirmed with OK/SELECT and survive power cycles. Heads up: exiting with Back discards the changes.
Step 6: Feed Mode
Choose FEED in the Main Menu and select one of the five feed rates: 0.07 · 0.10 · 0.13 · 0.18 · 0.25 mm/rev. As soon as the spindle turns, the carriage feeds at the selected ratio; stopping the spindle stops the carriage. Press BACK to instantly disable the motor and return to the menu.
Step 7: Thread Mode
Choose THREAD, select the standard (METRIC or UTS), and pick the pitch from the paginated grid:
- Metric: 0.20 / 0.30 / 0.40 / 0.50 / 0.60 / 0.70 / 0.80 / 1.00 / 1.25 / 1.50 / 1.75 / 2.00 / 2.50 / 3.00 / 3.50 / 4.00 mm
- Imperial (UTS): 8 / 9 / 9.5 / 10 / 11 / 12 / 14 / 16 / 18 / 19 / 20 / 22 / 24 / 28 / 32 / 36 / 38 / 40 / 44 / 48 / 56 TPI
The carriage follows the spindle at the exact thread ratio. The ELS keeps the pitch perfect, but the technique is still up to you: proper spindle speed, retracting the tool at the end of each pass, and re-engaging at the same point.
Step 8: Divider Mode
Choose DIVIDER and the encoder turns your spindle into a live angular readout (0–360°, ¼-degree resolution thanks to the 1440 counts/rev). Tap the Reload icon (or press SELECT) to zero the angle at the current position, then rotate by hand to the angle you need. Perfect for bolt-hole circles, flats, gears, or graduations.
Step 9: Safety and Troubleshooting
Safety — read before use. An ELS moves the carriage automatically whenever the spindle turns in Feed or Thread mode:
- Always know which direction the carriage will travel before engaging.
- Keep BACK within reach: it stops the motor immediately.
- Do a test pass away from the workpiece the first time you use a new feed or thread pitch.
- The motor only moves while the spindle moves.
Common issues:
- Carriage moves the wrong way → Flip the Direction setting (CW/CCW) in Configuration.
- Feed/thread pitch is off by a constant factor → Check that the Lead screw pitch value matches your machine.
- RPM reads 0 while the spindle turns → Encoder wiring/coupling issue.
- Motor doesn't move → Confirm the selection with OK (engaged ≠ highlighted); check driver power and PUL/DIR wiring.
- Touch is offset or unresponsive → Recalibrate the touchscreen in the firmware.
- Settings reset after power-off → Save with OK/SELECT; exiting with Back discards changes.
Step 10: Resources
- 📺 Full project video: https://www.youtube.com/watch?v=V1nno7E8xr8
- 💻 Full source code on GitHub: https://github.com/THEMAKERVOID/esp32-lathe/tree/main
- 📥 Firmware, schematics, PCB, 3D files, and user manual: https://themakervoid.com/
- Open source / public domain project — free to use, modify, and share.
If you build one for your lathe, share your photos in the comments! And if you found it useful, you'll find ways to support the project at themakervoid.com.
Spanish version available at themakervoid.com