ESP Terminal 3.5-inch Display PlatformIO Tutorial
Overall
This tutorial uses both RGB and SPI versions. Take the Terminal-SPI as an example.
Software Preparation
First download Visual Studio Code on https://code.visualstudio.com/. Choose the version that is compatible with your computer system and download it 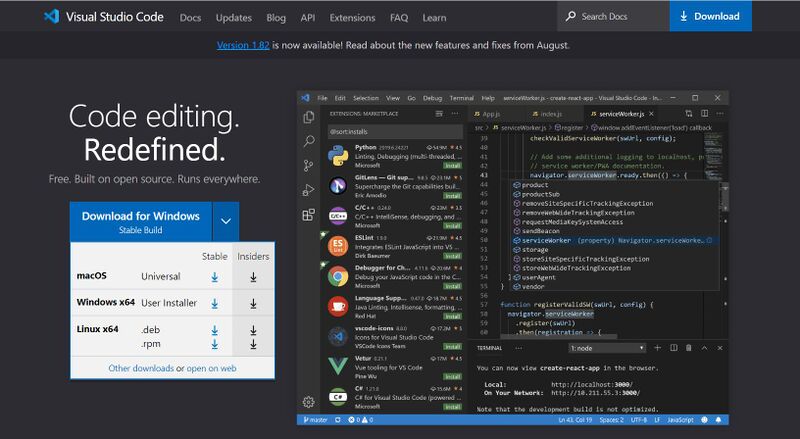
Open VSCode and click on Extension, search for Python and install. 
Search for PlatformIO and install it. 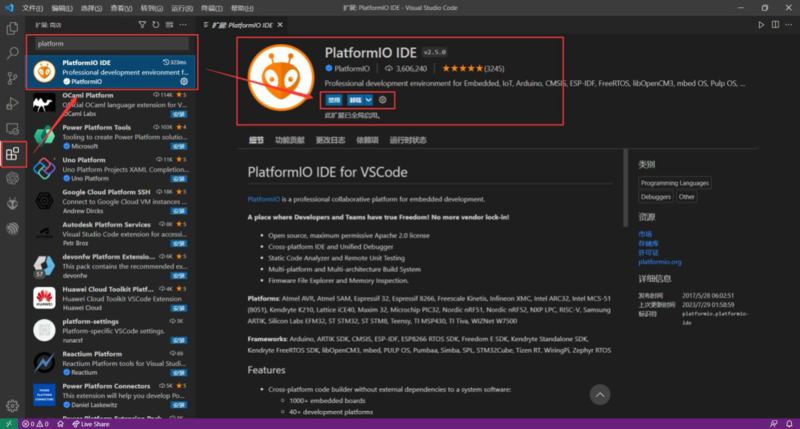
Create new projects
Click on the PlatformIO icon, click the quik access "Open", then click "+New Project" 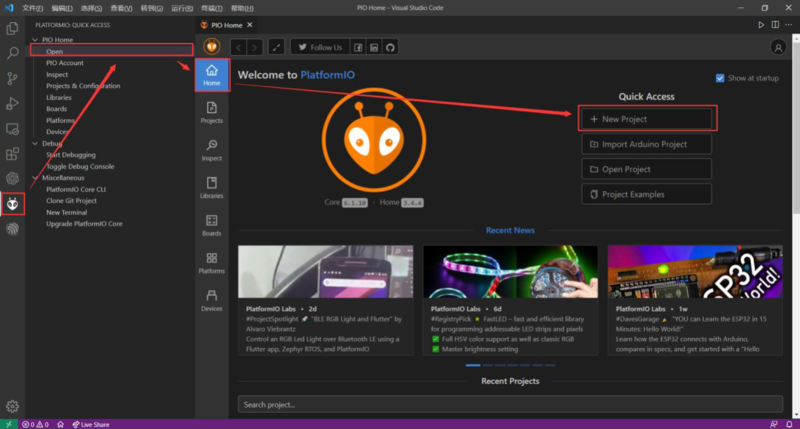
Add the project name. The board select "ESP32-S3-DevKitC-1-N8(8 MB QD, No PSRAM)", framework select Arduino 
The main part of the program will be written in main.cpp 
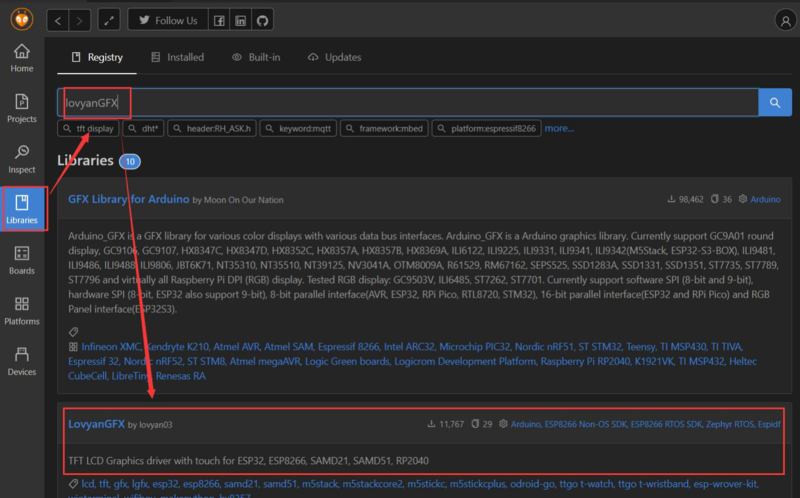
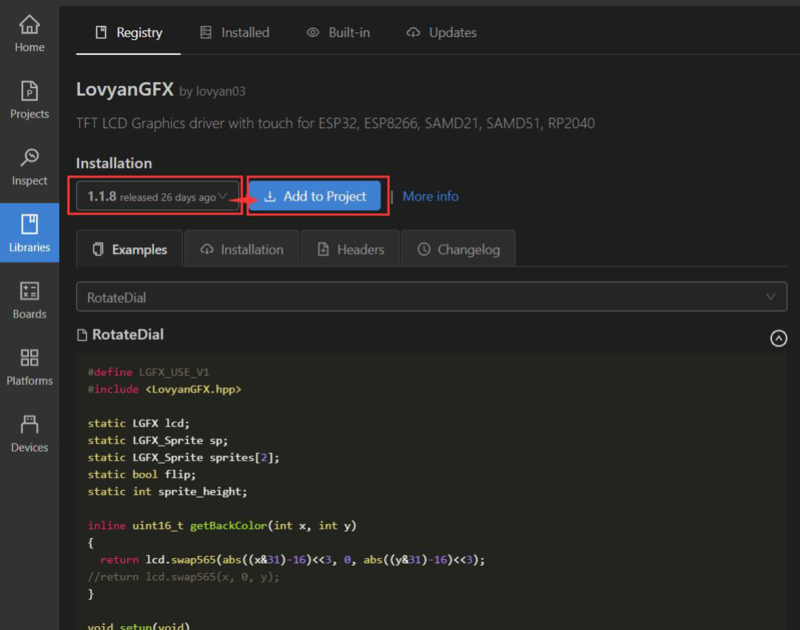
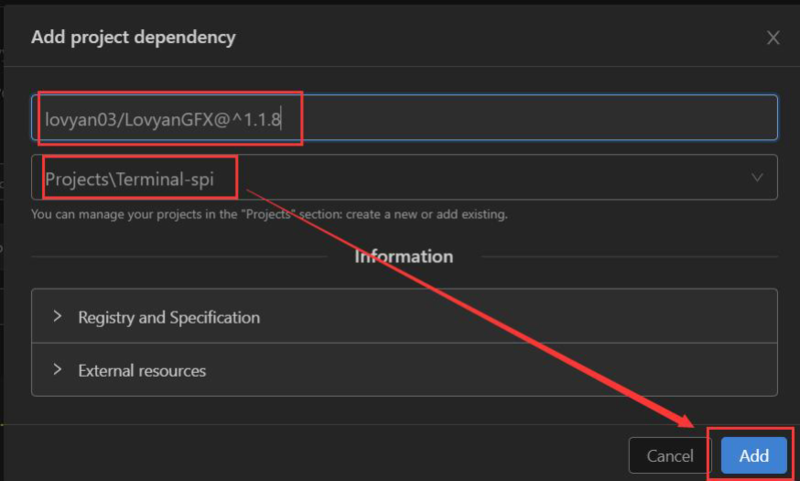
Download the lvgl and LovyanGFX library 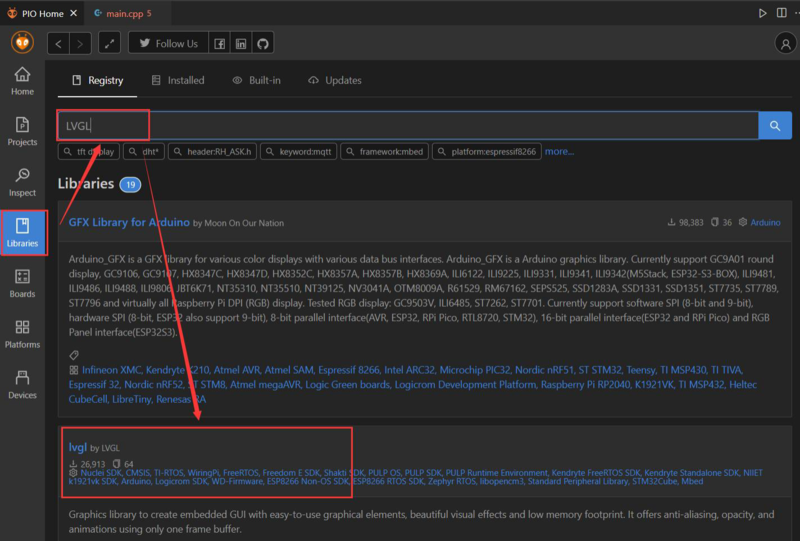
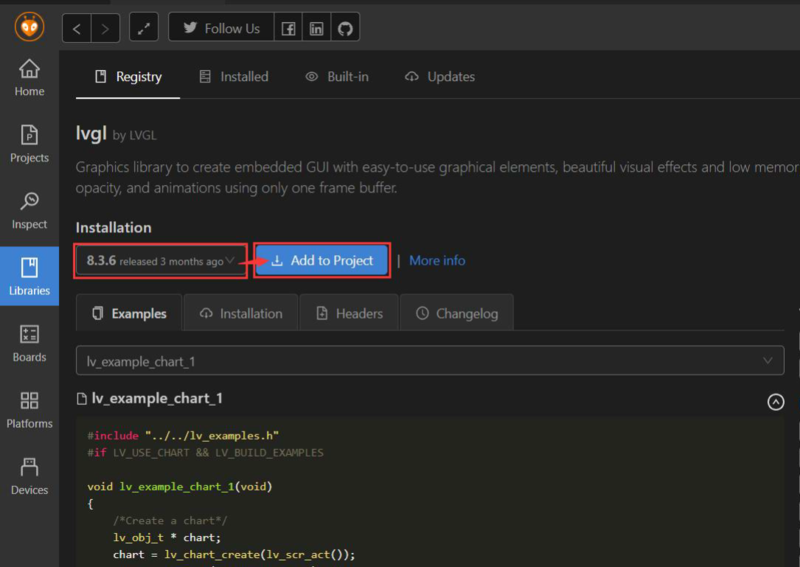
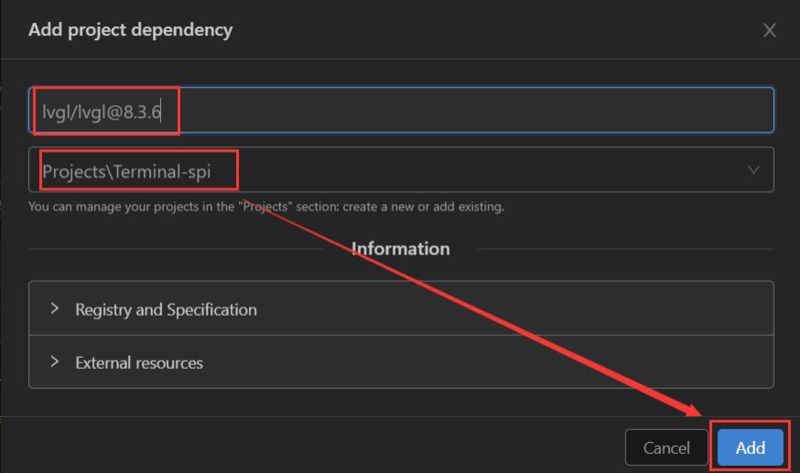
[
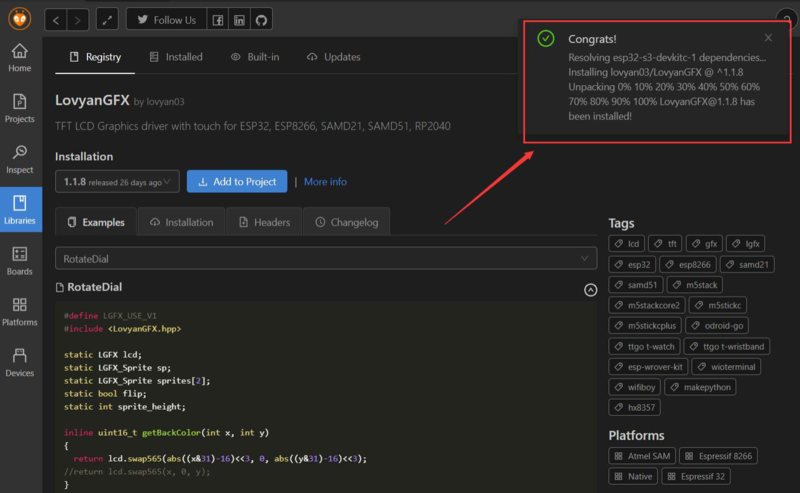
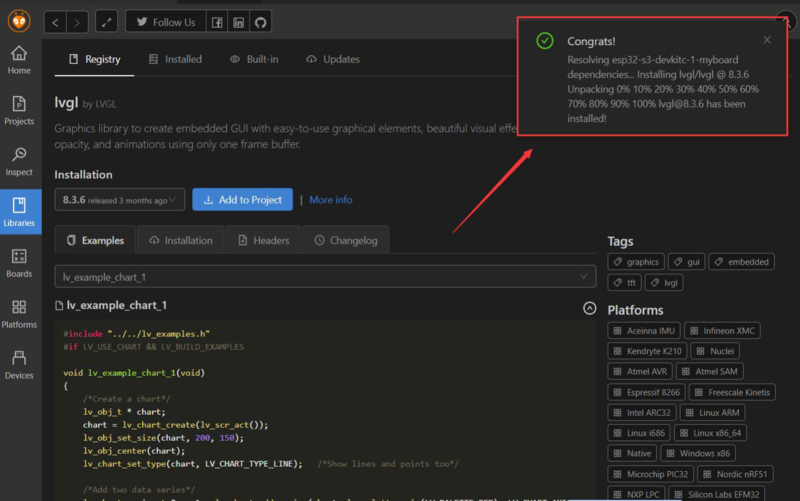
We can see that the library has been added successfully! 
Configure the LVGL library
Right-click the lvgl and open in files explorer 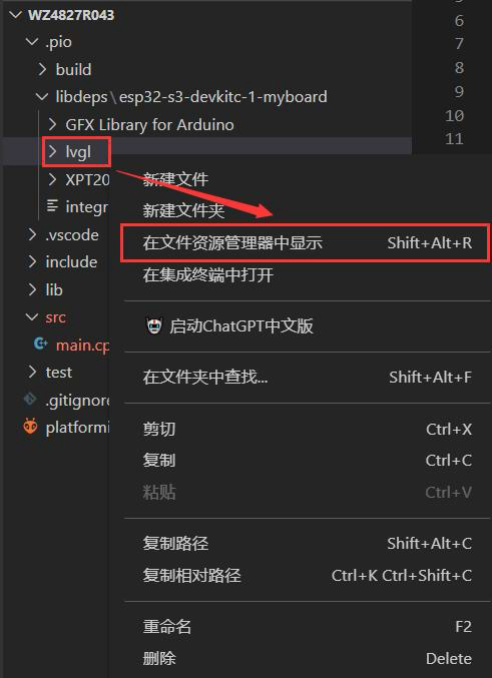
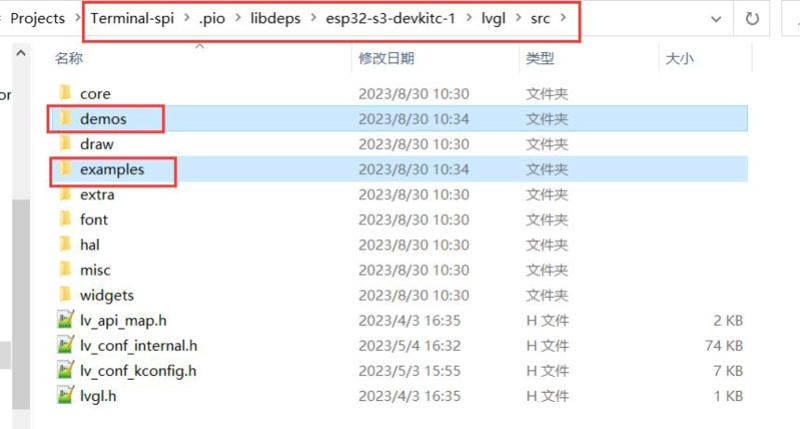
Move the demos and examples folder to src folder 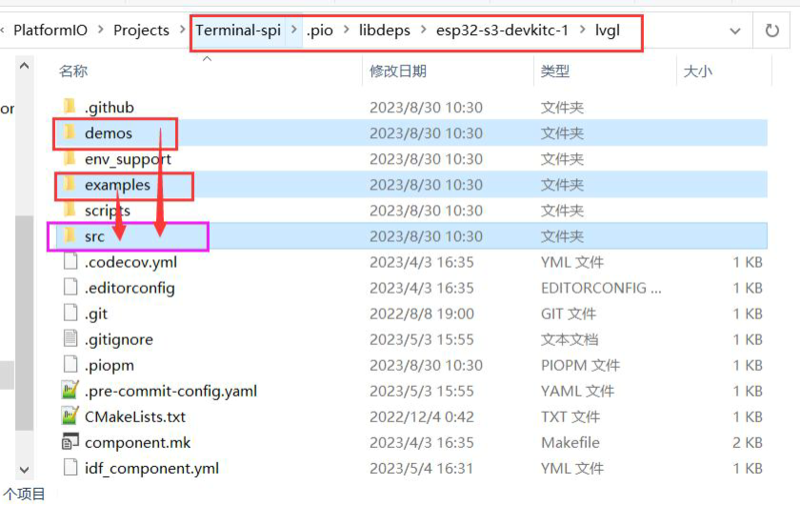
Place the lv_conf.h file under the esp32-s3-devkit-1 directory 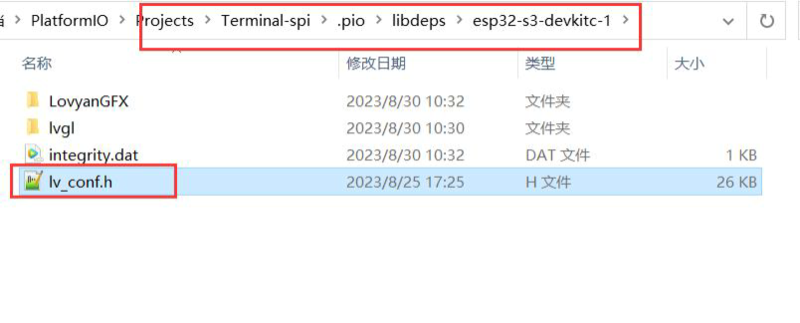
Put the FT6236.cpp file into the /src folder 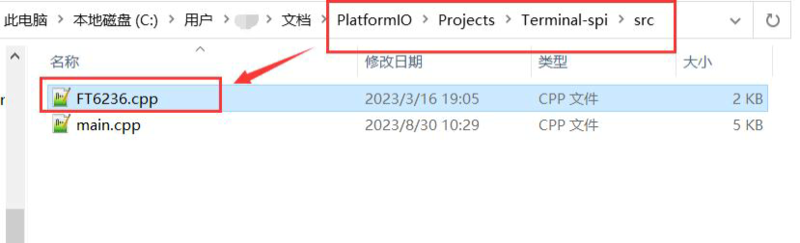
Put the FT6236.h file in the /include folder 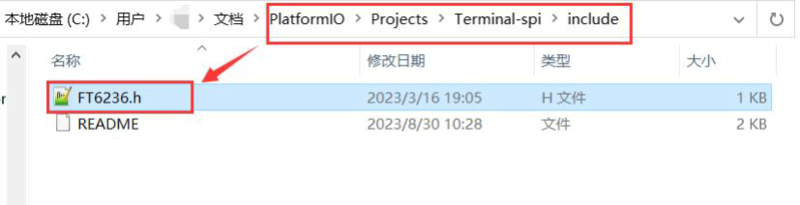
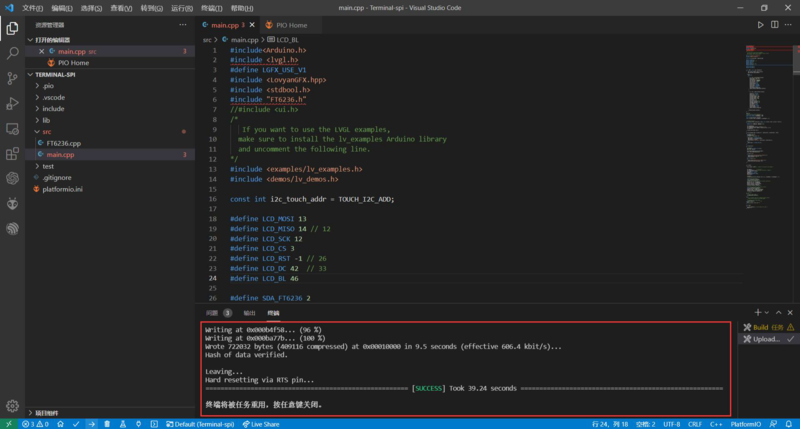
Compile and upload the code
After the configuration is complete, write the code in main.cpp. 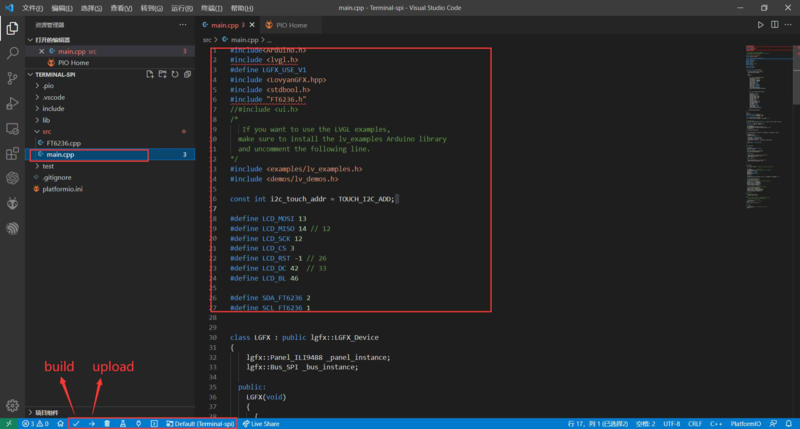
Compile the program 
Then we can upload the code to the board.