CrowView Note 14 for Arduino UNO Q + Camera Kit User Wiki
1. Product Overview
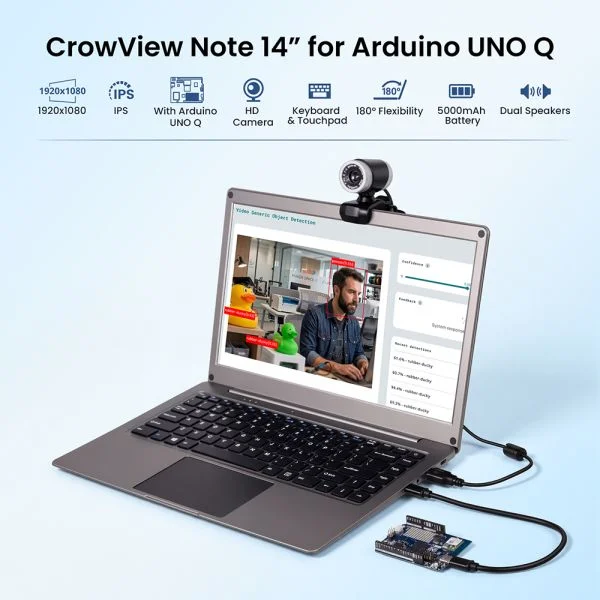
CrowView Note 14 for Arduino UNO Q with Camera Kit is a portable all-in-one solution that combines:
- A 14-inch display terminal (with keyboard and touchpad)
- Arduino UNO Q main unit
- USB camera module
When connected together, the system works like a functions as a portable, laptop-like computing system for display, input, and video usage.
2. Device Components and Roles
2.1 CrowView Note 14 (Display Terminal)
| Feature | Description |
|---|---|
| Display | 14-inch Full HD (1920×1080) |
| Input | Keyboard + Touchpad |
| Audio | Speakers + Microphone |
| Power | Built-in battery or external power |
| Ports | Type-C / USB-A / Mini HDMI |
Role: Provides screen, input devices, and power

2.2 Arduino UNO Q (Main Unit)
| Feature | Description |
|---|---|
| System | Built-in Linux system |
| Storage | eMMC |
| Connectivity | WiFi / Bluetooth |
| Interfaces | Type-C / GPIO / Communication ports |
Role: Acts as the main computing unit, running the system and handling tasks
Overview
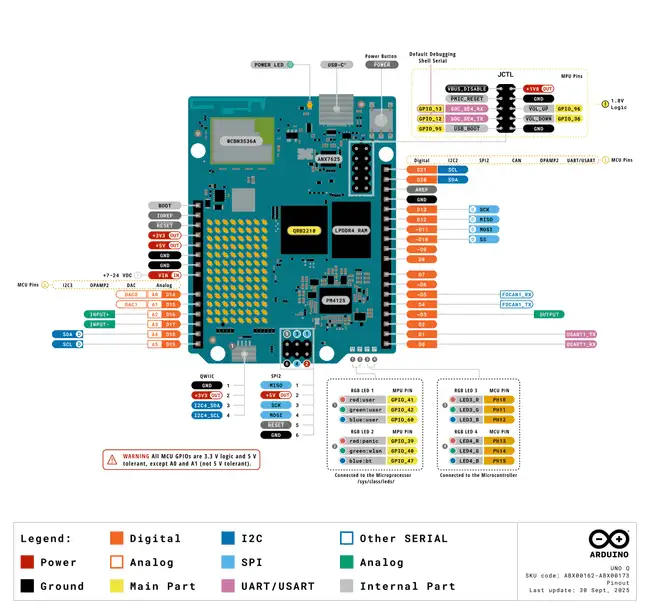
The Arduino UNO Q is a next-generation development board that builds upon the traditional Arduino by introducing more powerful computing capabilities, integrating the Linux operating system with a microcontroller (MCU) on a single platform. Unlike previous Arduino boards, which were primarily used to control sensors and execute simple logic, the UNO Q also functions like a single-board computer (SBC), capable of running a full-fledged operating system and handling more complex tasks.
In terms of functionality, the UNO Q not only supports traditional Arduino development modes but can also run Linux-based applications, such as Python scripts, web services, and computer vision-related tasks. It features built-in wireless communication capabilities (Wi-Fi and Bluetooth) and offers a rich array of interfaces, including USB, GPIO, I2C, SPI, UART, and CAN, allowing for easy connection to various peripherals and expansion modules. Additionally, it supports multimedia interfaces such as cameras and audio devices, making it suitable for applications like image recognition and voice interaction.
For more information about the Arduino Uno Q, please refer to the official link:https://docs.arduino.cc/tutorials/uno-q/user-manual/
2.3 Camera Module
| Feature | Description |
|---|---|
| Type | USB Camera |
| Driver | Plug-and-play |
| Usage | Video capture / Photo |
- Auto-detected as video device
- Compatible with standard Linux camera applications
- Suitable for video calls and real-time preview
Role: Provides video input capability
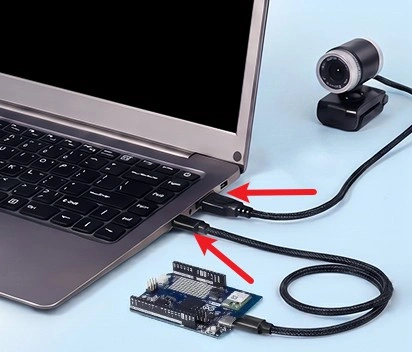
3. Device Connection
3.1 Basic Connection Diagram
CrowView Note →Type-C → Arduino UNO Q
CrowView Note → USB-A → Camera
4. Basic Usage
Startup Process
- Connect the UNO Q and the camera to the Crowview Note.
- Power on the device.
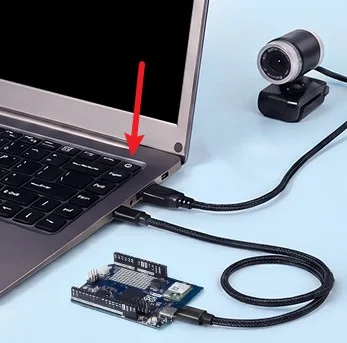
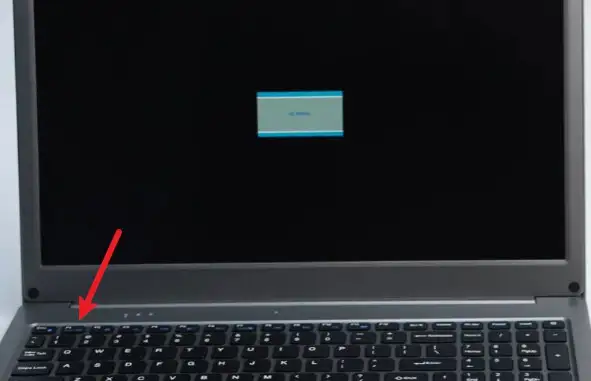
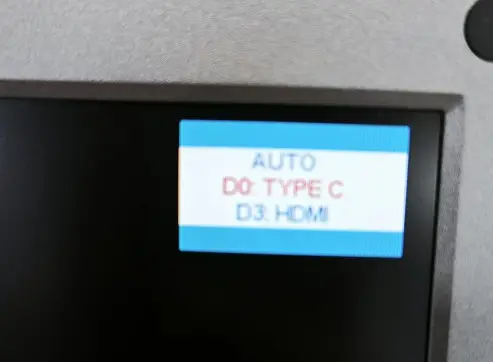
- Press the F1 key and select the Type-C source.
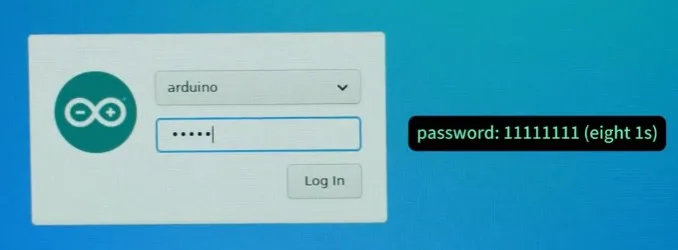
- Wait for the system to boot up, enter your password, and press Enter to log in.
For detailed instructions, please watch the video:
https://www.youtube.com/watch?v=aCI_7OiubHg&t=2s
5. Power Supply Options
5.1 Built-in Battery
- CrowView Note includes an internal battery
- Supports short-term standalone use
5.2 External Power
- Powered via Type-C
- Can supply power to UNO Q
6. Notes
- Type-C cable must support both power and data
- CrowView Note does not have built-in computing capability
- Camera must support standard UVC protocol
- Use stable power supply for best performance
How to buy
Please visit this page to purchase CrowView Note 14” for Arduino UNO Q with Camera Kit.
Support
If you encounter any issues while using the service, you can contact us via the social media links in the bottom-right corner of elecrow or send an email to techsupport@elecrow.com for technical support.