Lesson 11: Automatic Playback After Recording
1. Course Introduction
Record 5 seconds of audio using the onboard PDM microphone, process the audio at 16 kHz / 16-bit / mono, then play it back through the I2S speaker.
2. Learning Objectives
After completing this lesson, you should be able to:
- Understand the initialization of audio GPIO, PDM input, and I2S output.
- Understand the WAV header, peak detection, and safe gain in
recording(). - Complete a 5-second recording and play it back automatically.
3. What You Need
- Hardware: One CrowPanel Advanced 5-inch ESP32-P4 HMI AI Display development board (with onboard PDM microphone, I2S audio output, amplifier, and speaker), and one USB Type-C data cable that supports data transfer.
- The audio parameters are 16 kHz, 16-bit, mono.
- The onboard microphone and speaker are already wired; you still need to upload and power the board via the UART0 USB connection.
Code link reference: https://github.com/Elecrow-RD/-CrowPanel-Advanced-5inch-ESP32-P4-HMI-AI-Display-800x480-IPS-Touch-Screen/tree/master/example/V1.0
4. Software Operation Steps
Double-click to open the Lesson 11 code. (.ino file)

The pins related to the microphone and speaker are detailed in board_config.h.
Configure the options below accordingly.
- Board:
ESP32P4 Dev Module - Core Debug Level:
Info - Flash Frequency / Mode / Size:
80MHz/QIO/16MB (128Mb) - Partition Scheme:
16M Flash (3MB APP/9.9MB FATFS) - PSRAM:
Enabled - USB Mode:
Hardware CDC and JTAG - Port: After connecting the USB data cable to the board's UART0, select the newly appeared COM port under "Tools → Port".

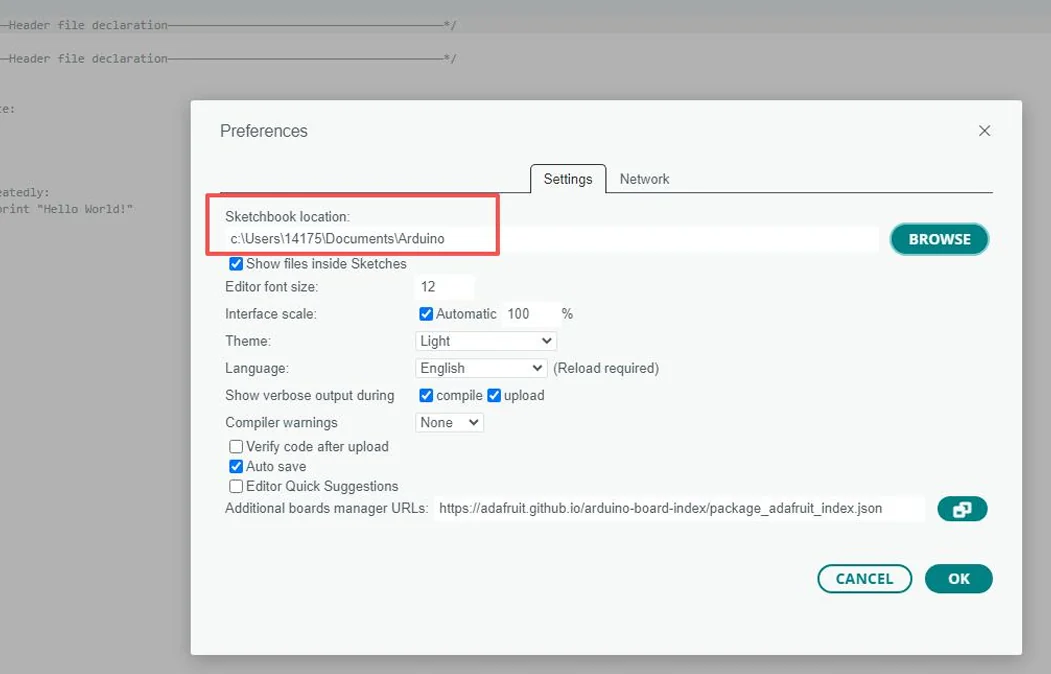
Follow the library import steps explained in detail in Lesson 1 to import the library files required by this project into the development environment, ensuring that the code can correctly locate the relevant dependencies during compilation, so as to ensure the program runs properly.
5. Hardware Operation Steps
Confirm that the onboard microphone, speaker, and related ribbon cables are properly connected, then connect the data-transfer-capable USB-C cable to the board's UART0 port and your computer.

In the Arduino IDE, select the correct board and COM port, then click Upload. After the upload completes, open the Serial Monitor and set the baud rate to 115200.
After the serial monitor displays Start 5s recording..., speak clearly into the onboard microphone and keep the board steady during recording.

After about 5 seconds, the serial monitor should display Start play audio data, and the speaker will play the sound just recorded.

When playback finishes, the serial monitor should display Playback done. If there is no sound, check the volume, speaker connection, and USB power supply capability.
6. Key Code Explanation
6.1 Recording and Safe Gain
origin_buffer = i2s_mic.recordWAV(5, &read_bytes);
read_bytes -= 44;
float safe_gain = 32767.0f / max_val;
recordWAV(5, &read_bytes) returns a WAV buffer containing a 44-byte header followed by 16-bit PCM samples. The code skips the header, scans the samples for the maximum absolute value, derives safe_gain = 32767.0f / max_val (with the zero case handled), applies the gain without overflowing int16_t, and writes the result through i2s_spk.write().
6.2 I2S Initialization
i2s_mic.setPinsPdmRx(MIC_GPIO_CLK, MIC_GPIO_SDIN); // Configure pins for microphone input
    // Start I2S at 16 kHz frequency, 16-bit depth, mono
    if (!i2s_mic.begin(I2S_MODE_PDM_RX, 16000, I2S_DATA_BIT_WIDTH_16BIT, I2S_SLOT_MODE_MONO, I2S_STD_SLOT_LEFT)) {
        Serial.println("PDM input initialization failed!");
        while (1) delay(1000);  // Halt execution
    }

    i2s_spk.setPins(AUDIO_GPIO_BCLK, AUDIO_GPIO_LRCLK, AUDIO_GPIO_SDATA);  // BCLK, LRCLK, DOUT
    // Start I2S with the same parameters, but in output mode, using mono
    if (!i2s_spk.begin(I2S_MODE_STD, 16000, I2S_DATA_BIT_WIDTH_16BIT, I2S_SLOT_MODE_MONO, I2S_STD_SLOT_BOTH)) {
        Serial.println("I2S output mode initialization failed!");
        while (1) delay(1000);
    }
mic_loudspeaker_init() powers down the audio path while configuring it, assigns the PDM microphone pins with setPinsPdmRx(), and starts mono 16-bit microphone capture at 16 kHz. It then assigns BCLK/LRCLK/SDATA to the speaker, starts standard I2S output with matching 16 kHz/16-bit settings, and stops in an error loop if either initialization fails.
7. Experimental Results
- After the device records for about 5 seconds, the speaker automatically plays the sound just recorded; the serial monitor shows the recording and playback status.
- Open the Serial Monitor, and you can see when recording starts and when sound is played.
(For how to open the Serial Monitor, please refer to Lesson 1, where we explain it in detail)

8. Common Issues and Troubleshooting
- If there is no sound, check AUDIO_GPIO_CTRL, the power supply, and the I2S pins.
- If the sound is distorted, lower
desired_amplification; if the duration is abnormal, checkread_bytesand the WAV header handling.