Lesson 12: Playing Local WAV Files from the SD Card
1. Course Introduction
This course uses the Arduino IDE platform approach to read WAV audio files from the SD card and play them through a speaker. After the program is flashed, when the development board is powered on and reset, the SD card will be mounted to the /sdcard directory, and the I2S audio output and amplifier will be initialized at the same time. The program then automatically opens the /sdcard/huahai.wav file, validates the WAV file header, and performs streaming playback to output music through the speaker.
This course integrates the SD card functionality from Lesson 08 and the I2S audio output from Lesson 11, and introduces WAV file format parsing for the first time. Through this experiment, learners will complete a full audio playback workflow validation, covering SD card file reading, WAV header information validation, and streaming playback of PCM data.
2. Learning Objectives
After completing this lesson, you should be able to:
- Be able to explain the structure of the WAV file header (RIFF/WAVE/fmt/data) and the significance of validating it.
- Be able to explain the workflow of streaming playback (chunked reading → amplification → I2S write).
- Be able to complete compilation and flashing, and hear the WAV file from the SD card playing.
- Be able to determine whether SD card reading and the audio chain are functioning properly based on the presence of playback logs and audio output.
3. What You Need to Prepare
- Hardware: One CrowPanel Advanced 5-inch ESP32-P4 HMI AI Display development board (with onboard SD card slot, I2S audio output and amplifier, and speaker); one MicroSD card formatted as FAT32, with
huahai.wav(16 kHz, 16-bit, mono PCM WAV) placed in its root directory; one USB Type-C data cable supporting data transfer. - Prepare a microSD card and the onboard speaker.
- Recommended WAV: PCM, 16 kHz, 16-bit, mono or stereo.
Code reference link:
4. Software Operation Steps
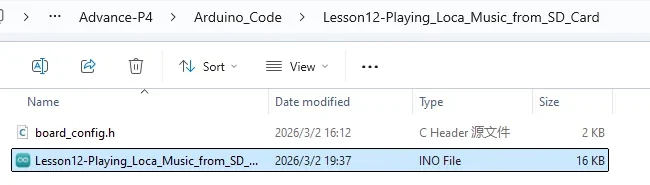
Double-click to open the Lesson 12 code. (.ino file)
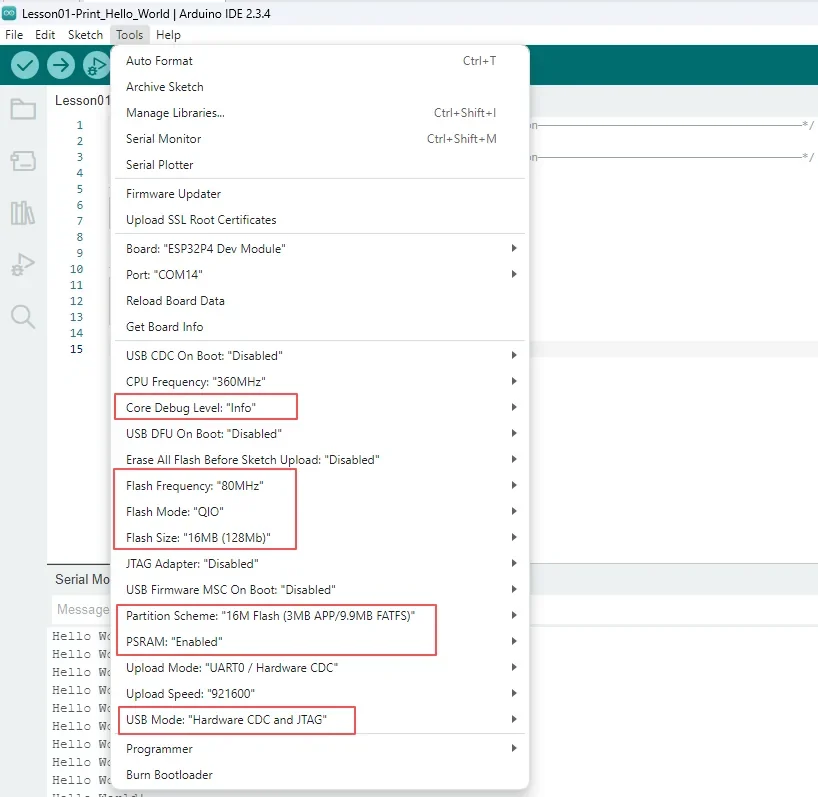
Configure the options as described below.
- Board:
ESP32P4 Dev Module - Core Debug Level:
Info - Flash Frequency / Mode / Size:
80MHz/QIO/16MB (128Mb) - Partition Scheme:
16M Flash (3MB APP/9.9MB FATFS) - PSRAM:
Enabled - USB Mode:
Hardware CDC and JTAG - Port: After connecting the USB data cable to the development board's UART0, select the newly appeared COM port under "Tools → Port".
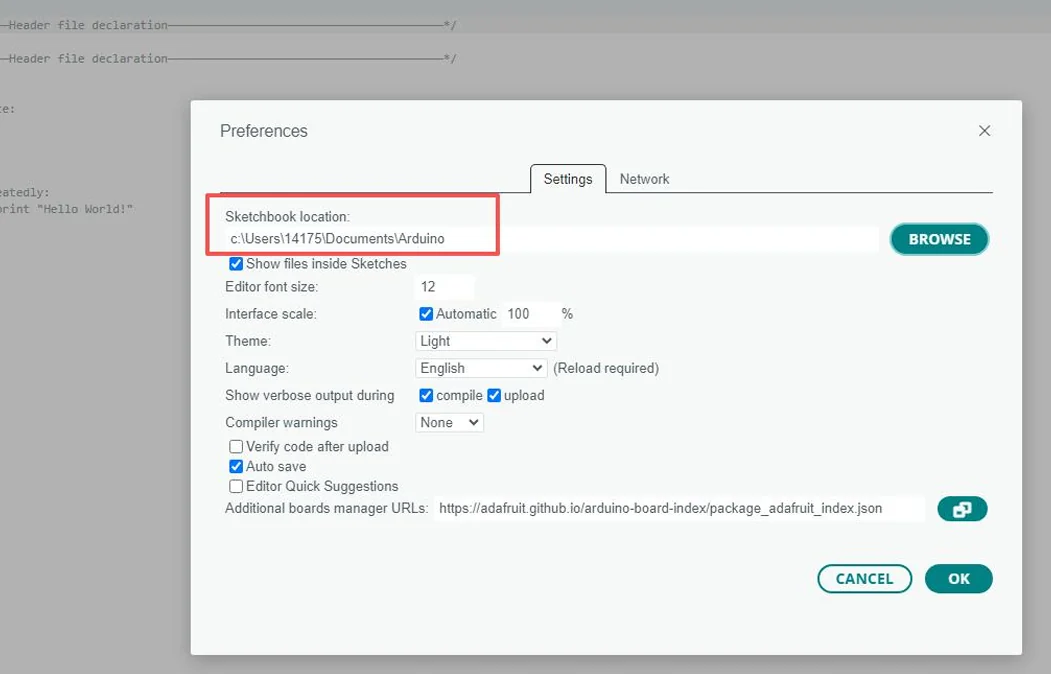
Following the library import steps explained in detail in Lesson 1, import the library files required by this project into the development environment to ensure that the relevant dependencies can be correctly located during compilation, thereby guaranteeing normal program operation.
5. Hardware Operation Steps
Write the WAV file required by the course into the root directory of the MicroSD card. With the board powered off, insert the card into the development board's SD card slot, ensuring the orientation is correct and the gold contacts face the slot's contact points.
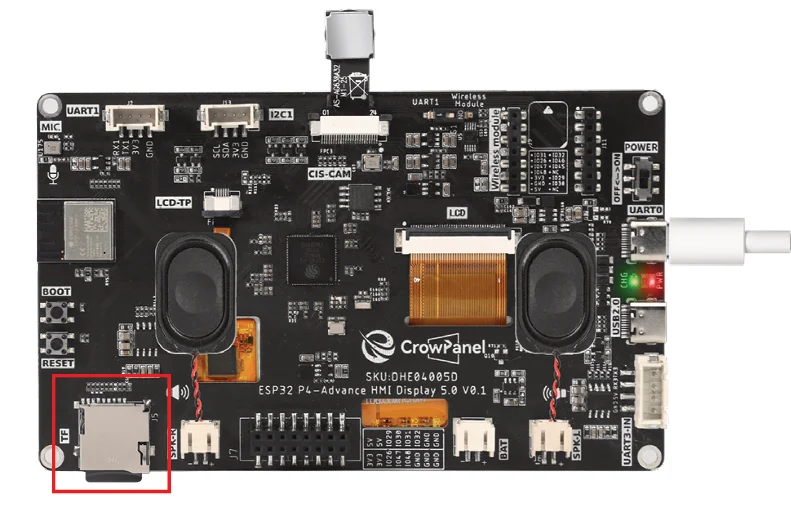
Connect a USB-C cable that supports data transfer to the development board's UART0 interface and the computer, and confirm that the development board's power indicator lights up.

In the Arduino IDE, select the correct development board and COM port, then click Upload. After the upload completes, open the Serial Monitor at a baud rate of 115200.
For details on how to open the Serial Monitor and set the baud rate, please refer to Lesson 1.
The serial output should display the SD card information and WAV File Info, confirming that the audio file is correctly recognized.

The speaker should begin playing the WAV audio, and after playback completes the serial output displays Audio playback completed.
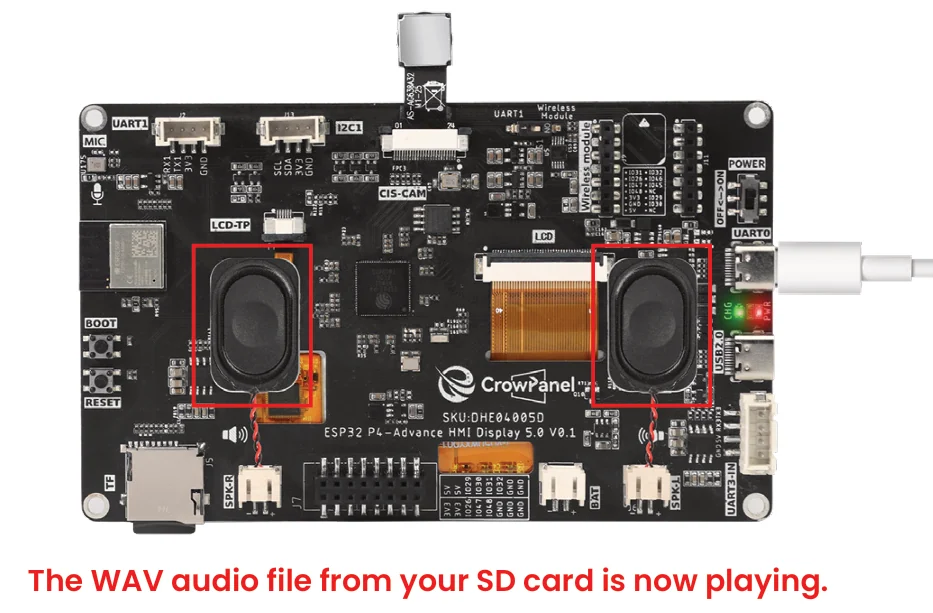
If the file cannot be recognized, check the file name, storage path, PCM/WAV format, and the MicroSD card's file system.
6. Key Code Explanation
6.1 WAV Header Validation
fseek(file, 0, SEEK_SET);
fread(header, 1, 44, file);
if (memcmp(header, "RIFF", 4) != 0) return false;
if (memcmp(header + 8, "WAVE", 4) != 0) return false;
The validator saves the current file position, seeks to the beginning, reads the 44-byte header, and checks the RIFF and WAVE identifiers together with the PCM format, channel count, sample rate, and bit depth used by the player. On failure it restores the original position and returns false, preventing an incompatible file from reaching I2S.
6.2 Chunked Playback
fseek(file, original_position, SEEK_SET);
while (1) {
  samples_read = fread(input_buf, sizeof(int16_t),
                       SAMPLES_PER_BUFFER, fh);
  if (samples_read == 0) break;
  i2s_spk.write((uint8_t*)output_buf, bytes_to_write);
}
After validation, playback seeks to the saved data position and repeatedly reads SAMPLES_PER_BUFFER samples into the input buffer. Each block is converted to the output format and sent with i2s_spk.write() until fread() returns zero. The file and allocated buffers are then released and the audio power is disabled.
7. Experimental Observations
The serial output shows no format error logs, and the speaker plays the WAV from the SD card.
8. Common Issues and Troubleshooting
- When the error
Invalid RIFF/WAVE headeris reported, reconvert to a PCM WAV. - When there is no sound, check the file path, SD card mounting, AUDIO_GPIO_CTRL, and the I2S pins.