Lesson01---Setting Up the ESPHome Platform
1. Course Overview
This lesson will teach you how to use and operate the rotary display with ESPHome.
Next, we will learn how to install the ESPHome environment so that you can edit code and implement the rotary display's features.
2. Learning Objectives
- Gain a basic understanding of the software required to control the rotary display with ESPHome
- Learn how to install the required software
3. Software Overview
Home Assistant (often called "HA" for short) is a free, open-source smart home management platform—think of it as the central "control brain" for all your smart devices. It works on computers, small servers, or even dedicated smart home hubs, and lets you manage every smart product you own (lights, thermostats, sensors, your rotary screen, etc.) in one unified interface—regardless of the brand or technology the device uses. For your rotary screen, HA acts as the "command center": it can receive inputs from the screen (like knob rotations or touch taps), control other devices based on those inputs (e.g., turn up the lights when you twist the knob), and send data (like room temperature or music volume) to the screen for display.
ESPHome is a free, open-source tool built to configure smart hardware (specifically devices powered by ESP32/ESP8266 chips—your rotary screen uses an ESP32). The key benefit? You don't need to write complex code to make the screen work. Instead, you use simple, plain-text configurations (like filling in a template) to define what the rotary screen does: e.g., "show 'Hello World' on the display," "adjust the thermostat when the knob turns," or "wake the screen when touched." ESPHome takes these configurations, turns them into instructions the ESP32 can understand, and "loads" them onto your rotary screen—while also automatically syncing the screen's status (what it's displaying, how the knob is being used) with Home Assistant.
Together, Home Assistant and ESPHome turn your rotary screen into a flexible, customizable smart device: ESPHome gives the screen its "basic skills" (display, knob/touch response), and HA connects those skills to your entire smart home—so the screen can both control your devices and show you what's happening with them, all without requiring technical expertise.
4. How to Install the Software
First, we need to prepare:
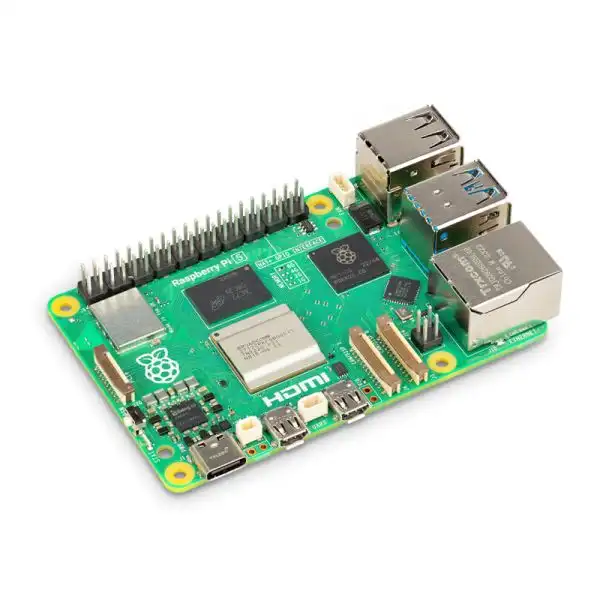
- a Raspberry Pi 5;
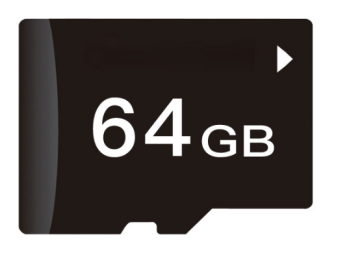
- a 64GB SD card;
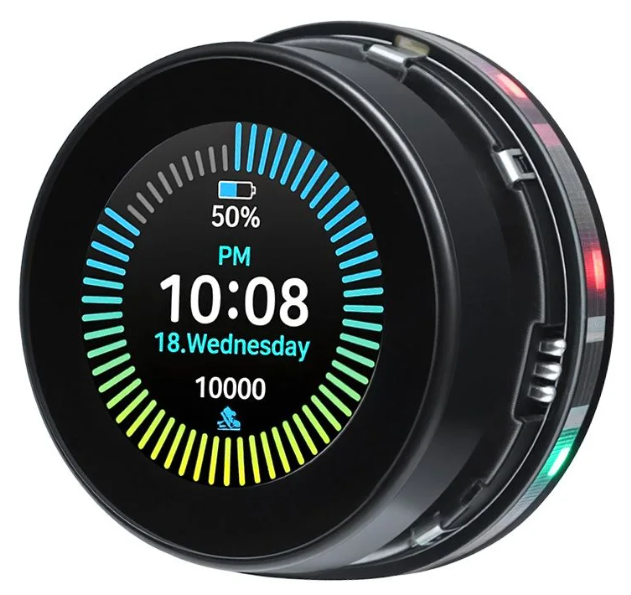
- a CrowPanel 1.46inch-HMI ESP32 Rotary Display 360*360 IPS Round Touch Knob Screen
product link:
Download HomeAssitant
Open the official website of HomeAssitant: https://www.home-assistant.io/
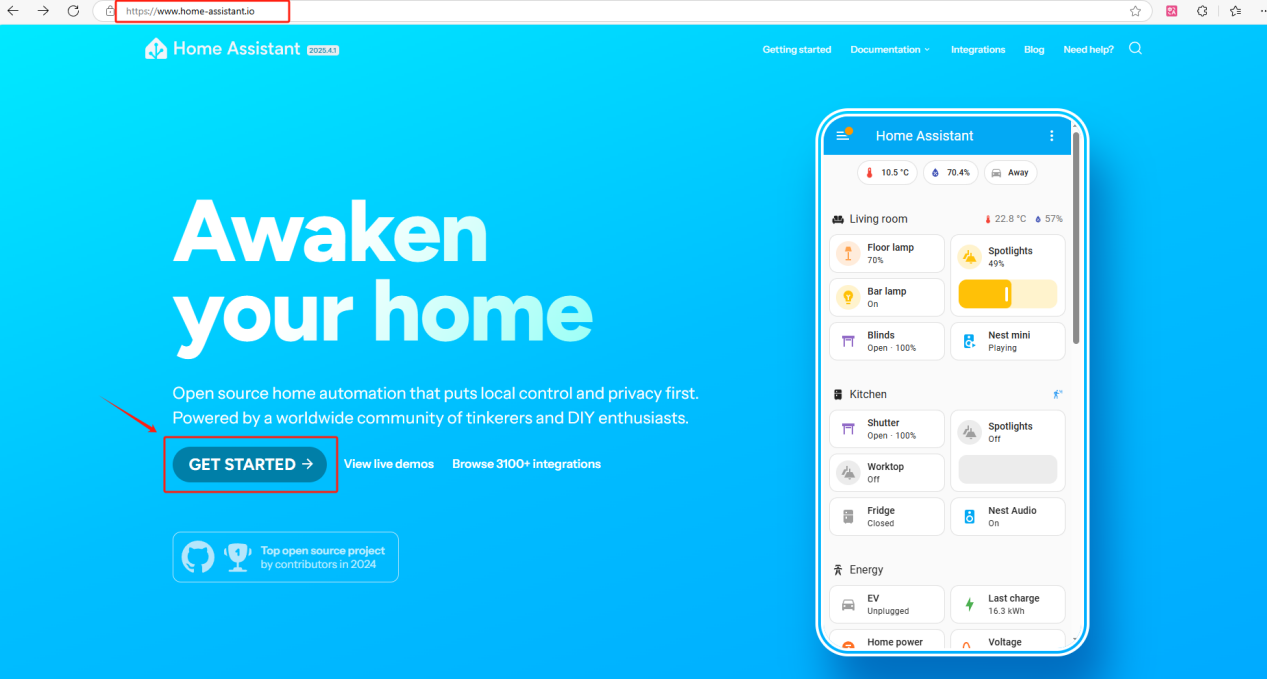
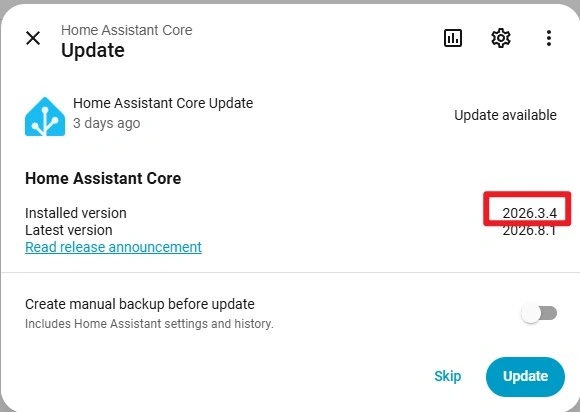
The version we are using here is 2026.3.4
Please use the same version as we do; otherwise, the code we provide may produce errors in newer versions.
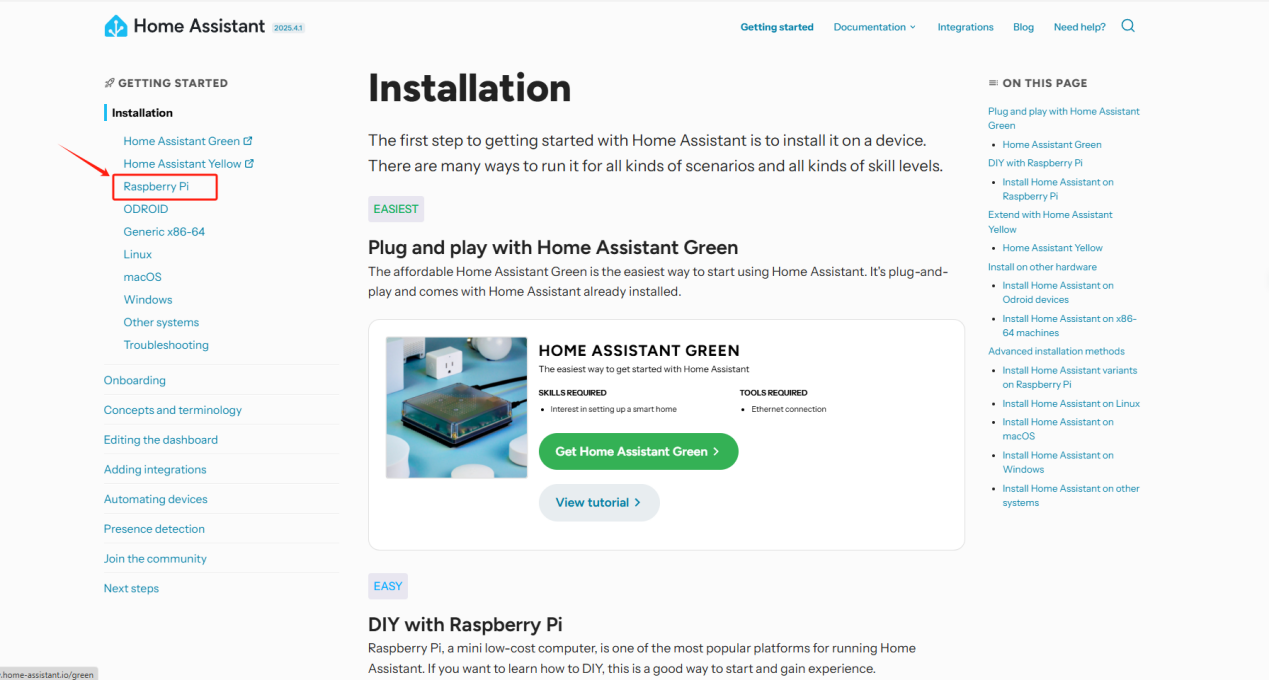
Select a Raspberry Pi and install the Home Assistant system according to this installation guide. (Follow the official installation guide.)
After the installation is complete, insert the SD card with the Home Assistant system into the Raspberry Pi and connect the Ethernet cable.
Note: Make sure that the Wi-Fi network your Crowpanel HMI ESP32 Rotary Display will connect to is on the same local area network (LAN) as the Raspberry Pi.
The following devices need to be on the same LAN:
- Your computer
- Crowpanel HMI ESP32 Rotary Display
- Raspberry Pi with the Home Assistant system
Note: The Raspberry Pi must be connected to a screen to view information. Once everything is ready, power on the Raspberry Pi and wait for it to load. The screen will display the following image.
(You need to connect a display screen to the Raspberry Pi in order to see this information.)
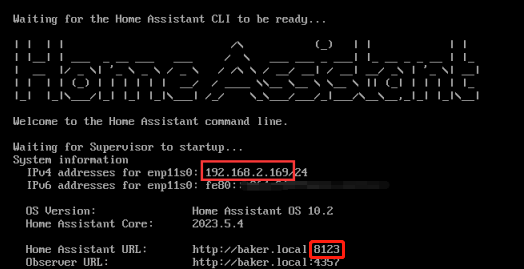
Remember the IP address and the Home Assistant URL.
In my case, the IP address is: 192.168.50.11
So I enter 192.168.50.11:8123 in the browser.
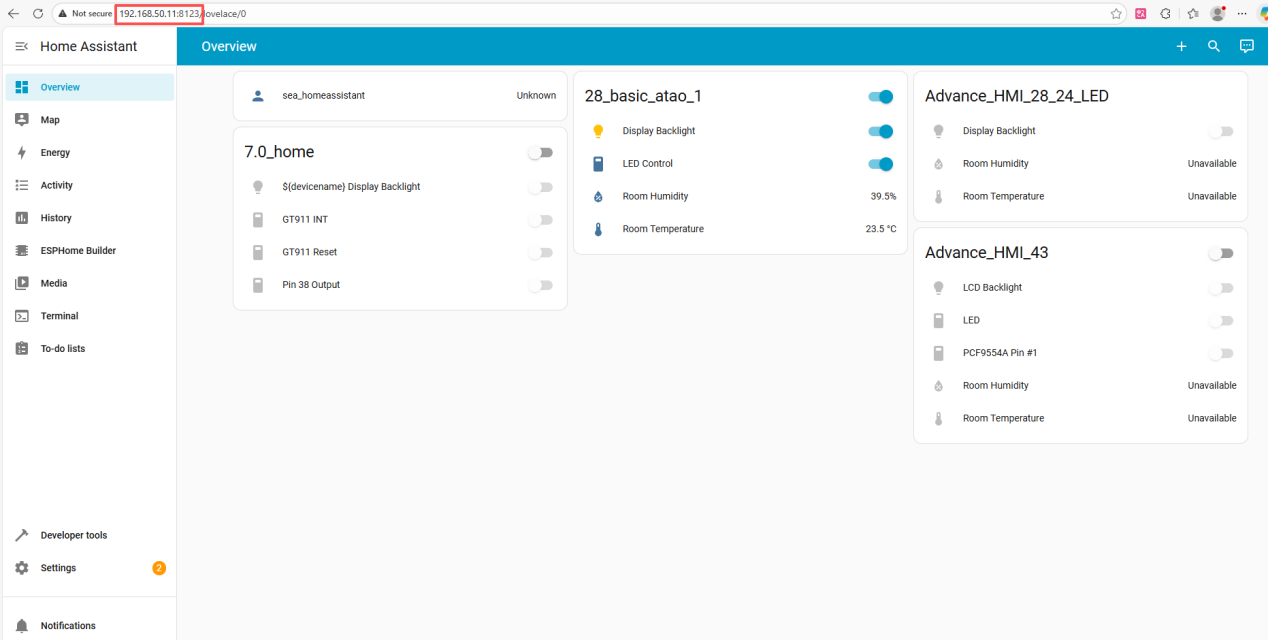
Next, start configuring the Home Assistant system.
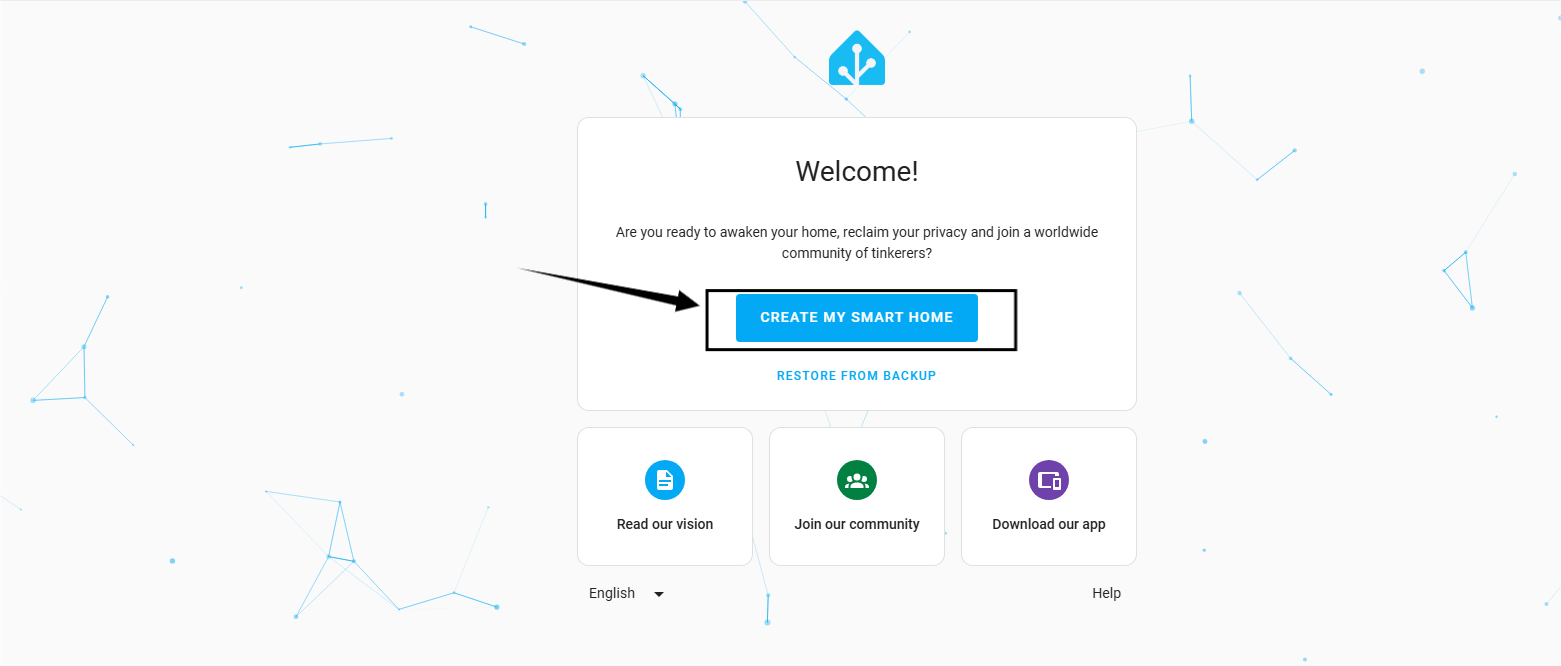
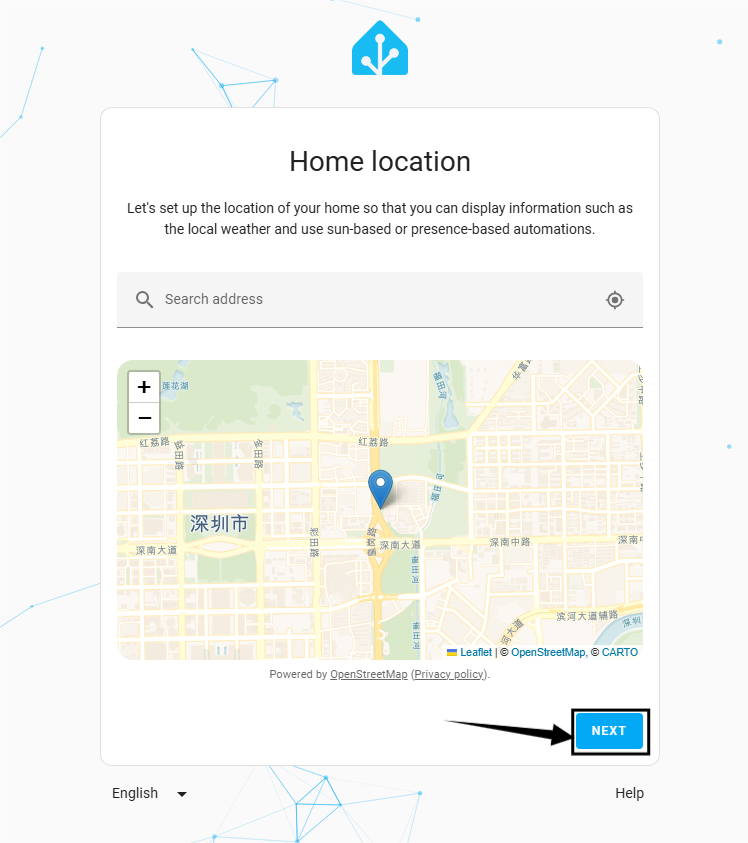
You can either manually set your location or allow it to be detected automatically.
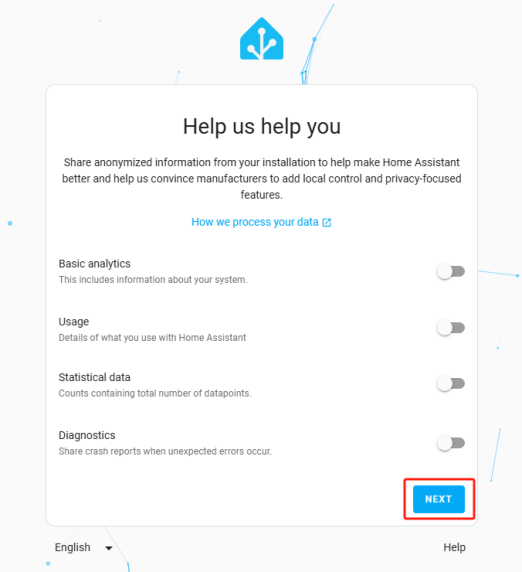
By default, click 'Next'.
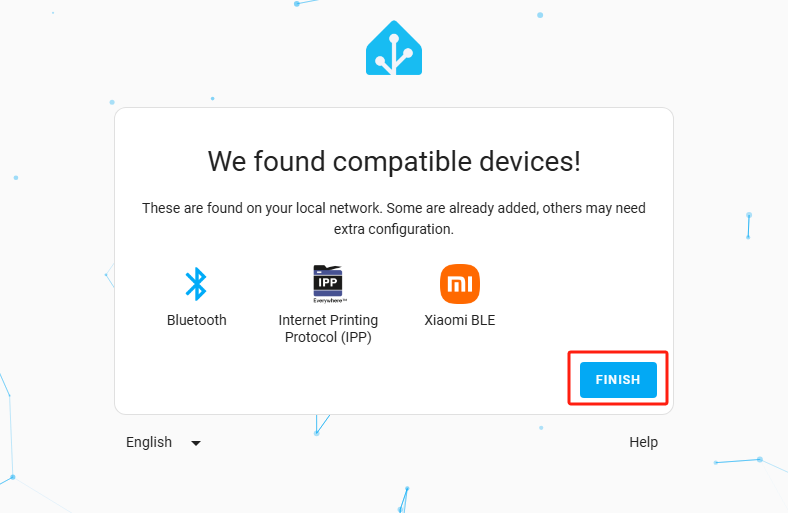
You can either add smart devices now or click Finish to add them later.
Here, we will add the devices later.
Add ESPHome
This will bring you to the main interface of Home Assistant.
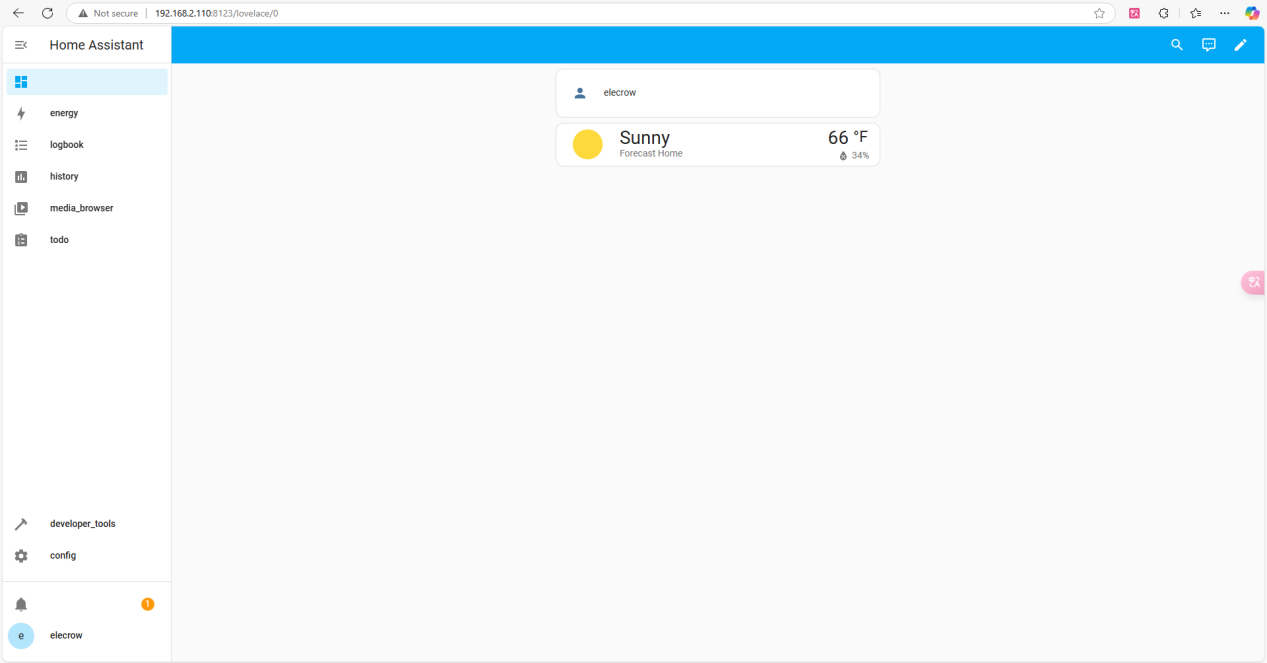
The version of ESPHome we are using is ESPHome 2026.7.4.
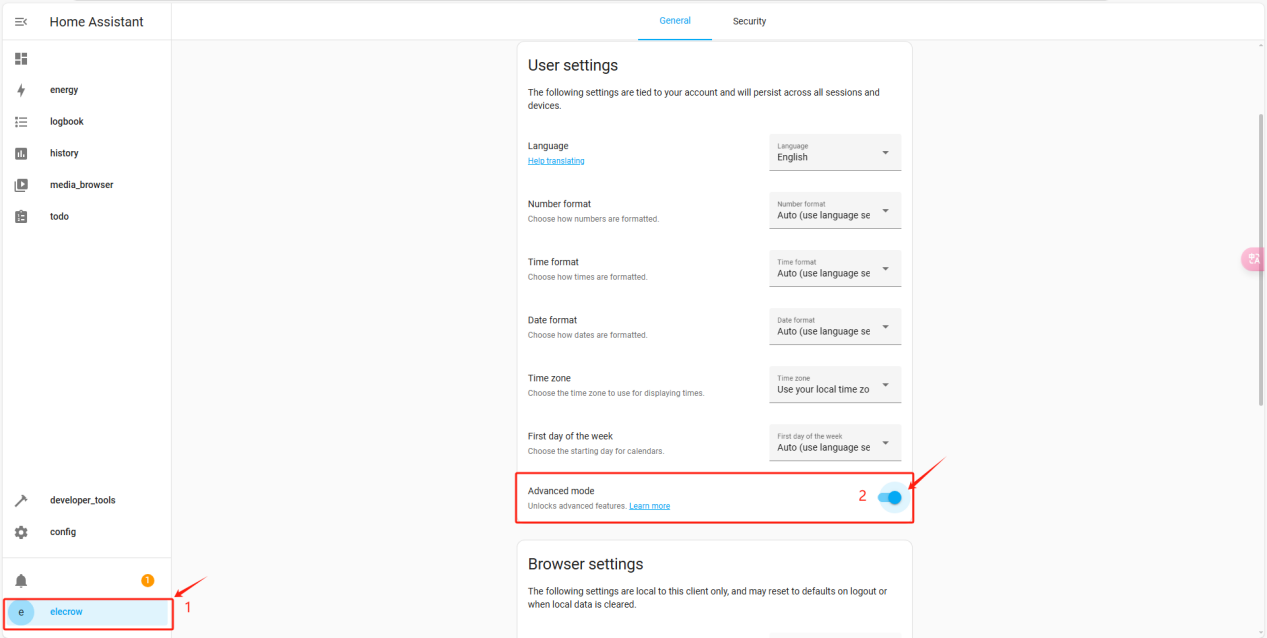
Click on the username and enable "Advanced Mode."
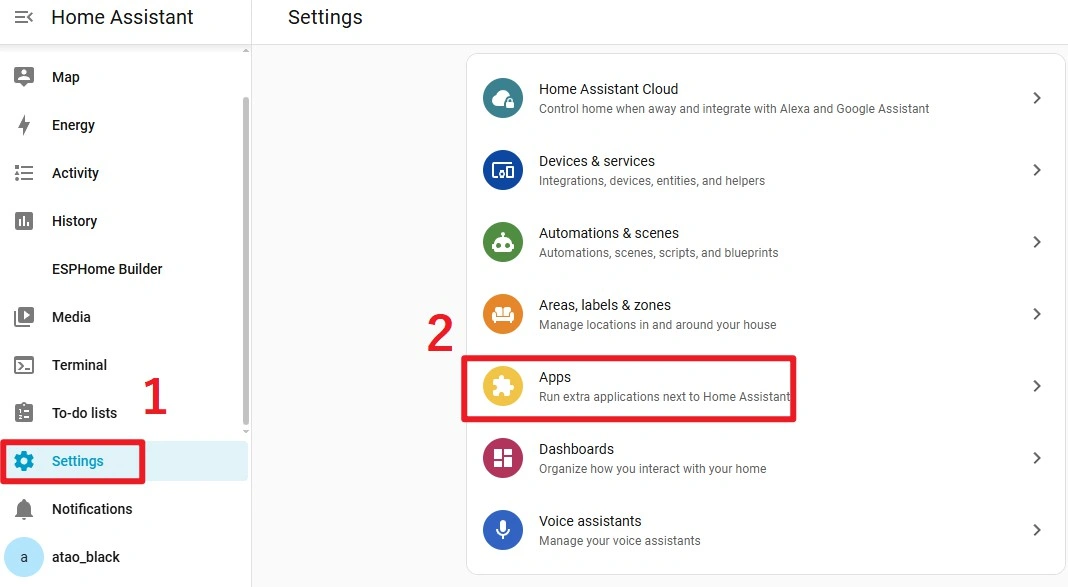
Click on "Settings" and then "Apps."
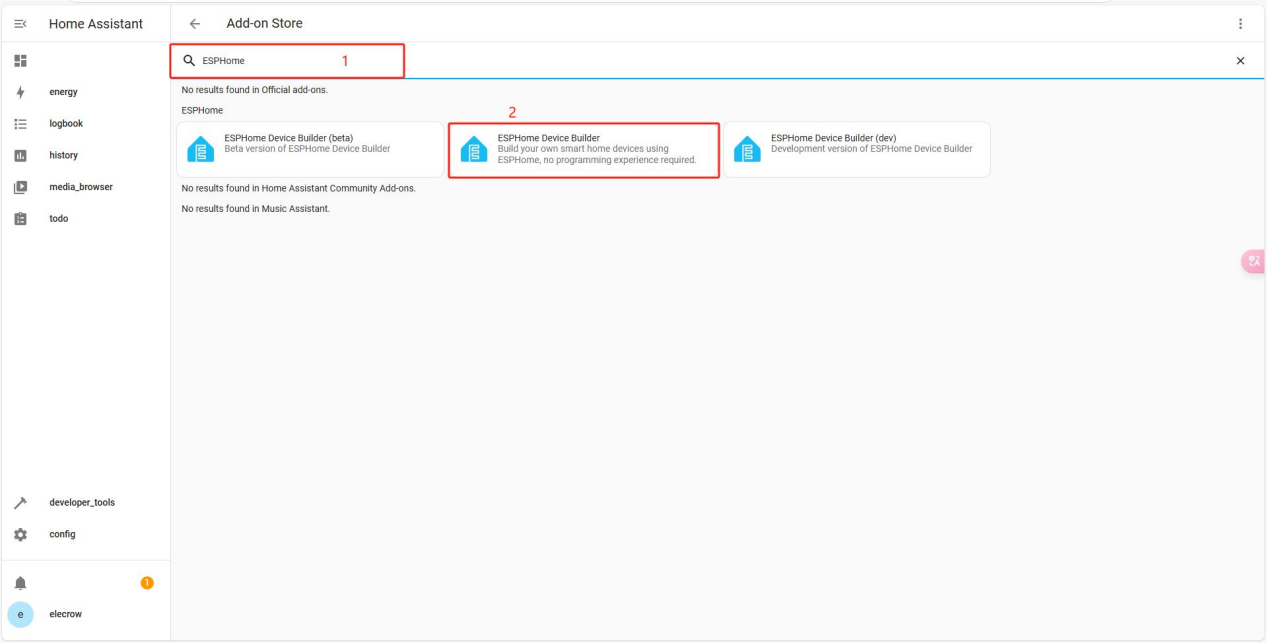
Click on "Install app" and type ESPHome to install it.
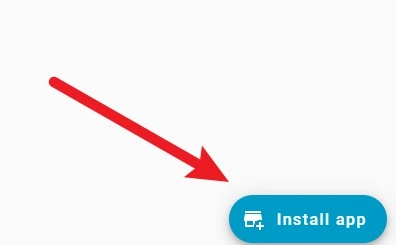
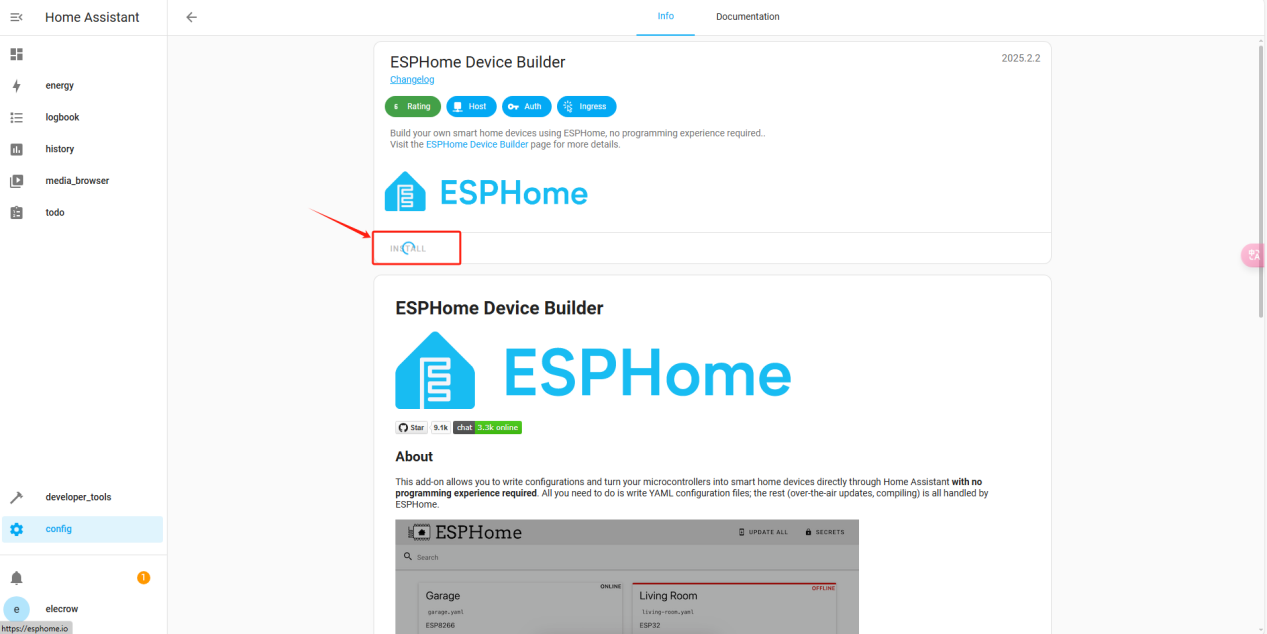
The installation is in progress, as shown in the image.
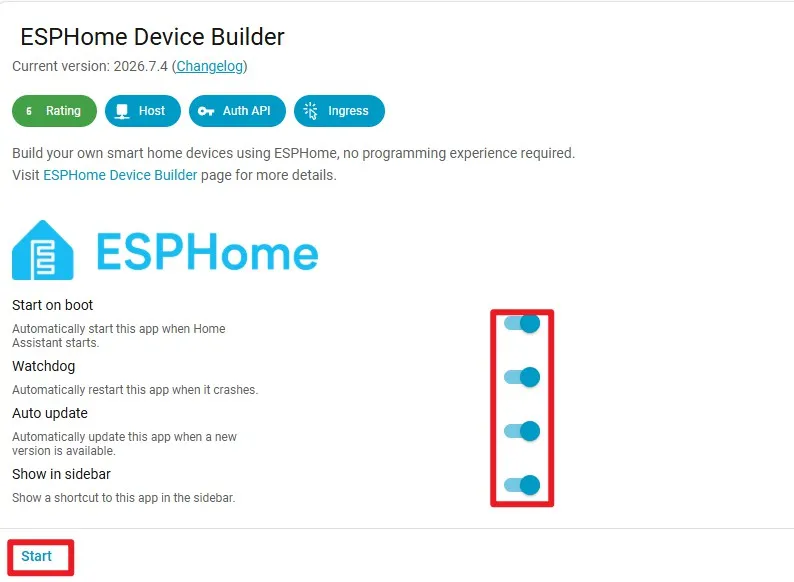
ESPHome is now installed. We can use it to edit code and implement the desired features in subsequent lessons.