Lesson 06: USB 2.0 Touch Mouse
Target development board: CrowPanel Advanced 7 / 9 / 10.1-inch ESP32-P4 HMI AI Display Development Board
Model compatibility: The 7-inch, 9-inch, and 10.1-inch models are fully interchangeable in terms of hardware interfaces and software code, differing only in physical size. Please select the model based on your actual display size and use case; no code modification is required for this lesson.
1. Course Introduction
Convert touchscreen displacement into USB HID mouse displacement, allowing the computer to recognize the development board as a mouse and synchronously output coordinates.
2. Learning Objectives
Upon completing this lesson, you should be able to:
- Understand the difference between the USB 2.0 data port and the UART0 flashing port.
- Understand
Mouse.begin(),USB.begin(), and touch coordinate differencing. - Verify HID mouse behavior through touch dragging.
3. Preparation
- Hardware: one CrowPanel Advanced 7 / 9 / 10.1-inch ESP32-P4 HMI AI Display development board (with onboard GT911 touchscreen); two USB data cables that support data transfer (one for flashing and monitoring, one for USB HID connection to the computer); or one data cable that supports simultaneous flashing and HID.
- Compatibility note: the 7 / 9 / 10.1-inch development boards share identical hardware and software code, differing only in board size; please select the appropriate model based on display size and use case.
Code reference link: https://github.com/Elecrow-RD/CrowPanel-Advanced-7inch-ESP32-P4-HMI-AI-Display-1024x600-IPS-Touch-Screen/tree/master/example
4. Software Operation Steps
Double-click to open the Lesson 6 code (.ino file).
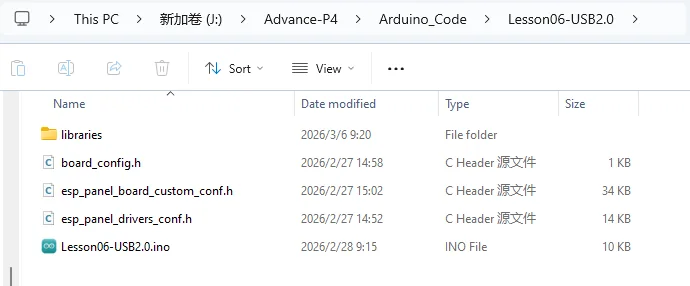
Configure the options below accordingly.
- Board:
ESP32P4 Dev Module - Core Debug Level:
Info - Flash Frequency / Mode / Size:
80MHz/QIO/16MB (128Mb) - Partition Scheme:
16M Flash (3MB APP/9.9MB FATFS) - PSRAM:
Enabled - USB Mode:
Hardware CDC and JTAG - Port: After connecting the USB data cable to the development board's UART0, select the newly appeared COM port under "Tools → Port".
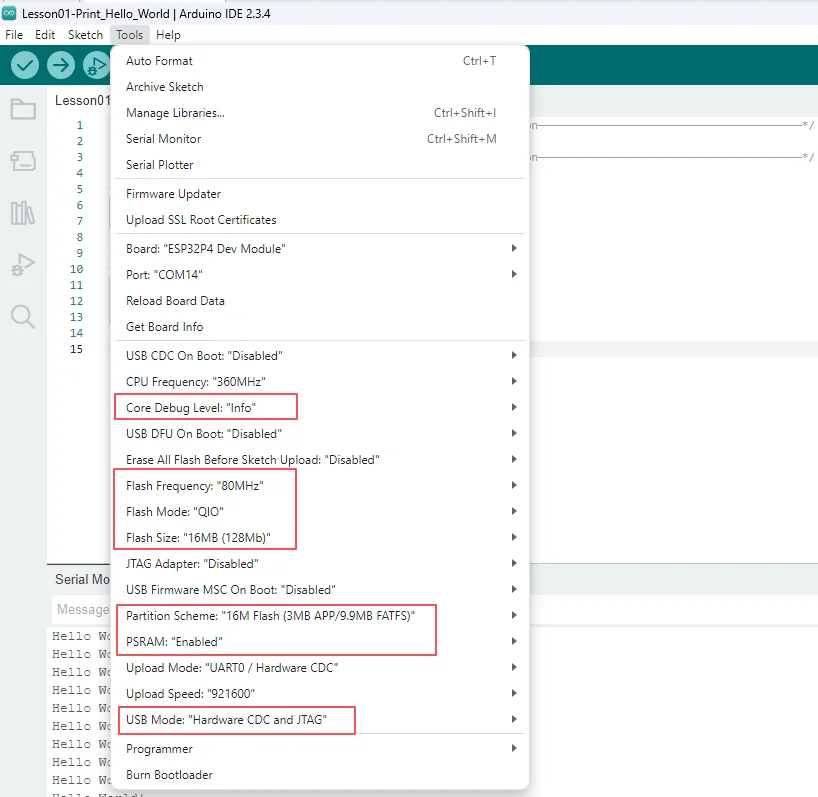
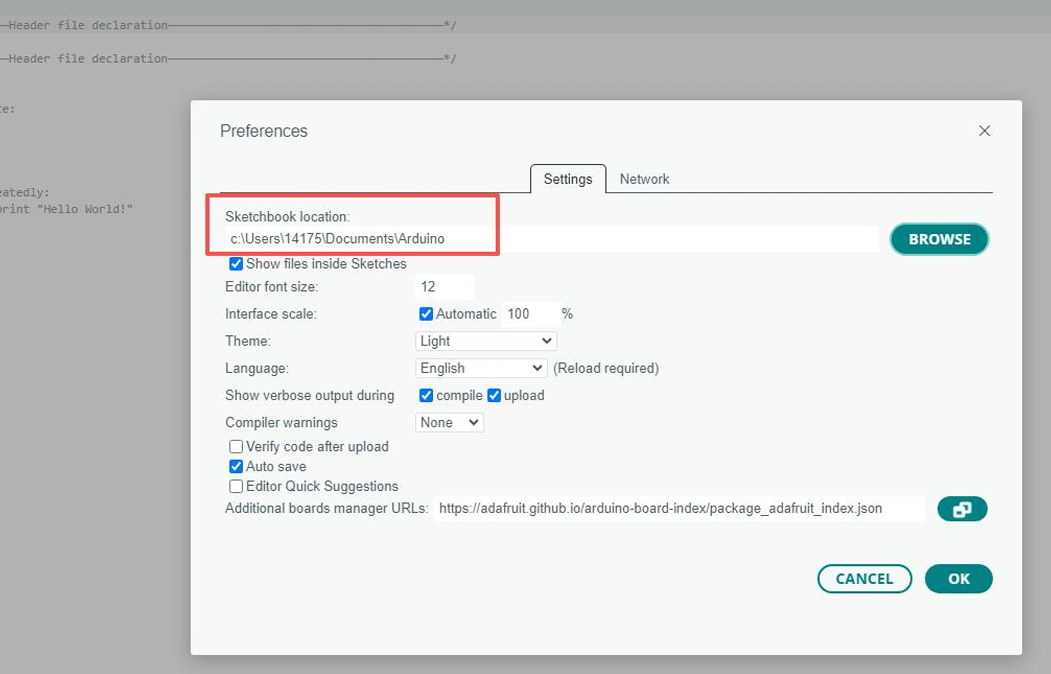
Follow the library import steps detailed in Lesson 1 to import the required library files into the development environment, ensuring that the code can correctly locate the relevant dependencies during compilation, thereby ensuring the program runs properly.
5. Hardware Operation Steps
Now that the code is ready, we need to flash the ESP32-P4 to see the results in action.
First, connect the Advance-P4 device to your computer host via a USB cable.
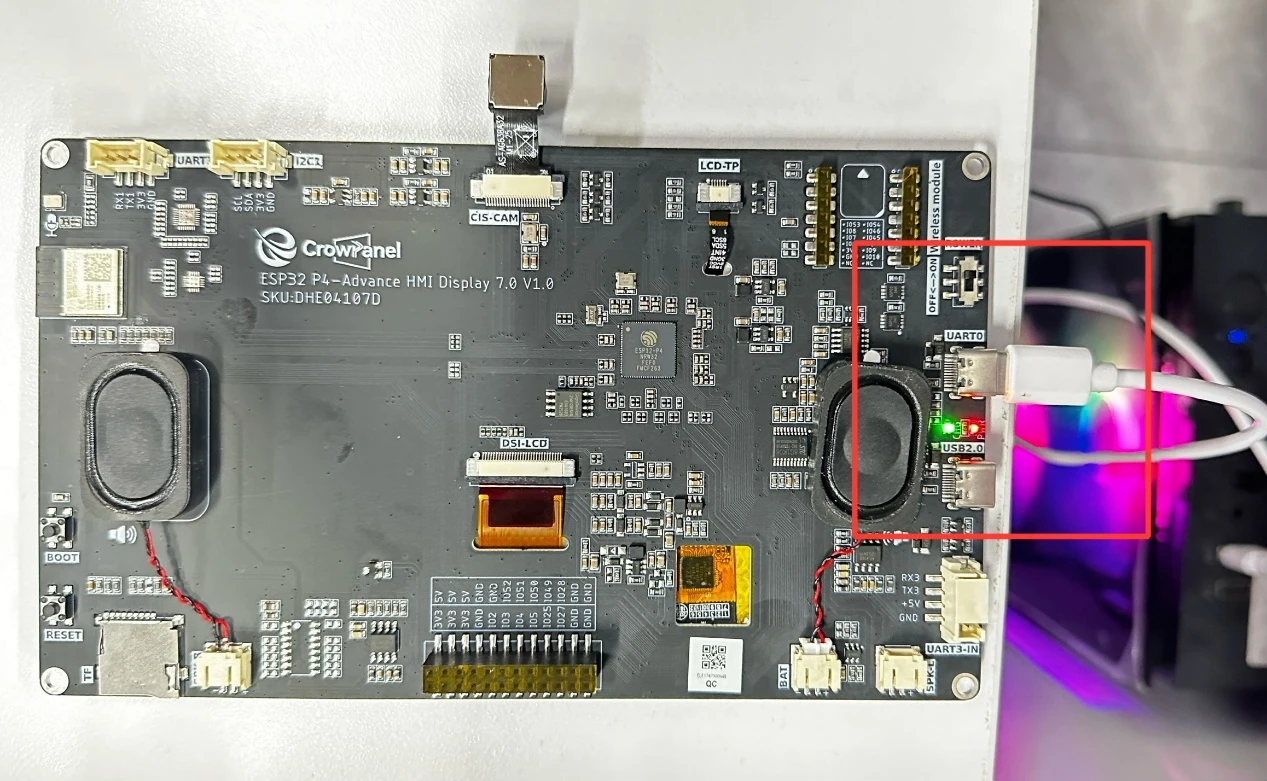
Before uploading the code, first select the upload configuration according to "4. Software Operation Steps".
Connect UART0, compile and upload using the general configuration; keep the development board powered.
After the code upload is complete, connect another USB cable to the Advance-P4.
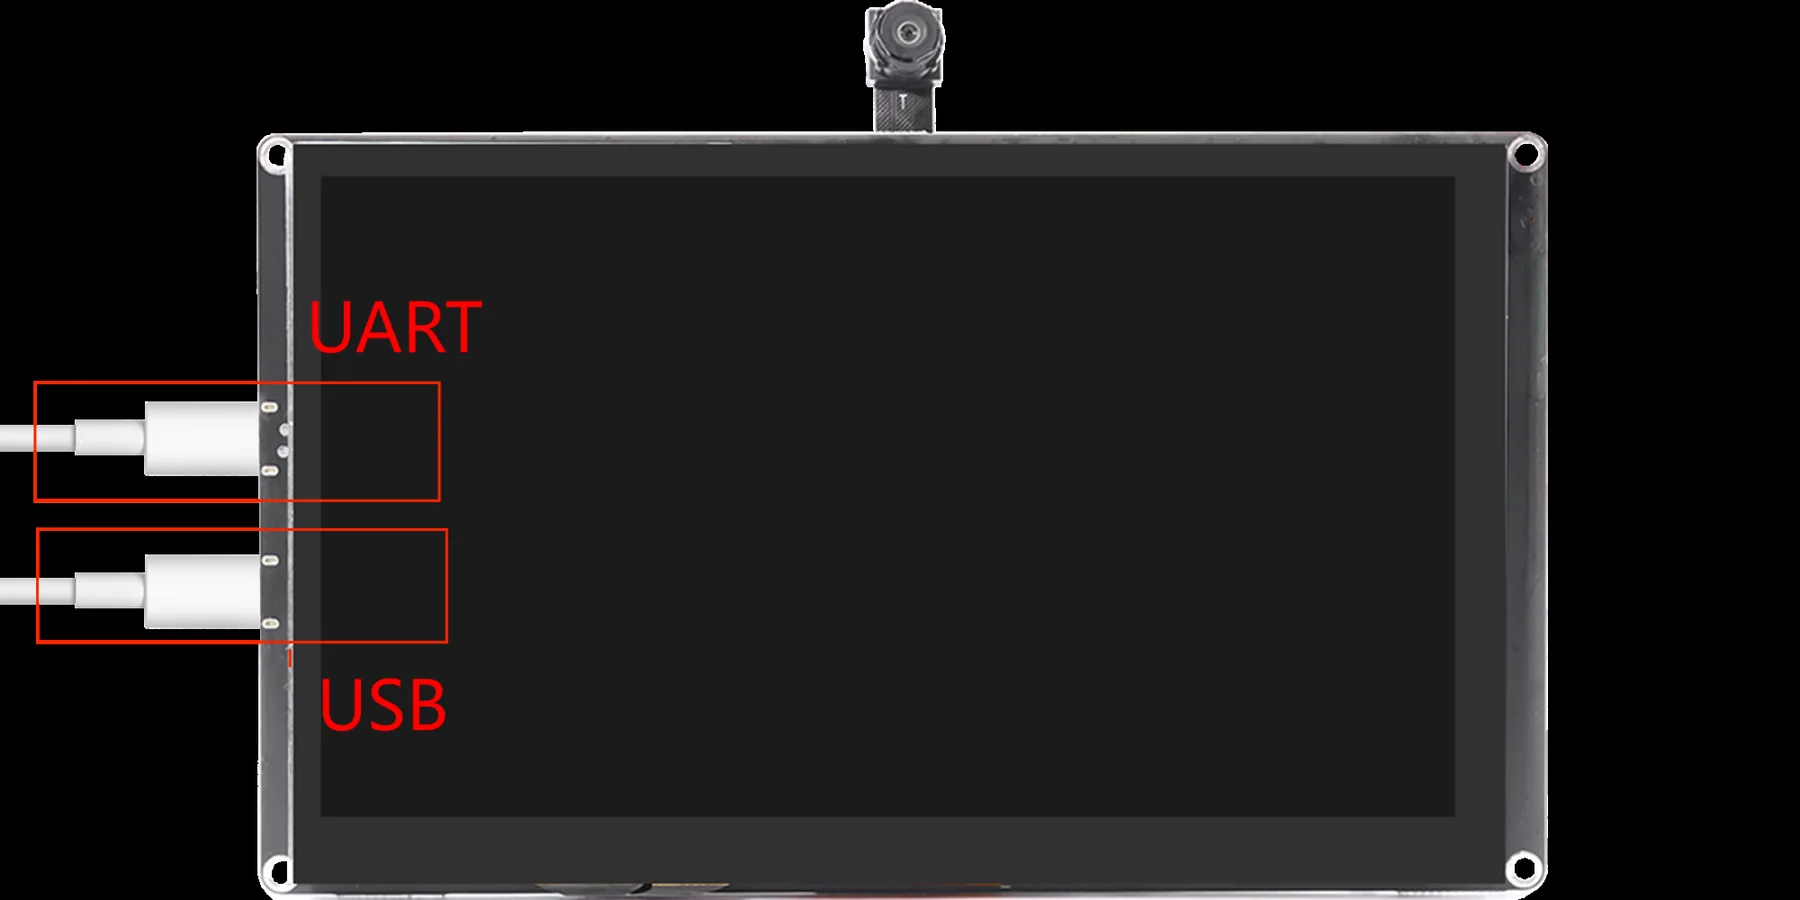
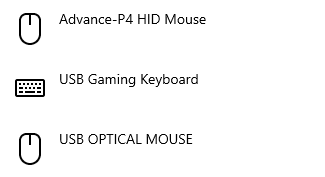
After the code upload is complete, you will find:
In the computer's Device Manager (Windows) or system information, confirm that a new mouse device appears with the product name Advance-P4 HID Mouse.
UART0 is used for uploading and logging, while the USB 2.0 port is used for the computer to enumerate the HID device;
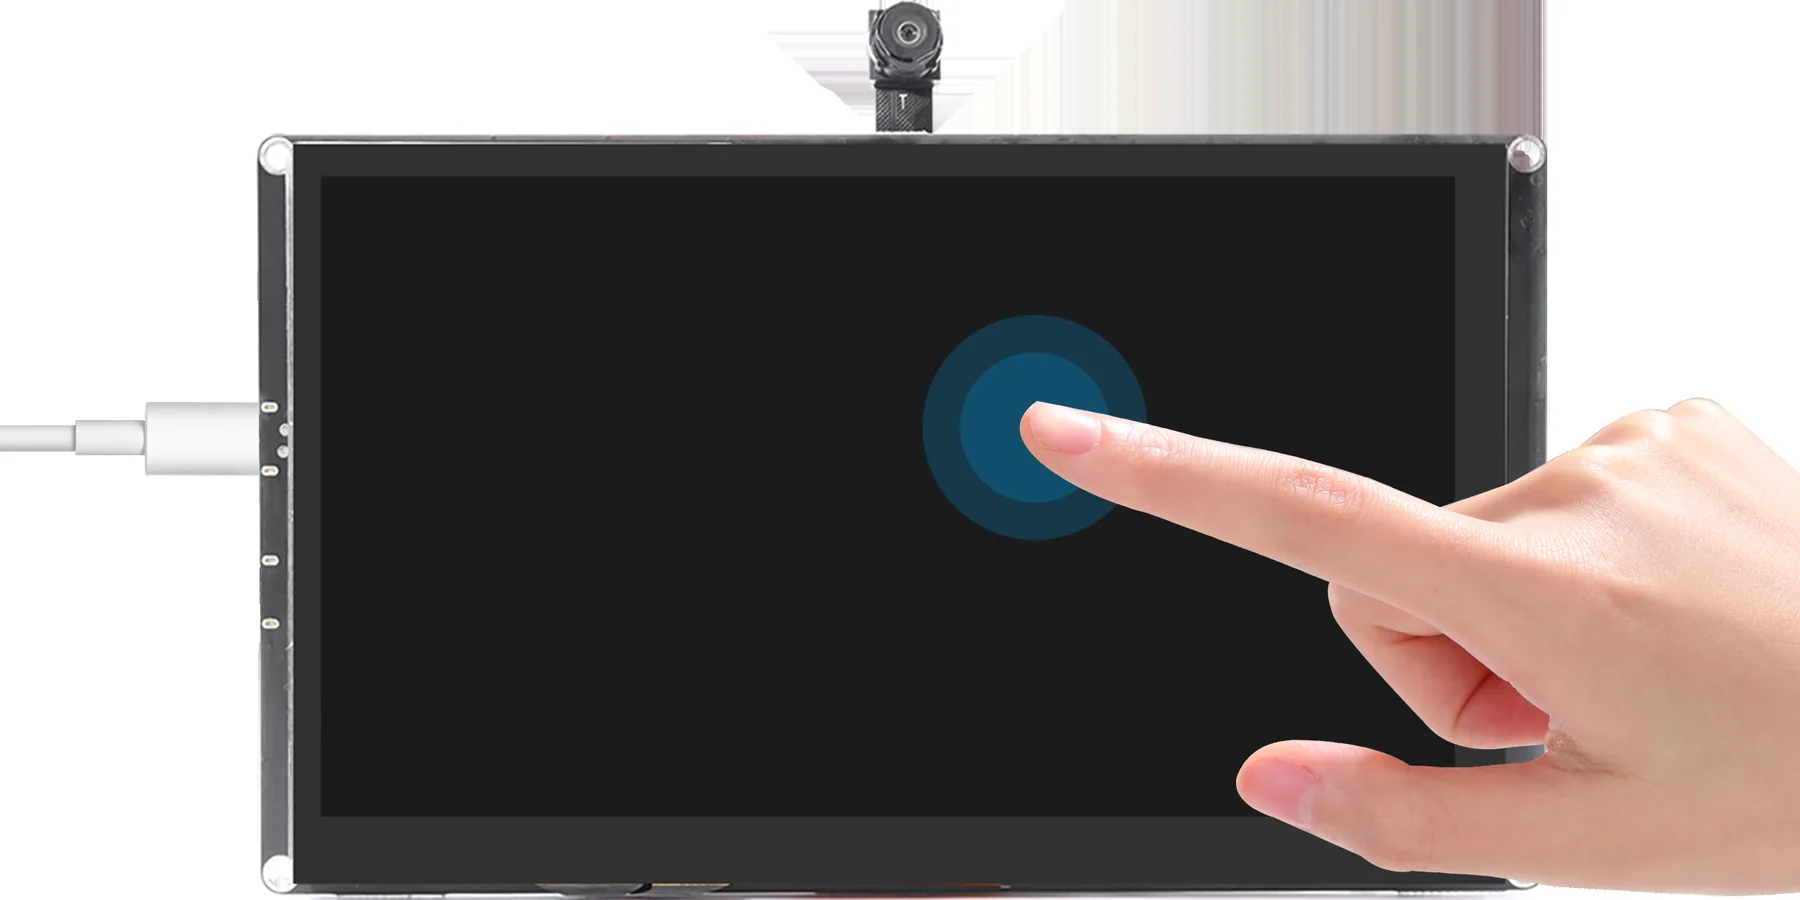
Slide a finger across the touchscreen and observe whether the mouse cursor on the computer moves in the direction of the finger movement.
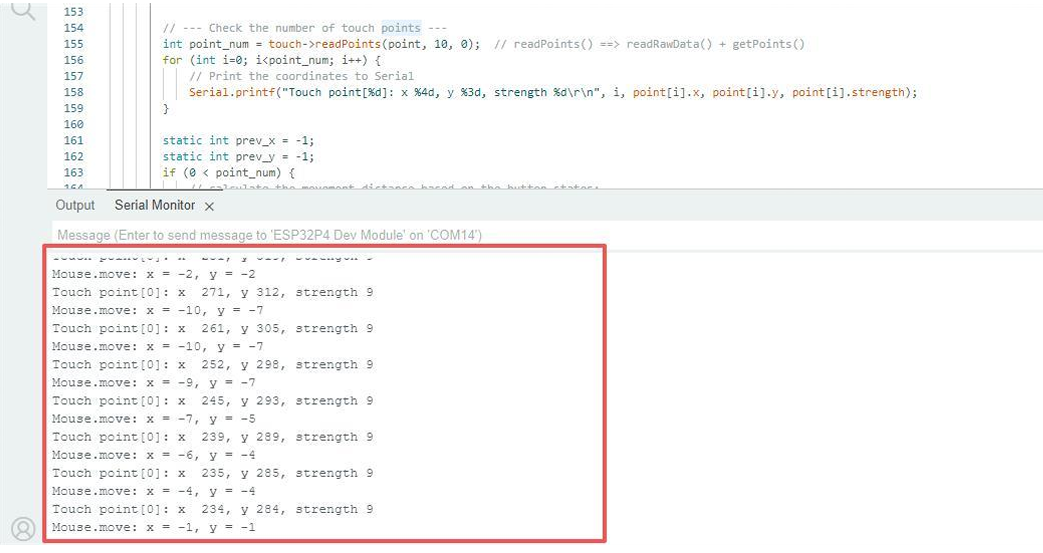
(For how to open the serial monitor, please refer to Lesson 1, where we provide a detailed explanation)
6. Key Code Explanation
6.1 Starting USB HID
USBHIDMouse Mouse is initialized with Mouse.begin(), then USB.begin() starts the USB device stack so the host enumerates a mouse.
6.2 Coordinate Differencing and Button State
int xDistance = point[0].x - prev_x;
int yDistance = point[0].y - prev_y;
Mouse.move(xDistance, yDistance, 0);
The loop reads esp_panel::drivers::TouchPoint, stores the previous coordinates, and moves the mouse by the difference. A first touch presses MOUSE_LEFT; release resets both coordinates to -1 and releases the button.
7. Experimental Observations
- The computer recognizes a new USB mouse; while holding and dragging on the screen, the pointer moves, and the left button is released after lifting the finger.
8. Common Issues and Troubleshooting
- If the computer does not recognize the device, use a USB cable that supports data transfer and check the USB 2.0 port.
- If the pointer jumps, check the touch sampling frequency and the initialization of
prev_x/prev_y.