Lesson12_SD_WAV_Playback: ESP32-P4 SD Card Music Playback
1. Course Introduction
This lesson uses ESP-IDF together with the SDMMC and I2S drivers to read WAV audio files from an SD card and play them through a speaker. After the program is flashed, when the development board is powered on and resets, the SD card is mounted to /sdcard and the I2S audio output and amplifier are initialized. The program then automatically opens /sdcard/huahai.wav, validates the WAV header, and performs streaming playback, outputting music through the speaker.
This lesson integrates the SD card functionality from Lesson 08 and the I2S audio output from Lesson 11, and introduces WAV file format parsing for the first time. Through this experiment, learners will complete a full audio playback pipeline validation that covers SD card file reading, WAV header validation, and streaming playback of PCM data.
2. Learning Objectives
- Be able to open the Lesson 12 project in ESP-IDF and set the target chip to
esp32p4. - Be able to explain the structure of the WAV file header (RIFF/WAVE/fmt/data) and the significance of validating it.
- Be able to explain the workflow of streaming playback (chunked reading → amplification → I2S write).
- Be able to complete compilation and flashing, and hear the WAV file from the SD card playing.
- Be able to determine whether SD card reading and the audio chain are functioning properly based on the presence of playback logs and audio output.
3. Preparations
- Hardware: One CrowPanel Advanced 7 / 9 / 10.1-inch ESP32-P4 HMI AI Display development board (with onboard SD card slot, I2S audio output and amplifier, and speaker); one MicroSD card formatted as FAT32, with
huahai.wav(16 kHz, 16-bit, mono PCM WAV) placed in its root directory; one USB Type-C data cable supporting data transfer. - Compatibility note: The 7-, 9-, and 10.1-inch development boards share the same hardware and software code; only the board dimensions differ. Please select the appropriate model based on the display size and usage scenario.
- Software: VS Code, ESP-IDF Extension (ESP-IDF v5.5.4 or later).
- Project dependencies: Keep the
main/main.c,peripheral/bsp_sd, andperipheral/bsp_audiocomponents, as well as thesdmmc_cmdandesp_vfs_fatmanaged components. - Configuration: Target chip
esp32p4; SDMMC slot 0 with 4-bit bus, CLK=GPIO43, CMD=GPIO44, D0=GPIO39; I2S1 audio output BCLK=GPIO22, LRCLK=GPIO21, SDATA=GPIO23; amplifier GPIO30.
Code download link:
4. Software Operation Steps
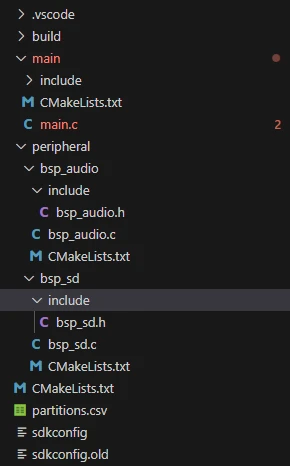
Open the ESP-IDF Extension panel in VS Code, click Open ESP-IDF Project, and select the Lesson12-Playing_Loca_Music_from_SD_Card folder.
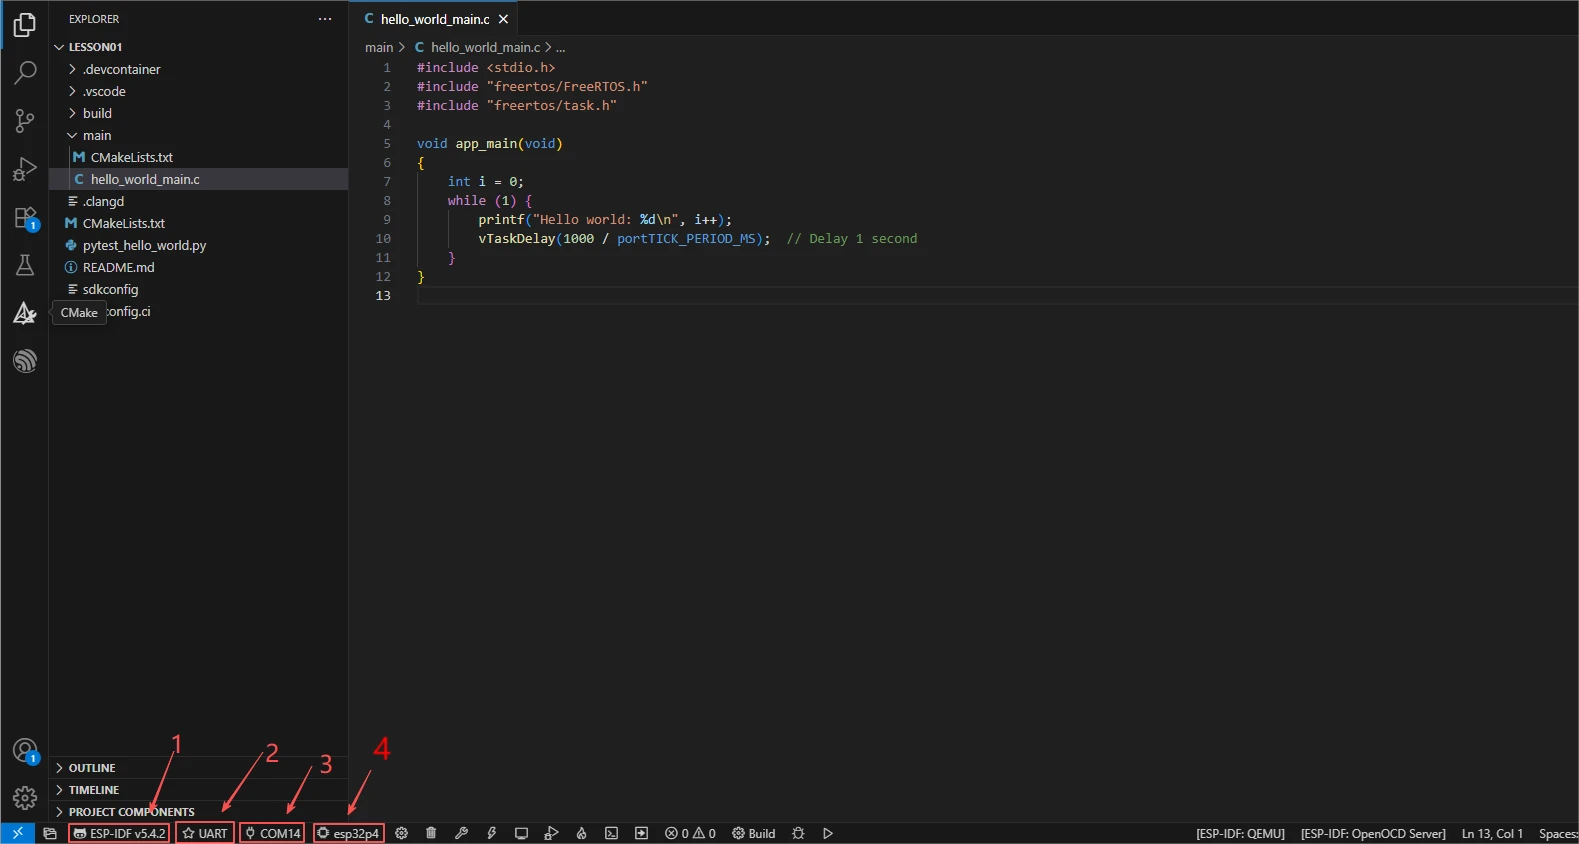
First, select the code runtime environment ESP-IDF v5.5.4, set the flashing method to UART, and then select the serial port that corresponds to the development board. Next, click Set Espressif Device Target in the ESP-IDF Extension panel and select esp32p4. After the configuration is complete, the status bar should display ESP-IDF v5.5.4, UART, the required COM port, and ESP32-P4.
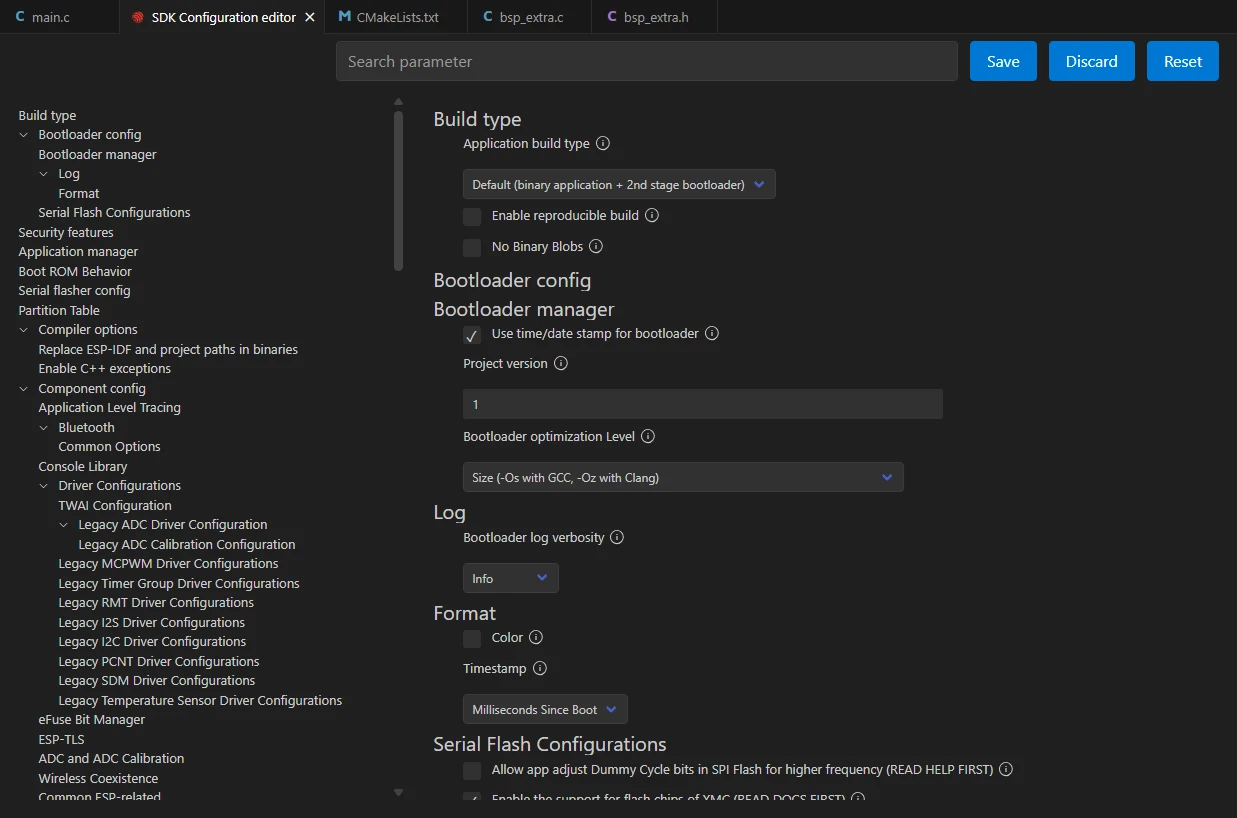
Click SDK Configuration Editor in the VS Code bottom status bar or the ESP-IDF extension panel, and wait for the configuration page to fully load before modifying parameters. If the page is still loading, do not execute Build immediately.

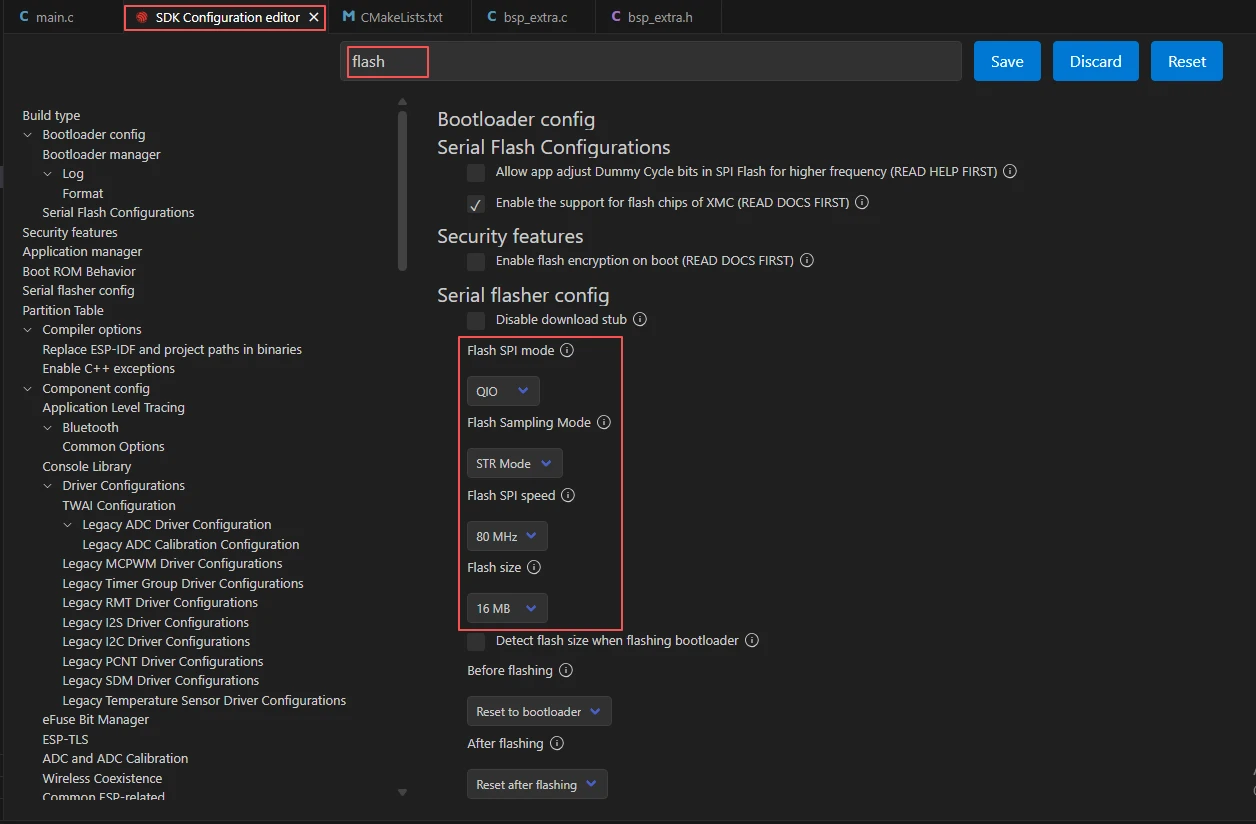
Enter flash in the search box and ensure that Flash SPI mode is QIO; Flash Sampling Mode is STR Mode; Flash SPI speed is 80 MHz; and Flash size is 16 MB. These parameters should match the onboard Flash of the Advance-P4 board.
Next, refer to "4. Software Operation Steps" in
Lesson07_Turn_on_the_Screento complete the detailed SDK configuration; the relevant configuration methods were covered in Lesson 7.
After verifying that the configuration is correct, click Save in the top-right corner; confirm that the changes have been saved, then execute Build to compile.
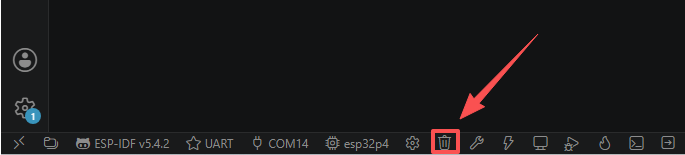
Click Full Clean to clear the cache left over from the previous compilation. Performing this operation after the first compilation, after switching project configurations, or after modifying SDK parameters helps prevent old configurations from affecting the new build result.
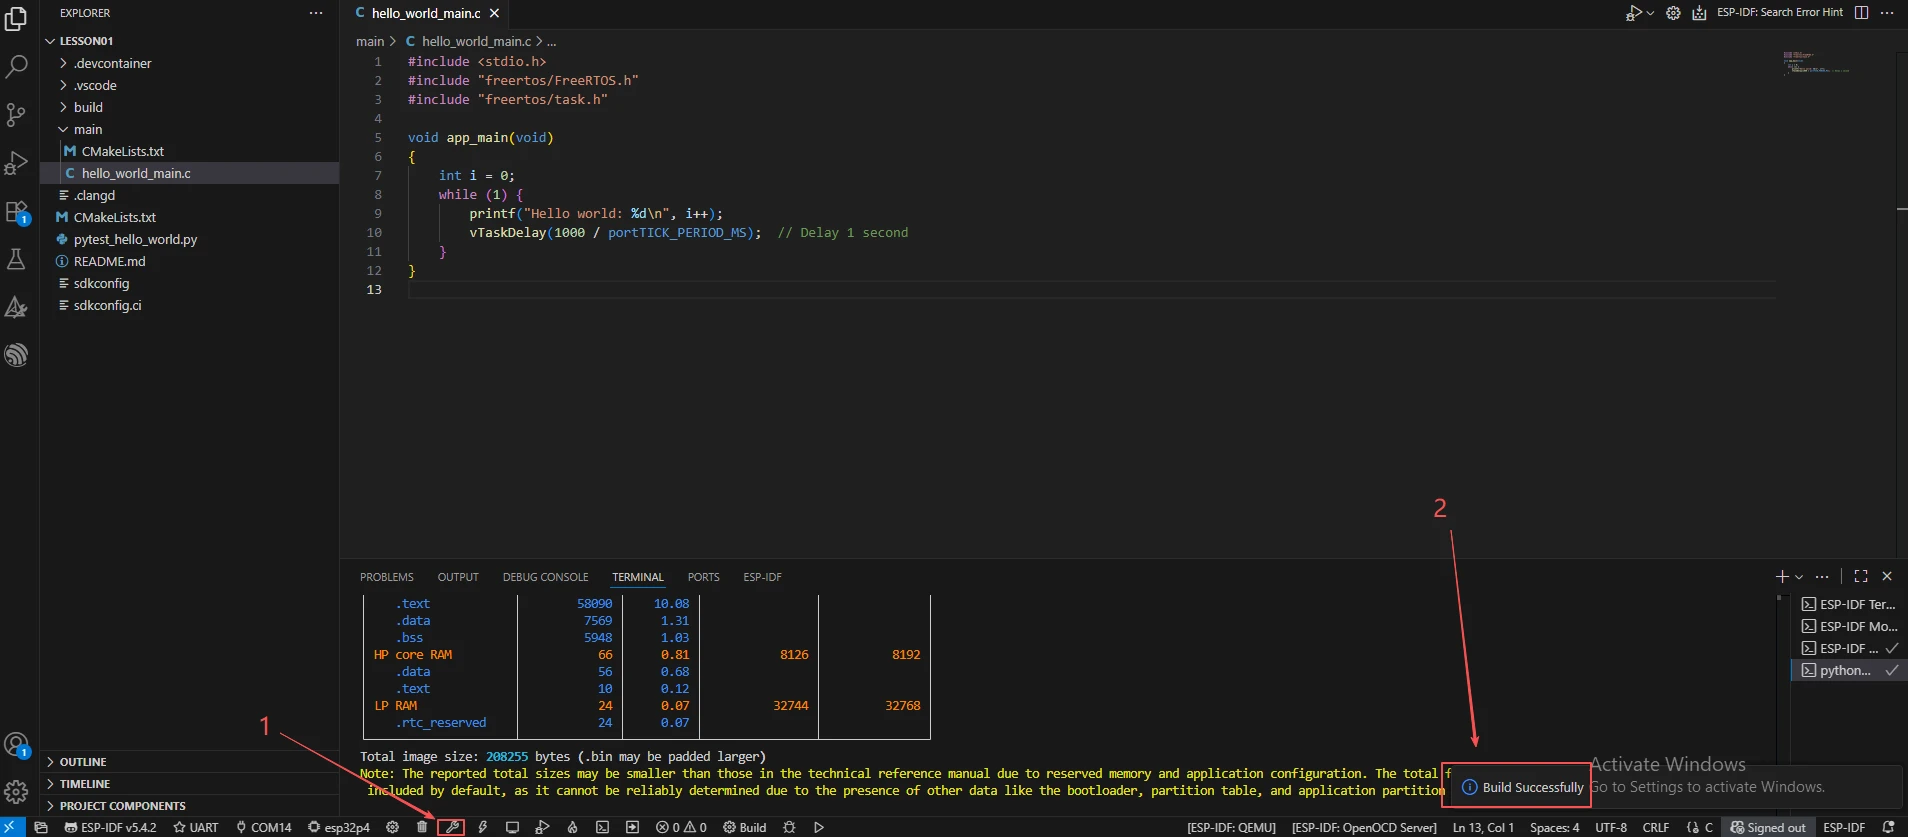
Click Build to compile the project. On success, the output will show Project build complete.
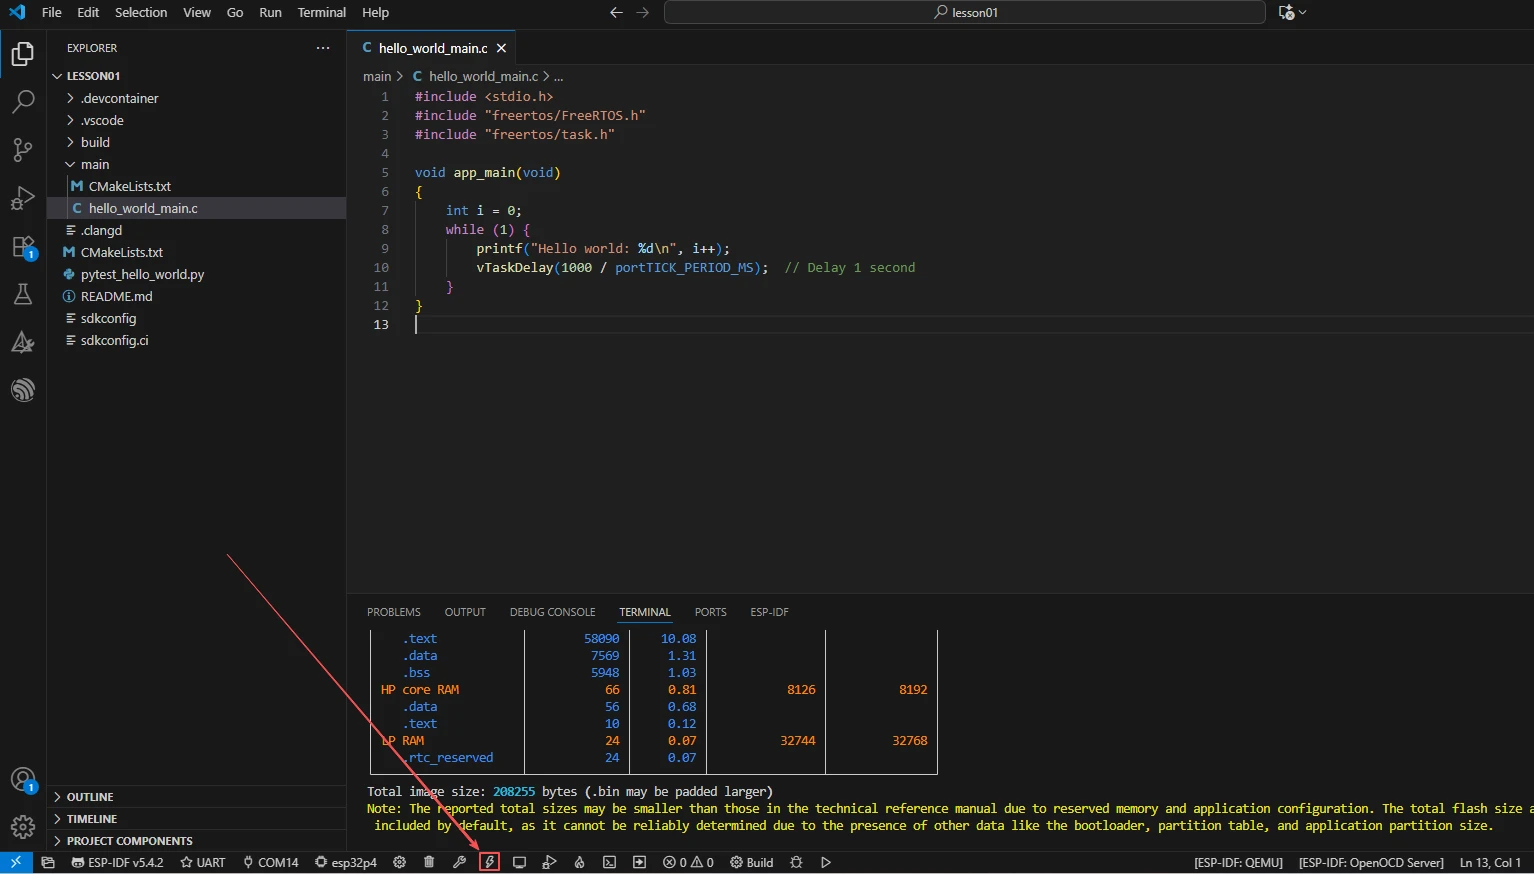
Confirm that the huahai.wav file has been placed on the SD card, insert the SD card into the development board, and connect the USB cable; click Select Port to Use to select the serial port, then click Flash to flash the firmware.
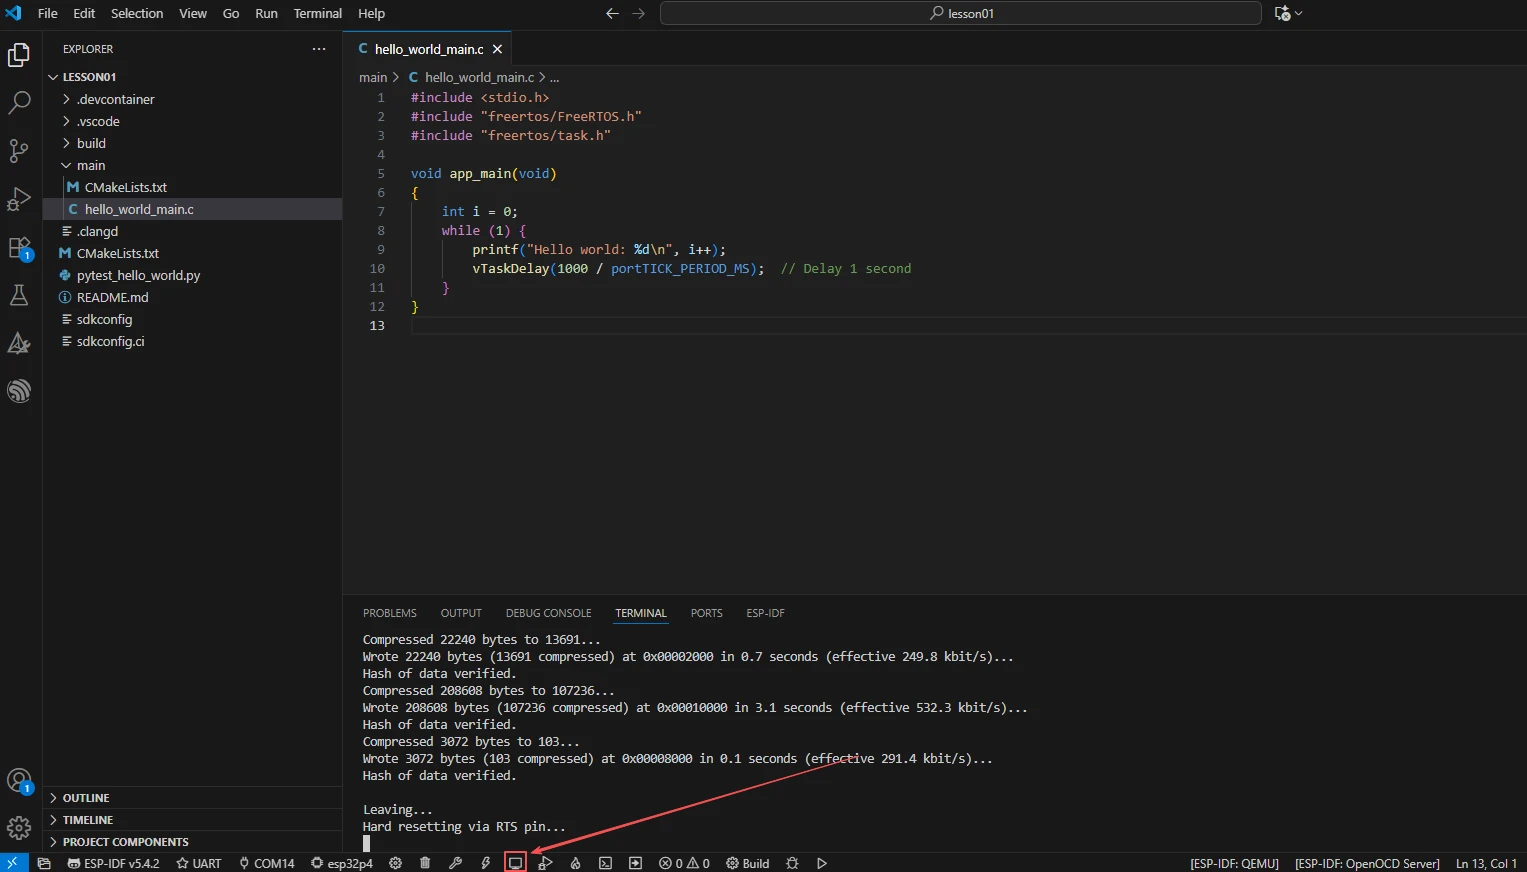
After flashing is complete, click Monitor to open the serial monitor. You should see the card information and playback logs; press Ctrl + ] to exit the monitor.
After flashing, the program plays automatically; observe whether the speaker outputs music.
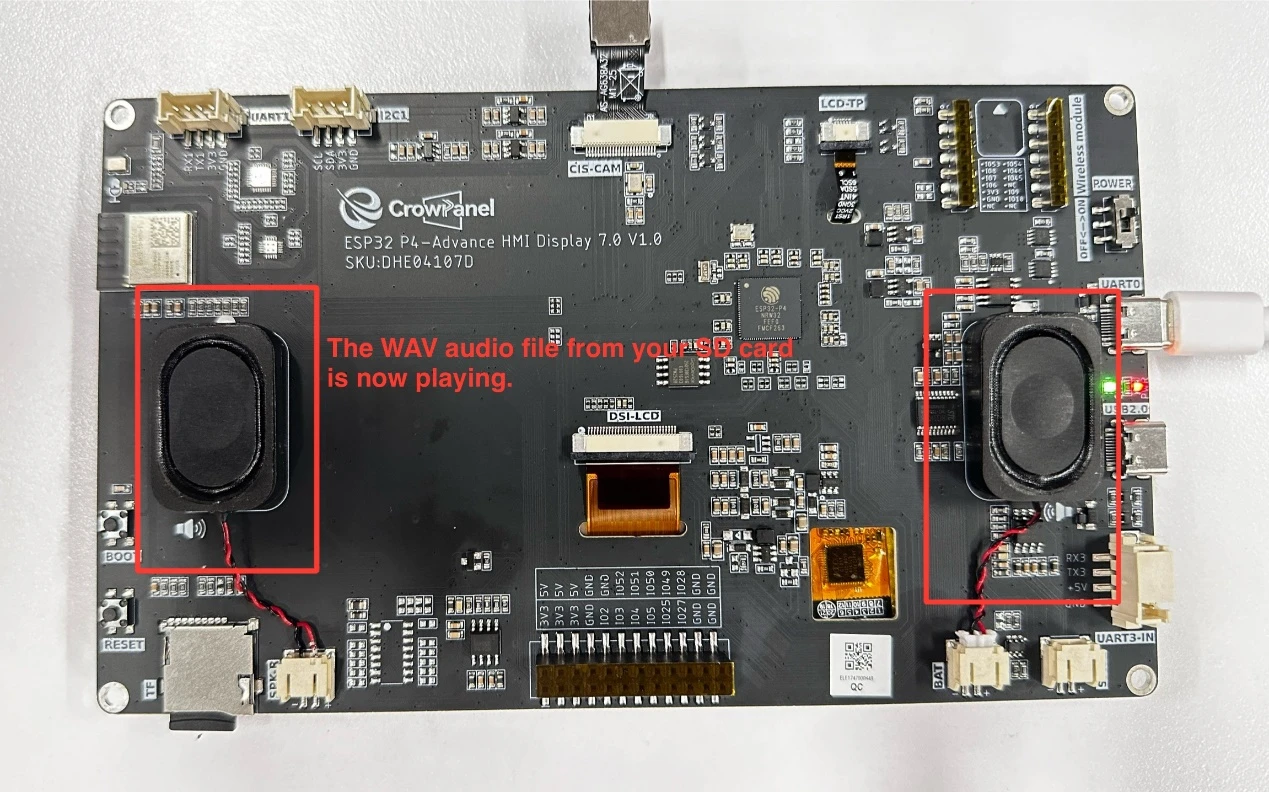
Finally, you can use the one-click operation button on the ESP-IDF status bar to sequentially run compilation, flashing, and opening the serial monitor. Use this only after the project configuration, serial port, and code have all been verified to be correct; if you need to troubleshoot an issue, follow the steps above one by one.
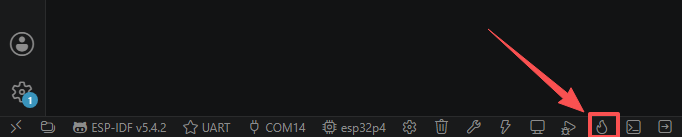
5. Hardware Operation Steps
With the power off, insert the MicroSD card containing huahai.wav into the developmentboard's SD card slot. Pay attention to card orientation—the gold contacts should face down.
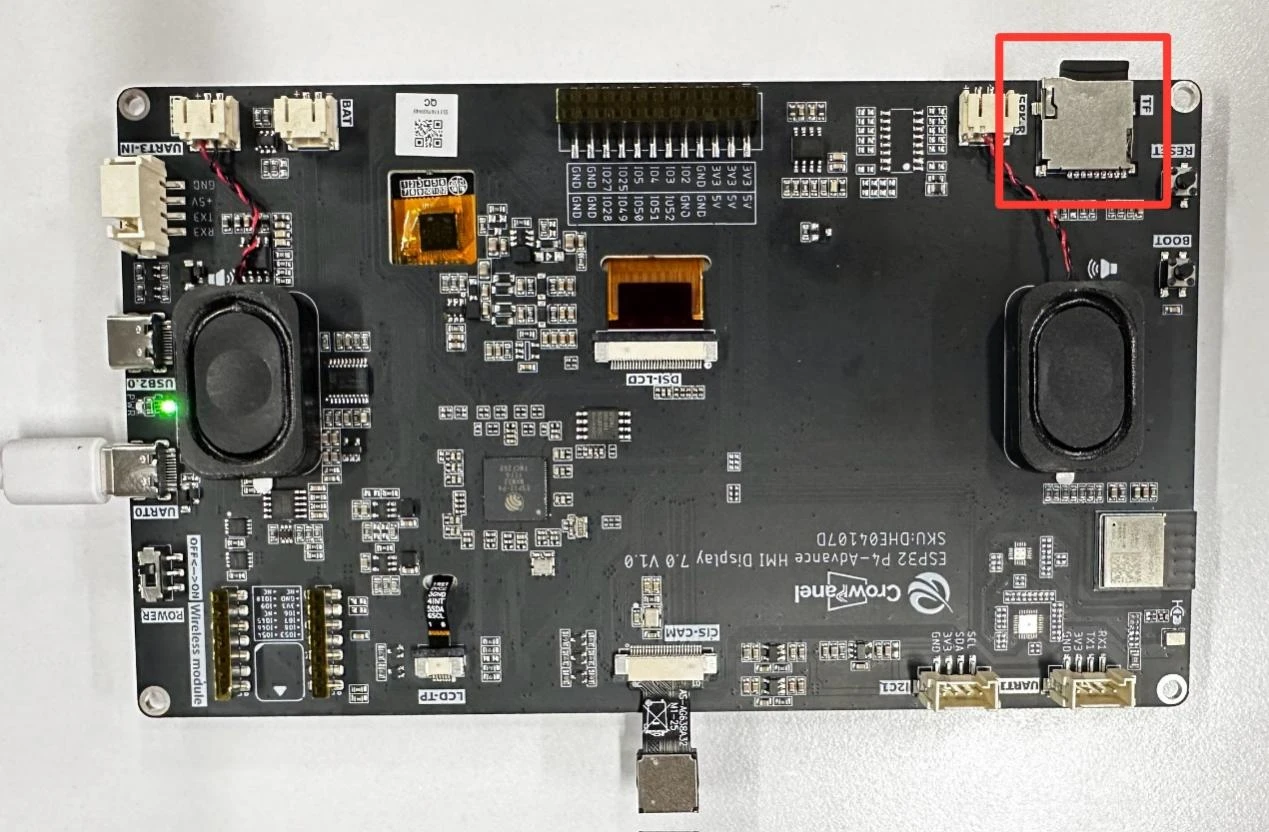
Connect the ESP32-P4 development board to the computer using a USB data cable; the board's power indicator light will turn on.
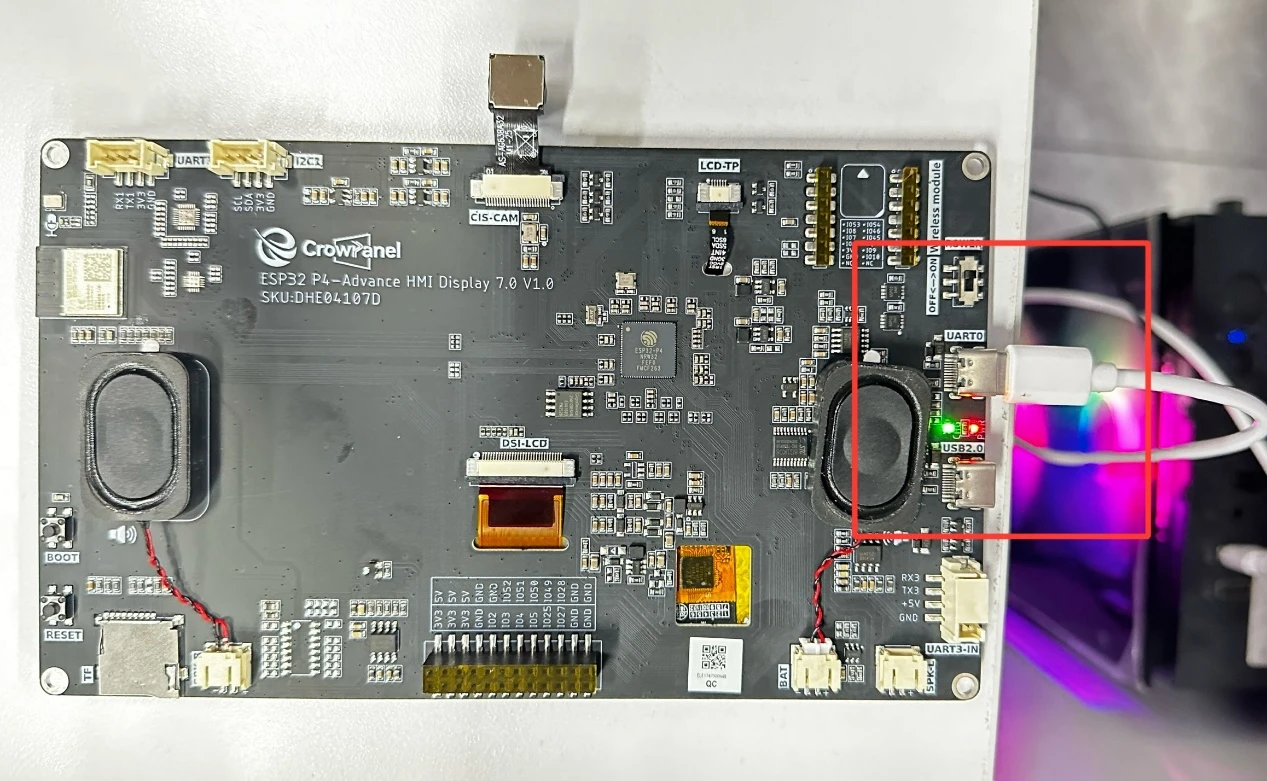
After flashing is complete and the board resets, observe whether the serial port prints the SD card information and WAV File Info, confirming that the file is correctly recognized.
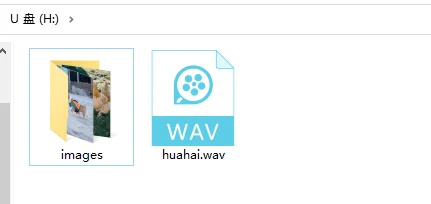
Observe whether the speaker plays the WAV music; after playback ends, the serial port should print Audio playback completed. 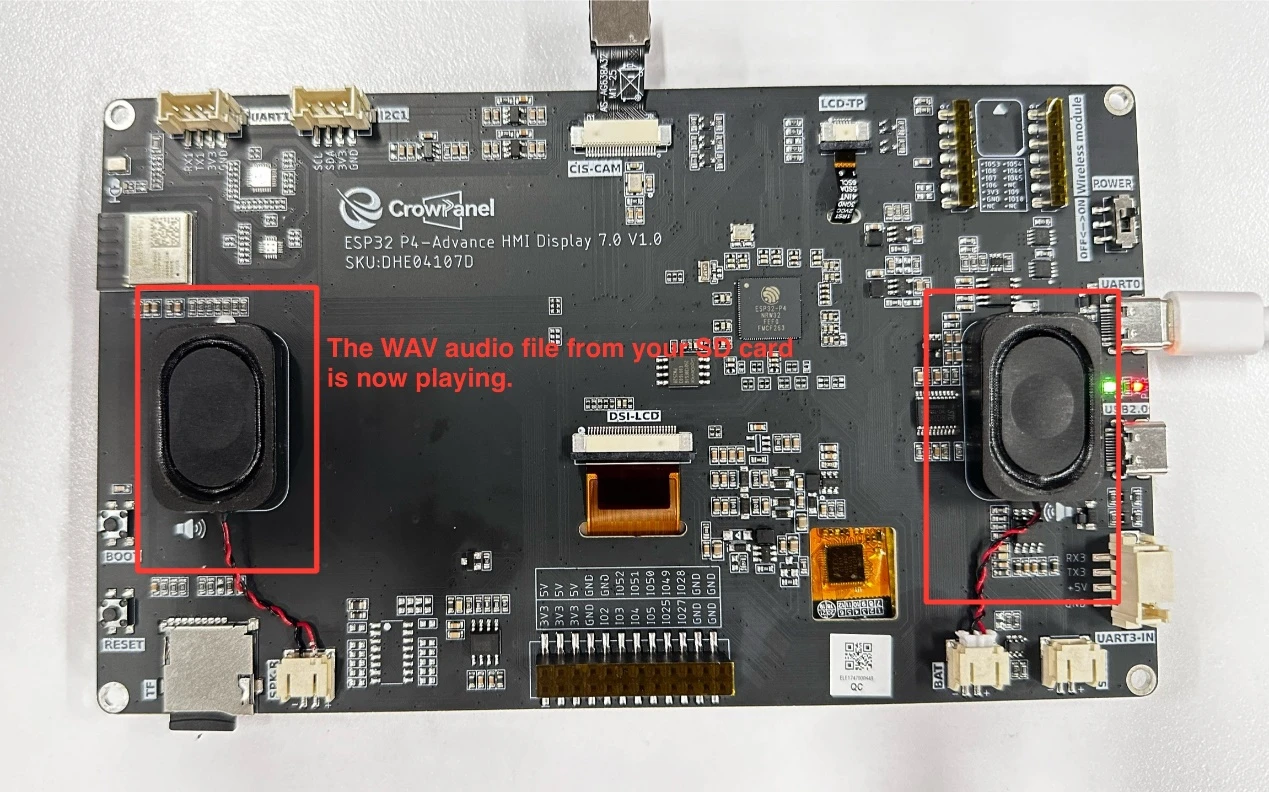
6. Key Code Explanation
if (memcmp(header, "RIFF", 4) != 0) { ... return false; }
if (memcmp(header + 8, "WAVE", 4) != 0) { ... return false; }
if (memcmp(header + 12, "fmt ", 4) != 0) { ... return false; }
uint16_t audio_format = *(uint16_t *)(header + 20);
if (audio_format != 1) { ... return false; }
WAV header validation: Sequentially checks the RIFF, WAVE, and fmt markers, as well as whether the audio format is PCM. If the file is not a valid WAV or uses a compressed format (such as ADPCM=2), validation fails and the program will not play it. This prevents playing corrupted files and producing harsh noise.
Skips the 44-byte WAV header to locate the start of the PCM data. If the number of bytes skipped does not match the actual header length (some WAV files contain extra metadata), playback will start from a wrong position and produce noise.
int16_t *input_buf = heap_caps_malloc(INPUT_BUFFER_SIZE, MALLOC_CAP_SPIRAM);
int16_t *output_buf = heap_caps_malloc(OUTPUT_BUFFER_SIZE, MALLOC_CAP_SPIRAM);
The buffers are allocated in SPIRAM. Each read fetches 512 samples (1 KB), and the output buffer is 2 KB because it is stereo. If internal RAM were used instead, playing large files would result in insufficient memory.
volume_data = input_buf[i] * 10;
if (volume_data > 32767) volume_data = 32767;
else if (volume_data < -32768) volume_data = -32768;
output_buf[i] = (int16_t)volume_data;
Each sample is amplified by 10x and clamped to the int16 range. Amplification makes the sound louder, and clamping prevents overflow that would cause popping. If clamping were removed, severe distortion would occur at high volumes.
Writes one frame of PCM data to the I2S channel. This is a blocking call that waits when the DMA buffer is full. The program repeatedly executes the "read → amplify → write" loop until the end of the file (fread returns 0). If the I2S configuration does not match the WAV sample rate, playback speed will be abnormal (faster or slower).
7. Experimental Observations
After the program is flashed and reset, the serial monitor outputs:
I (xxx) MAIN: ----------Demo version----------
I (xxx) SD_CARD: Mounting filesystem
I (xxx) SD_CARD: Filesystem mounted
Name: SD64G, Type: SDHC, Size: 60906MB, Speed: ...
I (xxx) AUDIO: WAV File Info: 1 channels, 16000 Hz, 16 bits, ... bytes data
I (xxx) AUDIO: Audio playback completed: ... samples
The speaker outputs the music from huahai.wav on the SD card, with moderate volume and a recognizable melody, and no obvious noise or interruptions. After playback ends, the amplifier is turned off and the serial port prints the total number of samples. If the serial port reports Invalid WAV file format, check whether the file is a PCM-format WAV; if there is no sound, check the amplifier GPIO30 and I2S pin configuration.